FEBRUARY 2024 - NEW WEB-STORE! Browse both my old (Etsy) store and new store here!

How to Use a Cricut
- Home
- How to Use a Cricut

How to use a Cricut cutting machine - basic Cricut for beginners tips and techniques to help you get started with a new machine and a new hobby!
I love my Cricut - but when I got it, I was just confused and a little bit lost with what to do with it - how does a Cricut work, and what can a Cricut do..?
I still haven't worked out all the techniques or tried out all the material types that you can cut (let me tell you, there's hundreds!) but I'm very much enjoying exploring its capabilities and learning all about it.
That's what I want to share with you, now - all the things I've learned about how to use my Cricut, and everything I'm discovering as I try things out with my trusty cutting machine always at my side...
Shall we get started with some basics that all beginner Cricut users really need to know..?
On this page we'll look at:
Using digital files on your Cricut
Getting started with your Cricut
What is a Cricut Machine?
A Cricut is a cutting machine - to be precise it's a digital die cutting machine.
Do you remember craft dies, like little metal templates that you could put in a machine and it would cut out the shape for you? These still exist, by the way, and are great!
Well, this is what a Cricut can do for you, only you don't need the little metal template - the Cricut holds the template digitally for you, but can still cut it out for you.
You'll need to use a computer or tablet of some sort with your Cricut (a smart phone can also work, I believe)...
In this way, you can arrange your digital templates in the Cricut design programme (it's called Design Space) and decide where you want them to cut, what colour or size they want to be, etc.
And then send the instruction to your cutting machine which cuts it for you on whatever material you choose.
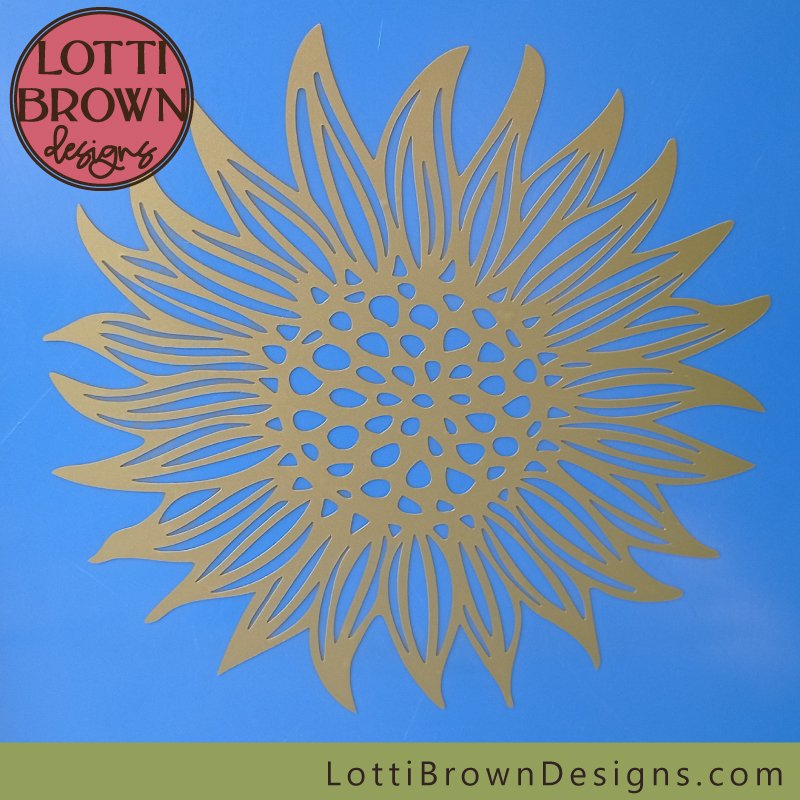
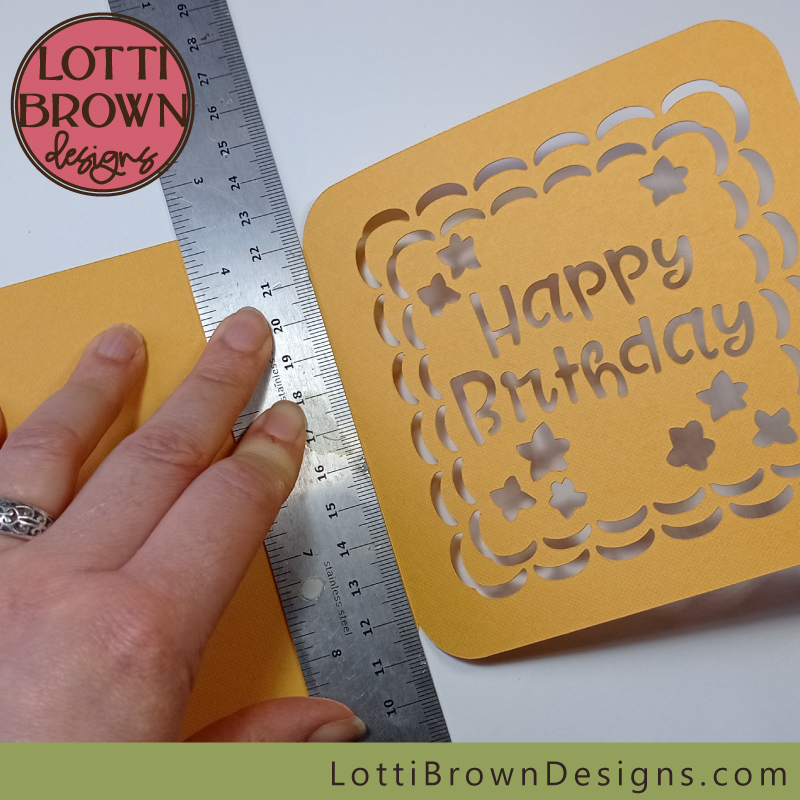
 A Cricut can make intricate papercuts like this!
That's the other great thing about the Cricut - the materials it can cut, especially the larger machines like the Cricut Explore and Maker models. It's not just paper, a Cricut Maker can cut even very thick card, crepe paper, fabric, wood, vinyl, light metals and acetates. Each machine type has a list of which materials it's suitable for, so do check that out first.
So the Cricut can help you with all kinds of crafts, it can cut paper for papercrafts, vinyl for home decor projects and HTV for iron-on projects on T-shirts or other fabrics, it can score, and engrave, and lots more (you will need different blades for this).
Because the Cricut machine uses a digital die cutting template or 'cut file', this means that you can have lots more choices of design, as no-one needs to manufacture the die, it's all done digitally.
There are lots of designs on the official Cricut programme, 'Design Space', and there are also independent designers, like me, who enjoy creating designs especially for the Cricut and other cutting machines like it, so that you can really have lots of choice when creating your crafts.
I talk about the Cricut, as I have my own Cricut 'Maker' cutting machine. There are also other Cricut machines, the 'Joy' which is a cutting machine for smaller projects, and the 'Explore' which is similar to the Maker but the Maker does cut a slightly larger selection of materials.
We are now on the new generation of Cricut machines, so as of 2021/22, we have the new Maker 3 and Explore 3 machines, still currently alongside the older Maker and Explore machines (presumably just for a short while).
There are also other very similar digital die cutting machines, too, such as Silhouette, ScanNCut, Sure Cuts a Lot and more. These work in a similar way and also use the same digital files as templates.
How to use a Cricut with Digital Files
The digital die cutting files need to be in certain formats so that the Cricut (or other cutting machine) can read it properly. This is often in SVG format. This means that the file ends with .svg. Other file types that are sometimes used are DXF files (.dxf), EPS (.eps) and PNG (.png) or JPG (.jpg).
SVG are the most popular, which is why you will often hear people talk about SVG files, or SVG cut files - and I've got all my designs listed on my site and store as SVG files.
Most designers, including myself, will also include other formats in their files so that most cutting machine users can use the file, and it also works for people who would prefer to print the file or cut it by hand. I include SVG, PNG, DXF and EPS formats in my files.
I explain more about the file types and how to get the file into your cutting machine programme over on this page...
 My Cricut Maker machine stowed away in my craft corner - it closes up smaller than this.
Cricut Need-to-Knows
- Don’t let your machine just sit in its box. It can be a little overwhelming to start but why not just take it out and get started. It’s the only way to start learning – and it’s fun! Start with Cricut’s suggested projects and start to explore the materials or techniques that you feel most comfortable with or most excited about.
- In spite of appearances, Cricut is not pronounced Cry-cut or Cree-cut – it’s ‘cricket’, like the game or the little insect that gives the Cricut capital C those cute little antennae!
- Make use of Cricut’s own help pages, files, and project ideas to help you get started. There’s a ton of really helpful information to help you with how to use your Cricut on the official Cricut pages.
- Don’t worry if you mess up. You’re a beginner and it happens to everyone and it’s how we learn. It’s not the end of the world and can likely be fixed or started over.
Getting Started - How to Use a Cricut for Beginners
 Cricut tools - clockwise from top: scraper, weeding tool, tweezers, spatula, scissors. All on a mat.
- You don’t need too many tools to start – the pointy weeding tool (far-right in the image) is likely essential for picking out the parts from detailed cuts (called 'weeding'), especially if you’re working with vinyl and/or intricate cuts. The spatula tool is very useful for peeling or scraping paper or card off your mat and the scraper tool is great for careful cleaning of the mat or ‘burnishing’ your vinyl onto transfer paper. Tweezers can also be very useful for removing tiny scraps of paper, card, or vinyl from your sticky mat or when weeding your design.
- Don’t forget to store your Cricut tools inside the storage area of the cutting machine - if you have a Maker - (not sure about the others in the range). There is a near-hidden panel in the part that folds down that’s perfect for tool storage – it just took me a little while to find it! See the image below, if you didn't find it yet, too!
- You need to make sure that you set the correct material for your machine, so your machine knows how hard it needs to press when it cuts - you want it to cut through all your material, but not to damage your cutting mat. Your Cricut will prompt you as you go through the process. If you’re making a layered project and changing materials for each layer, such as using a thicker card, remember to check that the ‘Base Material’ is set correctly before you cut each layer.
- If you have one of the older machines, you'll need to use a sticky mat when you cut - more about this in the section below...
 Clever tool storage in the Cricut Maker
How to Use a Cricut - Basic Process
Based on my Cricut Maker cutting machine - different models may be slightly different, but only very slightly - this is the basic process you need to follow for all your Cricut projects!
- Turn on your machine.
- Open Cricut Design Space on a computer, tablet, or smart phone.
- Place the material you want to cut on your Cricut mat (see the section below for more help to make sure you use the correct mat).
- Open the design you want to create in Design Space (see the 'How to Use SVGs' FAQs page for help with that) and resize if necessary using the bottom right corner arrows.
- Use the eye icons on the right hand side to show or hide layers that you do or don't want to include in your cut.
- Click 'Make It' (top right) - your cutting mats will appear as images on the left hand side - you can click on the one you want to start with, or just follow the order from the top.
- Click 'Continue' (bottom right) - and Design Space will attempt to connect with your machine.
- Then select your material - popular or favourite materials will show on the screen, but you can also click on 'Browse all Materials' and then browse to select the one that most closely matches your project. For Explore machines and other older machines, you will need to select the material via the dial on the machine itself.
- Next select the pressure you require - 'Default' will be most often used but you may want to select 'More' or 'Less' if your material is a little thicker (select 'More') or finer (select 'Less') than standard or if you've been having any issues with your cuts.
- Make sure you have the correct blade fitted, as suggested on the screen.
- And then load your mat, with material stuck to it, by proffering it up and pressing the flashing arrow keys - the machine will take it in.
- When it's loaded, you can then press the flashing C 'Cricut' key (wait till it flashes!).
- When the cut is complete, you can press the flashing arrow key to unload your mat.
- You may be prompted to load another mat, if you have another layer to cut - or you can go ahead and press the 'Finish' button in the bottom right.
- Once you've taken your project away from the machine, you need to 'weed' it - that's just removing the waste parts from the design. You'll find this easiest with the special Cricut weeding tool. It can take some time, so allow yourself the time you need - but also see the point below for a lazy crafters tip...
- When you've weeded your design, place your mat cover over the mat, turn everything upside down and very slowly and gently peel the mat away from your cut material (you can also peel the mat away from your un-weeded project, leaving the cut-outs on your mat for you to scrape away later - works great on cardstock projects).
- Hurrah - you're done!
All About Cricut Mats
How to use a Cricut mat...
 Cricut cutting mat selection - the different colours denote different strengths of stickiness - the blue is the least sticky, the green is classed as 'standard' stickiness, the pink here is the most sticky, intended for fabric. There is also a purple mat for strong hold projects like heavy cardstock.
If you have one of the older machines, you'll need to use a sticky mat when you cut - the newer range of Cricut cutting machines (Joy, Maker 3 and Explore 3) don't need the mat to cut, but you may need to get different materials...
Look out for 'smart materials' including vinyls and even a smart, sticky-backed paper. You can still use a mat for cutting non-smart materials with your newer Cricut, as in the older machine range. (I don't have a newer machine, so my info includes all about mats, but not about smart materials used without mats).
Always use the correct mat for your cutting project. The mat has a sticky side where you place your material ready to cut. You need the mat to keep your material from sliding about when the machine cuts – just use a mat that’s lost it’s sticky and you’ll see why it’s a good idea to use a sticky mat!
It’s not quite just as simple as that though, as you need the right amount of sticky – not sticky enough and your material slides around under the blade causing chaos… Too sticky and your material sticks too hard to the mat, you struggle to get it off and it could tear or break as you try to remove it or leave half of itself behind, ruining your project.
Cricut has cleverly got over this problem by introducing four different mats, all with different stickiness. They’re also colour coded to help us!
- Blue mat – the least sticky – use for lightweight items such as paper, normal vinyl or very thin card.
- Green mat – standard stickiness – this is useful for many items you’re likely to cut, such as standard or thicker card, heat-transfer vinyl (HTV), textured papers.
- Purple mat – strong stickiness – useful for very thick card, wood materials, posterboard, leather and faux leather, glitter card.
- Pink mat – for fabrics.
Once your mat loses a little of its stickiness, you will likely be able to use lighter-weight items on it. I can use my older green mats that have lost stickiness with light cardstock with no issue.
Treat your mat with respect – stickiness is not guaranteed! Keep pet hairs and fluffy jumpers away, else your mat will get covered with fluff and lose its stickiness.
- Keep the plastic cover that comes with the mat and store it with the cover in place to protect it.
- Go gently with your scraper tool when scraping scraps off your mat – don’t scrape off the sticky layer!
- Lift your mat off your cut project and not the other way around...
When you try to lift a paper or card from the sticky mat, it has a tendency to curl up. You could flatten it under a book, but try this easy hack instead…
Cover your cut project and the mat with the clear plastic sheet that’s included with the mat (keep it, don’t throw it away) – turn everything upside down and then carefully peel the mat away from your material (paper, card, etc), helping keep the material flat with your hand as you go. The mat is flexible and will bend gently back.
Go slow, and watch out for the delicate parts of the cut. You can just gently ease them off the mat as you go – your spatula tool can help with this.
 Keep the clear covers that come with the Cricut mats - they're incredibly useful!
How to Clean a Cricut Mat
Wash your mat when it loses stickiness and you can bring the stickiness back – scrape gently first to remove tiny bits, then wash it in warm water and mild dish-soap (washing-up liquid) with a lint-free cloth (I use a micro-fiber cloth). Let it air dry thoroughly before you use it again.
You may be able to apply a spray adhesive to your mat to resurface the stickiness – do some research before you start and look for a good quality 'repositionable' adhesive. Give your mat a good clean first (wash it as above) and mask off the edges so that the sticky stays in the right place!
I used 3M 'Re Mount' temporary adhesive spray on mine - I gave a light spray covering on the green mat and found that this worked really well to recover the stickiness. Holding up well so far, including after washes, and I intend to respray again when necessary.
If all else fails, you may need to buy a new mat. Cricut expect their mats to last between 20-40 cuts.
How to Use a Cricut with Vinyl
I take you through a basic vinyl project here...
And then help you understand all the vinyl types, including the best vinyls to use for your Cricut project, vinyl crafting terms and techniques - all on this page...
 Learn how to use a Cricut cutting machine with vinyl
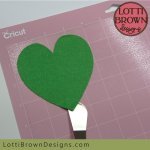
How to Use a Cricut with Cardstock
I take a look at my best tips and tricks for cutting cardstock with a Cricut, including weeding, intricate cuts, what to look out for when choosing cardstock and my personal best choices of cardstock for Cricut - take a look here....
 How to use a Cricut with cardstock
Making Cards with your Cricut
Of course, one of the best things to make with cardstock is, of course, greetings cards - I have a range of SVG card templates for making cards with your Cricut here - with an essential tutorial for how to create the score line with your Cricut, (or manually) here - plus, once you've cut and scored your greeting card with your machine, here's how to fold and assemble your greeting card.

Using Print then Cut with your Cricut
Some people seem scared of using the 'print then cut' function in Cricut - I used to be one of them! This is a real shame as it's such a useful function which combines your home printer and your cutting machine, so that you can have your Cricut cut out a printed image neatly for you! How good is that!
Take a look at how to print and cut on your Cricut here - I used it to make these lovely (& easy) print then cut cards!
 Learn how to use print and cut with your Cricut by making some of my lovely print then cut card templates
And I do a test of which cardstock or paper to print onto here....
 Print then cut with Cricut - cardstock print test
Using Felt with Cricut
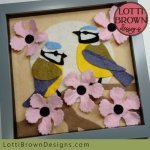
 Try felt projects with your Cricut
Felt is a fun material to try with your Cricut - you can use it to make felt pictures or 3D felt projects, like flowers, or toys.
Once you know what you're doing with using felt with your Cricut, it's quite easy to do, but you do need to know a few essentials first, like using the right blade and mat - and knowing if your Cricut is suitable for felt at all (most are, but not all)...
Problem Solving
If your cuts start messing up, check:
- How sticky is your mat? Are you using the correct mat for the material? Or has your mat lost its stickiness? Paper and card may start to lift when the mat has lost some stickiness… and the results aren’t pretty! Can you use a stickier mat? Is it time for a clean or a new mat?
- Is your blade clean and sharp? Remove your blade from its housing and check if its got any bits of card, vinyl, fabric etc. stuck to it. Clean gently with a wipe or try some bunched up tin foil as described below...
- Try a ball of bunched up tin foil to clean your blade – just remove the blade from the machine and poke it (very carefully!) into the ball a few times to remove tiny scrags of material that may be caught on it. Try this if your machine starts cutting messily or tearing your card, paper or vinyl. I've used this, as it was recommended to me, and it did clean my blade - but I've also been warned that it could damage the delicate blade - so do take care with this one, and if you do decide to do it, do it very gently and carefully.
- If you get no joy and have had your blade a while or cut a lot with your cutting machine or cut heavy materials or intricate cuts, your blade may need replacing. Your blade may last anywhere from 6 weeks up to 18 months depending on how you use it and how often, so go by how well it’s performing and if you’re not getting the sharp crisp cuts you want, consider replacing the blade.
- Is your material suitable? Some materials just don’t cut well. I sometimes have had a problem with cheap photocopy paper and cheap/generic craft paper. Try a different material and see if it solves the problem.
- What about your cutting pressure? Did you know that you can increase the default pressure if your Cricut doesn’t quite seem to make it through your material. You can also decrease the pressure if necessary, too.
- Did you select the correct material type for your project?
- Consider using ‘intricate cut’ setting for material type, especially for more detailed cuts.
- Turn off ‘fast cut’ setting if you use it.
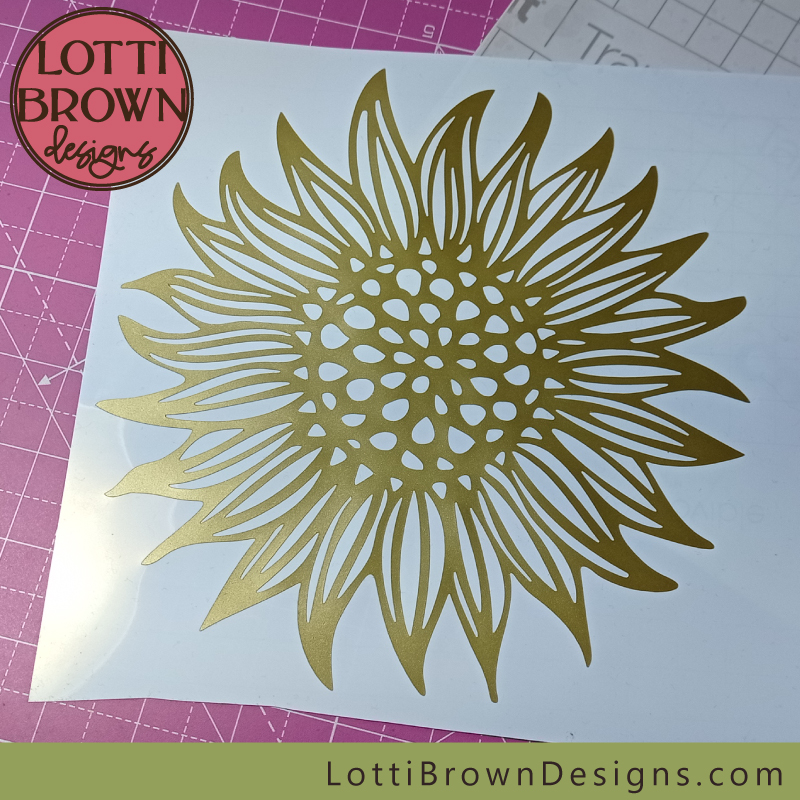
 You may need to make sure you use 'intricate cut' setting, use quality cardstock, and make sure your mat and blade are in good condition for complex projects like this.
What Else Do I Need to Know?
- Look after your posture. A drawing board can make weeding your cuts more back- and neck-friendly!
- Look after your eyes. A daylight lamp really helps with close work, smaller projects, or darker evenings. Put your lamp to the side of your crafting area – to your left if you’re right-handed and to your right if you’re left-handed.
- Use your imagination. Experiment! Have fun!
- Consult your design before you start weeding so that you know which bits to pull out and which to leave. Or start in an area near the edge so that you can be sure what’s what.
- Keep a little pot next to you when weeding to put tiny scraps into.
- Keep your scraps and off-cuts for future, smaller projects
- Keep intricate designs to a reasonable size. Trying to go too small or too delicate will only end in trouble!
- Use foam pads, glue dots or micro dots to stick paper and card. Think about which surface to put them on so that they don’t show. Paper glue and glue sticks can also work really well.
Where to Go for More Help
Where to Go for Project Inspiration and Cut File Designs
Learning to Design SVG Files
I've got some information about how I learned to design SVG files on this page - plus recommendations for the courses I took...

Want to keep in touch?
And get this beautiful cut file for free?
Sign up below for my free email newsletter to get:
- News about my new designs
- Occasional special offers just for subscribers
- Free 'Home is Where the Heart is' layered cut file design (SVG, DXF, EPS & PNG formats - for personal use only)
My newsletter is usually sent out once a month (at the start of the month) and you can unsubscribe any time...
Sign up below...!
 Get this beautiful 'Home is Where the Heart is' layered cut file for free - SVG, DXF, EPS & PNG formats (personal use only)
Recent Articles
-
Making a Book from Scratch with your Cricut
Apr 17, 24 04:51 AM
 Have fun making a book from scratch with your Cricut - great as a scrapbook, journal, sketchbook, etc... Easy to make!
 -
Cricut Felt Cutting Project for Beginners
Mar 20, 24 05:59 AM
 Fun Cricut Felt Cutting Project for Beginners - Make easy blue tits and flowers 3D felt art...
 -
Cutting Felt with Cricut
Mar 06, 24 05:59 AM
 Guide to cutting felt with Cricut - how to cut felt, best felt for Cricut, best Cricut blade for felt and more tips...
Feel inspired...
Cutting Felt with Cricut
Guide to cutting felt with Cricut - how to cut felt, best felt for Cricut, best Cricut blade for felt and more tips...
How to Use a Cricut with Vinyl
How to use your Cricut with vinyl to make cool craft projects - tips, tricks, and ideas for beginners...
How to Score on your Cricut Cutting Machine
Easy tutorial showing you how to score on your Cricut cutting machine - set the lines to score for cardmaking and other projects...
Cutting Cardstock with Cricut
My best tips and techniques for cutting cardstock with Cricut - things you need to know to make sure your cardstock cuts smoothly...
Best Vinyl for Cricut Projects
Discover the best vinyl for your Cricut projects - we'll look at which vinyls work best in each situation and start understanding vinyl crafting terms...


- Home
- How to Use a Cricut