*** IMPORTANT - I'm retiring my digital files - SVG/PNG/DXF/EPS - and printables from 31st December 2025 ***
*** Please ensure that you have everything you need - files and/or instructions printed off from the website (find them currently in the ARCHIVES section) - by 31st December 2025 as they will not be available after this date ***

Making a Book from Scratch with your Cricut
- Home
- SVG files
- Project Ideas
- Making a Book from Scratch

Have fun making a book from scratch with your Cricut. It's easy to make and you can customize the design to create a scrapbook, photo album, journal (or nature journal), sketchbook, etc...
 Learn how to make this useful handmade book with your Cricut
Get the homemade book template from my store here...
Digital download handmade book template for Cricut and similar cutting machines (or cut by hand)
SVG, DXF, EPS and PNG file formats
For personal craft projects and small-business commercial use (up to 200 products)
For physical/craft products only - no digital products, sharing, or use
 Make these pretty handmade books with your Cricut
This is one of my favourite ever projects with my Cricut - it's a handmade book that you can make yourself from scratch at home with craft items that you have anyway at home.
This book is a basic design that I learned how to make at school and I've made different versions of over the years, and I've adapted it, here, to make it easy to make with everyday craft items.
When I've made books in the past, I've needed special book binding tapes and special book binding tools, but with this project making a book from scratch with your Cricut, you don't need any of that stuff - just patterned craft papers that you likely have at home in your craft stash already, plus cardstocks, glues, ribbons, scissors.
You can choose your own patterned papers to create different looks and styles with your book - please note that the template does not include a patterned design to use.
You can also put different types of paper inside your book to make the pages - so if you want to make a sketchbook, you could choose art papers, writing papers for a journal, scrapbook papers for a scrapbook, lined pages for a jotter.
I've included the template so you can cut the pages with your cutting machine if you want. I've also included instructions for how to convert A5 size sheets of paper into the book pages, too, if you prefer to buy them (I did).
You can also use the template without a cutting machine if you prefer to craft by hand.
 Pretty inside and out!
I really hope you enjoy making the handmade book template and also enjoy using your pretty book - you can make lots of different patterns and colours - and they also make really lovely handmade gifts, too!
If you want to print these instructions, you can use the print button icon just below - you can also find a print button on the top right of the page and at the end of the page, after the main content ends.
Using this print button will allow you to select which parts of the page you want to print.
Making a Book from Scratch with Cricut - You Will Need:
You will need:
- 2 x patterned paper (12 x 12 inches) for the outer covers (template does not include the patterned design) - the patterned paper I used for this project came from the 'Garden I' pack of 12 x 12" scrapbook/craft paper by Oaixuilhy which has 2 sheets of each design
- 2 x patterned paper (12 x 12 inches) for the inner covers (template does not include the patterned design) - see above for the paper I used
- 2 x heavy cardstock (12 x 12 inches) for the covers - I used Cricut Kraft Board but doubled it up to make it thicker and more sturdy so I actually used 4 sheets in total
- 2 x light cardstock (A4 or Letter-sized) for the inner cover
- Paper for the sheets of the book - I've included a template so you can cut pages for your book if you wish (cut as many as you need) - I used A5-sized sheets of paper to make the pages, so you can use this to make the pages easily, if you wish. I used paper by 'Sigel DP907' (beige marbled writing paper). Writing pads are often this size.
- Standard 2-hole hole punch (if you're using the A5 sheets for the pages, rather than cutting the pages with your Cricut)
- Paper glue - I used a 'Pritt stick' glue stick - should allow you to reposition slightly for a few seconds/minutes
- Pencil
- Sharp craft scissors
- Metal rule (optional) to help you fold the paper for the inner covers
- Thin ribbon or strong thread (I used 3mm ribbon)
- A way of cutting your template - I used my Cricut Maker cutting machine
 Fun handmade book project for Cricut
Preparing to Cut Your Template
 Handmade book template for Cricut and other cutting machines
A guide to help you recognize which parts are which on the handmade book template:
- Dark blue - use the thick cardstock to make the covers - if you're doubling up the cardstock, like me, to make thicker covers, you'll need to cut 2 sets of these
- Yellow/gold - use the patterned paper to make the outer covers
- Green - use the light cardstock to make the inner covers
- Pink - use the patterned paper to make the inner covers
- Very dark brown - use the paper you've chosen to make the pages of the book - you will need to cut this shape for as many times as you want pages. If you've opted to use an A5 pad of papers, instead, you can hide this shape and not cut it at all
When you're getting ready to cut the patterned paper, do take note of the direction of pattern and make sure you position the pattern so that it will show as you wish on your book covers when the shape is cut.
The template makes a book that's a little larger than A5 size - approximately 22 x 16 cm (8.75 x 6.25 inches). You can resize the template to make it any size you want to make a book. If you make the template very much larger, it would be a good idea to resize the holes a little smaller so they don't become excessively large in your book.
Template measurements
If you need the measurements for the template, they're here. This makes the 22 x 16 cm (8.75 x 6.25 inches) book.
- Yellow rectangle (large, x 2, measurement is for each) - 21.95 x 27.46 cm // 8.64 x 10.81 inches
- Yellow rectangle (small, x 2, measurement is for each) - 15.24 x 6.41 cm // 6 x 2.52 inches
- Blue rectangle (single part) - 15.74 x 22.09 cm // 6.2 x 8.7 inches
- Blue rectangle (in two parts, measured as a whole as supplied) - 15.74 x 22.07 cm // 6.2 x 8.69 inches
- Pink (large) - 19.99 x 24.85 cm // 7.87 x 9.78 inches
- Pink (small) - 19.93 x 22.89 cm // 7.85 x 9.01 inches
- Green (large) - 15.1 x 19.48 cm // 5.94 x 7.67 inches
- Green (small) - 15.06 x 17.86 cm // 5.93 x 7.03 inches
- Dark brown - 14.8 x 21 cm // 5.83 x 8.27 inches
Measurements are taken from using the template in Cricut Design Space.
How to Make Your Handmade Book
When you've cut out your book template, we're ready to get started making a book from scratch...
If you need any help with using your files, check here. If you need the measurements, they're just above.
 Gather together all your cut pieces and pages together
- Let's start with the pages for the book, so that they're ready to go when we've made the covers...
- When you're making this book, you have the option of using the page in the template (dark brown) that you can cut as many of as you want pages (see the right-hand page in the photo below).
- You can also use A5 sheets of paper (bought from a store) and punch holes in the pages yourself (see the A5 pack of paper below on the left-hand side of the photo) - this is what I'll be doing and I'll share how to punch the holes so that they're in the correct place, next...
 Decide what you're going to use for the pages for your book
- This next part is only for you if you've opted to use the pack of A5 paper. If you've already cut the pages with your Cricut, stack them neatly to one side and wait for us to catch up...
- You'll need your pages and a standard 2-hole punch ready (see photo below)...
 Get your pages ready along with a standard 2-hole punch
- It's important that we get the holes in exactly the right place - that means centrally positioned. We'll do this by marking the centre of the page so that it can align with the guide on the hole punch. I'll show you below...
- Fold the top sheet of paper length ways really lightly so that a crease is only made in the very top of the sheet - see mine in the photo below...
 Fold a page length ways, creasing one end of the sheet only
- If your crease is a little hard to see, mark the fold mark lightly with pencil - like mine in the photo below...
 Make a pencil mark in the position of the fold
- Next, take a small stack of pages, that will fit comfortably into your hole punch, and align them with the marked/folded page on top.
- Then, push the stack into the hole punch, taking care to keep the pages neatly together, and align the pencil mark with the central guide in the hole punch - see mine in the photo below...
 Align the pages in the hole punch so that the central guide is lined up with the fold mark in your pages
- Punch those holes! See the photo below...
 Holes punched (in the correct place)
- Repeat this process, gathering a small stack of pages, folding just the top page lightly on one end, adding a pencil mark, aligning the stack and punching your holes.
- When all your pages are ready, stack them together (see photo below) and put them to one side while we work on the covers next...
 Stack your pages together and put them to one side ready for later
- Next, we'll work on the main covers of the book - see the photo below. The larger piece will become the back cover for your book, and the 2-piece cover will become the front cover. The gap will form the hinge so that the book opens easily.
 Get the front and back covers ready - the gap will be the hinge to help the book open
- If you decided to double up on cardstock to make your covers thicker, this part is for you now. You can see in the photo below I've cut two of each cover. I'll be gluing these together as the first step of making the covers. If your card is already thick enough for the book you want to make, please just skip the next bit and join us for the part with the patterned paper...
 I'm doubling up with the Cricut Kraft Board to make thicker covers - I've cut two sets
- You just need to add glue to the whole surface of one of the sets of covers - go quite close to the edges - see the photo below...
 Add glue to the whole surface of one set of covers, getting close to the edges all around
- Stick the two sets together - make sure that the edges are neatly aligned all round - see the 2 photos below...
 Glue them together so that they're neatly aligned
 Back cover made of doubled-up cardstock
- Next, we'll cover the front and back covers with patterned craft paper. We'll be using the larger pieces with the holes in one side - see mine in my photo below...
 Use your own choice of patterned (or plain) craft paper to cover your book
- Lay your paper patterned side down on your work surface. We're going to take the back cover first (important) - this is the longer one (in one piece) - see the photo below...
 Get the back cover ready first!
- Position the thick card cover centrally on the paper, with the holes aligned - just like mine in the photo below...
 Position the card and paper like this with the holes aligned
- Then, use a pencil to draw around the cardstock - we'll use this shape to position the two parts of the front cover correctly - see the photo below...
 Draw around the cardstock with a pencil
- Remove the cardstock - you should be able to see your pencil mark on the paper - see my image below...
 Remove the cardstock, leaving the pencil line as a guide for you
- We're going to use this guide line to get the two parts of the front cover in the correct position - see the photo below...
 Let's make the front cover using these two pieces of card
- Note on the thin strip, the holes are not centrally positioned across the width of the card - you can see the side where my finger is pointing in the photo below is actually slightly narrower than the other side. Identify yours and keep it like mine with the wider side on the left and narrower side on the right...
 Position your card strip like mine with the wider side to the left, and the narrower side (where my finger is) to the right
- Now, position the strip so that the holes align and it fits within your pencil guide line - position the larger piece of card so that it also fits within the lines - see my photo below. Take note as this is how you're going to glue the pieces...
 Position the pieces for the front cover like this, so the holes are aligned and the card is within the pencil guides - this is how we'll glue it
- Next, put the pieces carefully to one side and add glue to the whole surface of the paper beneath, making sure you get close to all edges - see the photo below...
 Add glue to the whole surface of the paper beneath, getting close to all edges
- Then, lay down the thick cardstock for the cover pieces, getting them in position just like you did earlier. Here's mine in the photo below. When you're happy they're in the right place, press down over the surface area of the card to glue them in place.
 Glue the two cover pieces in place
- While the glue is still wet, fold up the first edge, pressing your fingers against the edge, to get the folds true and close to the cardstock - see mine in the photo below...
 Fold up the first edge like this (while the glue is still wet)
- Then fold the edge down and stick it down - like in my photo below...
 Stick the folded edge down
- Repeat for all the edges. Try to get the holes aligned when you do that edge. Your finished cover should look something like mine in the image below...
 Fold and glue all the edges down
- Use your scissors to trim any corner excess on each corner - see photo below...
 Trim the corners with your scissors if necessary
- Next, repeat the process for the back cover, adding glue to the paper and positioning the cardstock with holes aligned and sticking down - see my photo below...
 Repeat for the back cover
- Then stick down all the edges (see photo below)...
 Glue down the edges for the back cover, keeping the holes aligned if you can
- Again, trim any corner excess away with your craft scissors - see photo below...
 Trim the corners with your scissors so they're neat
- Next, let's turn our attention to these two patterned rectangles of paper with holes in - see my photos below. These should be in the same pattern/design as the main covers we've just made and we'll use them to neaten up the backs of the covers and create the hinge for the front cover to move.
 We'll work with these next
 This will help neaten the back of the book
- Add glue to the back of each piece like in my photo below - make sure to get close to the edges of each piece.
 Add glue
- Glue the piece down like this - see photo below - lining up the holes, as we have before.
 Glue the paper in place
- Repeat for the other cover - see my photo below...
 Repeat for the second cover
- The outer part of the covers is now finished - the inside of the covers still needs neatening up, which we'll do with patterned inserts. We'll need the two rectangles of light card plus the two pieces of patterned paper. See the photos below...
 Papers and card for the inner covers
- Take note that there are two different sizes of patterned paper (see photo below)...
 Take note that the patterned paper is in two sizes
- And also the cardstock rectangles - one larger and one smaller - see my photo below. We need to work with the small paper and cardstock together and then the larger paper and cardstock together, too...
 Cardstock in two sizes
- Add glue to the back of one of the patterned pieces of paper, gluing all over and especially around the edges - see my photo below...
 Add glue
- Then glue the relevant cardstock down onto the paper so that it's positioned centrally. It should look something like mine in the photo below.
 Glue the cardstock down centrally
- Fold over the edges - you may want a metal ruler to help you get a straight edge to your fold (optional) and glue them down. It should look something like mine in the photo below.
 Fold and stick the edges
- Trim any corner excess away with the scissors - see photo below...
 Trim the corners with your craft scissors, as necessary
- Repeat for the other inner cover until you have both pieces looking something like this - see mine in the photo below...
 Both inner covers are ready
- Add plenty of glue to the back of each of these two pieces, making sure you get nice and close to all the edges. See the photo below...
 Add glue to the back of both pieces
- Then, identify which of the main cover pieces will be the front cover (with the folding hinge) - see the photo below...
 Identify the front cover by finding the hinged part
- We need to use the smaller inner cover with the front cover, and glue it in place like mine in the photo below. Please note we're gluing it inside the front cover to hide the messy bits.
 Glue the inner cover into the front cover
- Then glue the larger inner cover in place onto the inside of the back cover like mine in the photo below...
 Glue the larger inner cover on the back cover
- So you should now have both covers completed. Lay them out like mine in the photo below, with the outer of each cover face-down on the work surface and the inner covers facing up. The front cover should be on top, and the back cover below.
 Lay your completed book covers out like this
- We'll add the pages in next, like this - see the photo below...
 Add the pages in, aligning them on the back cover
- Then turn the front cover and add it on top, so it's ready to become a book - see my photo below...
 Turn the front cover and sit it on the pages so it's all ready to become a book
- Now all that's left to do is to tie the book together. I'm using a thin satin ribbon. You could also use strong thread (double it up). We'll start by threading the ribbon into the top hole - see my photo below...
 Let's use ribbon to tie the book together
- Thread the ribbon down through the front cover, pages, and back cover - then back up again through the other hole, ready to thread up through the pages and back through the front cover. See my photo below...
 Thread the ribbon down through the book on one hole and back up through the other
- You can move the pages and thread a little at a time. When everything is threaded through you can start to pull the ribbon tight. See mine in the 2 photos below...
 Threading the ribbon through
 Pull the ribbon to gather everything in place
- Tie the ribbon ends in the centre of the book, at the front, with a double knot. Tie it as tight as you can. See mine in the 2 photos below...
 Tie the ribbon ends at the front of the book
 Double knot to keep the ribbon secure
- Tie the ends of the ribbon into a bow and double-knot this too to keep it from untying. See my photo below...
 Tie into a bow and double-knot
- Finally, trim the ends of the ribbon neatly. See my photo below...
 Trim the ends of the ribbon neatly
- Your homemade book is now complete. Well done!
 Homemade book made from scratch with Cricut
 A look inside the front cover
 A look inside the back cover
How to Get Your Handmade Book Template
I really hope you enjoyed my tutorial on making a book from scratch with your Cricut. I loved making it!
If you'd like to make your own handmade book, you can get the template for the project from my store at the link just below...
Easy handmade book templateGet your handmade book template from my store here...
Digital download handmade book template for Cricut and similar cutting machines (or cut by hand)
SVG, DXF, EPS and PNG file formats
For personal craft projects and small-business commercial use (up to 200 products)
For physical/craft products only - no digital products, sharing, or use
 Accordion-style book making project for Cricut
If you liked this, you might also like my small accordion book making project - take a look at that here...
See more fun projects for your Cricut here...
Wondering what to use your book for..?
If you're wondering what to use your book for, you might like to start a nature journal with me...
You Might Also Like:
Lotti Brown's Designs & Templates
How-tos...
- How to use SVG cut files for Cricut (also other cut file formats & machines)

Shall we stay in touch..?
Each month, I share stories from my own nature journal, new art from my studio, and simple seasonal inspiration to help you feel more connected with the turning year...
Recent Articles
-
Nature Journaling Autumn Fungi & Folklore
Oct 28, 25 05:58 AM
 Nature journaling autumn fungi - discover how nature journaling helps you slow down, notice more, and reconnect with the season...
 -
Symbolism and Meaning of Fern/Reed for the Celtic Tree Calendar
Oct 27, 25 07:06 AM
 Explore the symbolism, myth and meaning of the fern (reed) as part of the Celtic Tree Calendar...
 -
Sun & Moon, Stars & Spirals
Oct 20, 25 09:31 AM
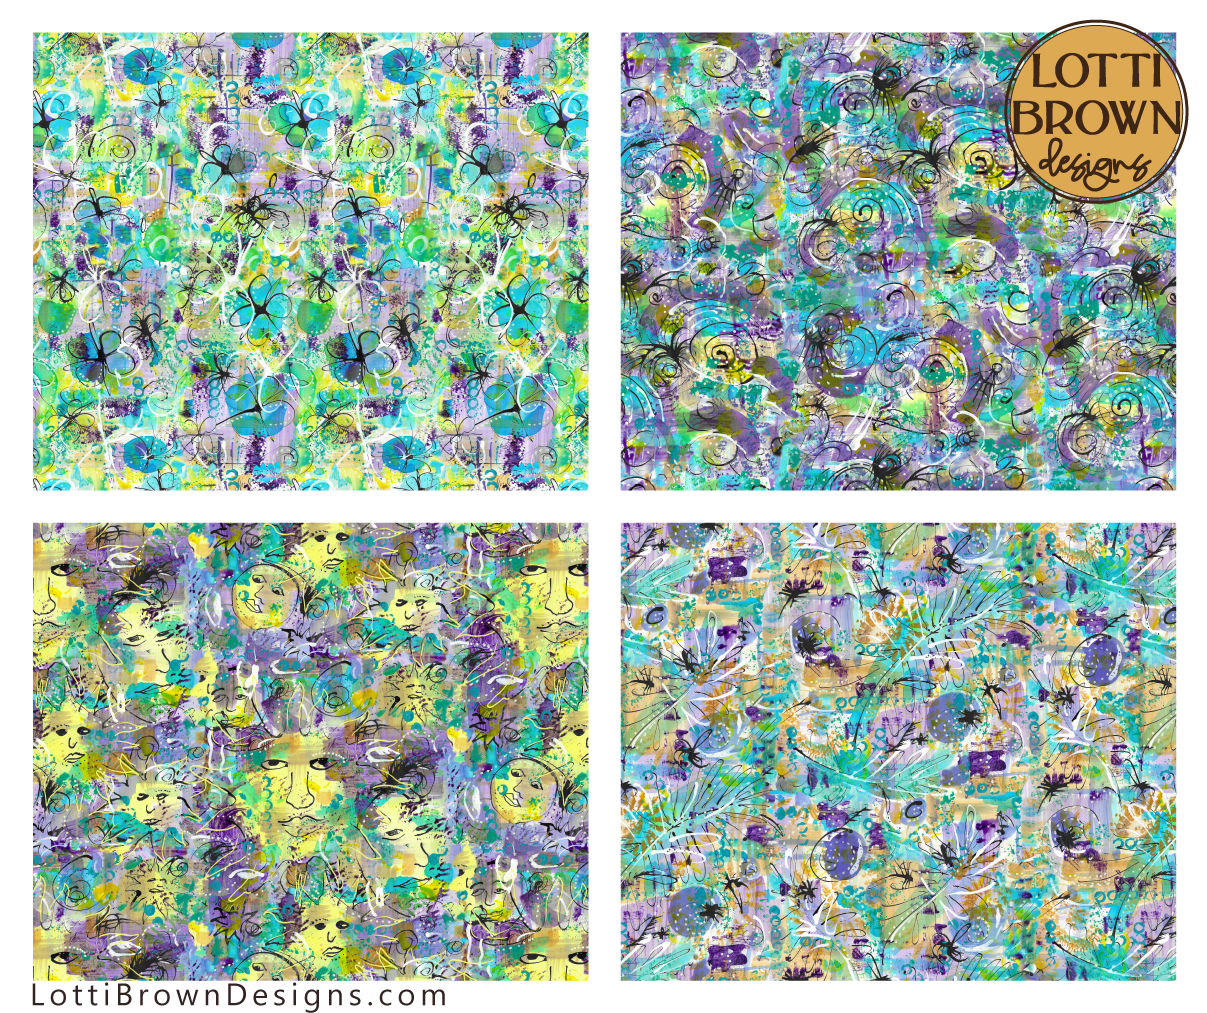 New painted patterns with sun and moons, floral, spiral and star designs...
Explore fabrics and wallpapers in these designs here (Spoonflower)...
Explore homewares and accessories in these designs her…
New painted patterns with sun and moons, floral, spiral and star designs...
Explore fabrics and wallpapers in these designs here (Spoonflower)...
Explore homewares and accessories in these designs her…
Follow me:
Share this page: