*** IMPORTANT - I'm retiring my digital files - SVG/PNG/DXF/EPS - and printables from 31st December 2025 ***
*** Please ensure that you have everything you need - files and/or instructions printed off from the website (find them currently in the ARCHIVES section) - by 31st December 2025 as they will not be available after this date ***

Never Ending Card Tutorial 3
Decorating the Card & Making the Envelope
- Home
- SVG files
- SVG Card Templates
- Never Ending Card Instructions 3
Tutorial for making a never ending card - part 3 - instructions for decorating the card and making the envelope...
This is part of the full instructions for cutting and making a fun never ending card that's 3D and interactive!
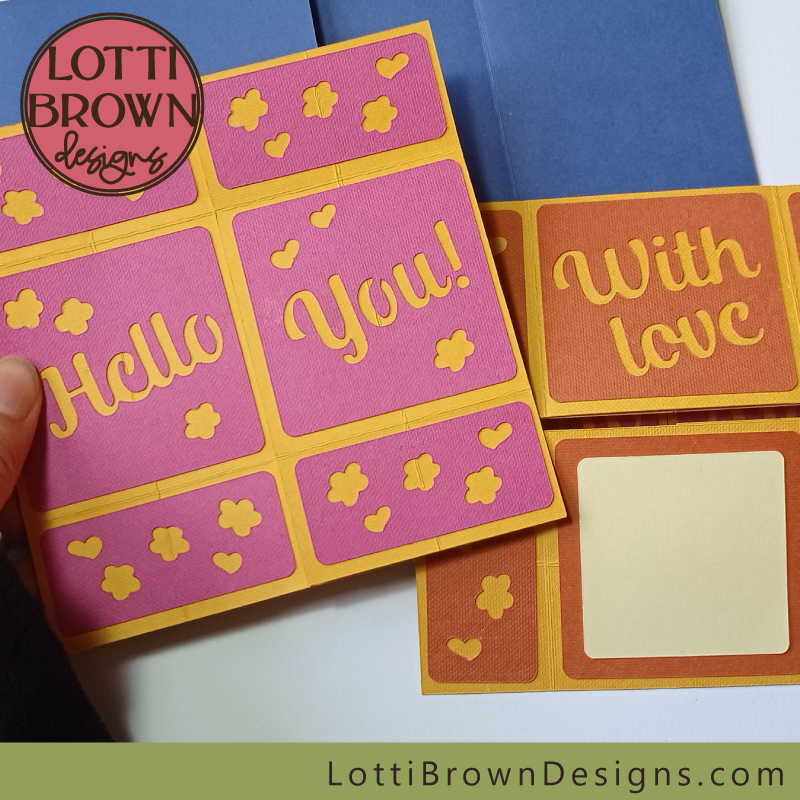 Never ending card - here we'll decorate the card and make the envelope
This tutorial is for you if you're part way through making my never ending card.
If you're on this page, you should have already:
- cut and scored the template using your Cricut (or another cutting machine, or cut by hand)
- made the base part of the card
If you're not quite there yet, or if you're still wondering what all this is about, start here first, then do come back to us when you're ready...
On this page is the tutorial for decorating the card with the designs from my template, and then making the envelope to send the card in.
You can use the print function on this page if you prefer to print the instructions - find the button on the top right of the page and towards the bottom of the page (positioned centrally).
Never Ending Card Making Instructions - Decorating the Card
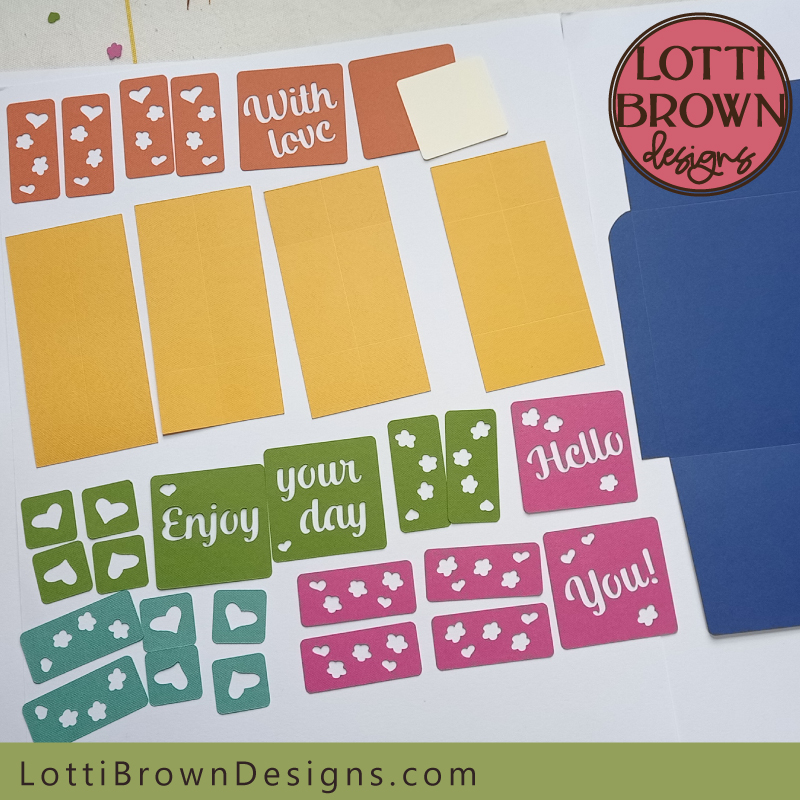 Let's decorate the never ending card
So now we come to decorating the card - we'll use the designs from my card template that you should already have cut and waiting...
We'll start directly from the end of the previous tutorial and make sure that your card is positioned like in the image below (side 1)...
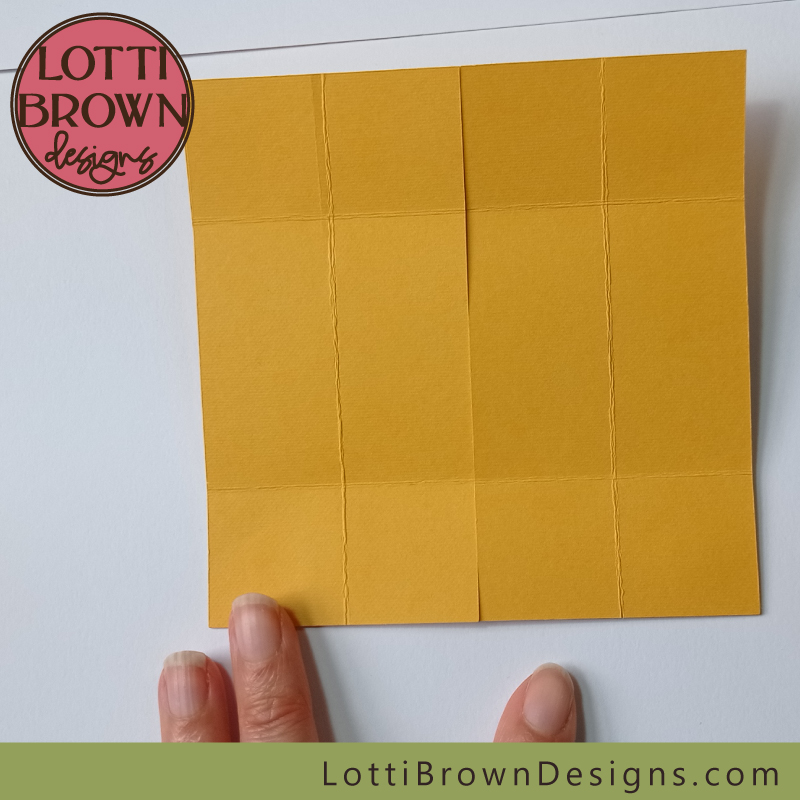 Start with your never ending card looking like this
- The pieces for side 1 are all the pink pieces (you might have chosen a different colour - if so, the set that goes with Hello You!).
- You can lay them out on the card as in the image below to make sure that you know where each piece is going.
- As I mentioned in the previous part of the tutorial, I'm using Cricut cardstock and the back and front of the card are similar. There are several similar shapes in this design, so please check that you've got the front side of your cardstock facing up.
- The two top rectangles should be mirror images of each other and so should be the bottom two - it doesn't really matter if you put hearts in the centre or flowers in the centre or on the edge but do try and be consistent so the design looks balanced.
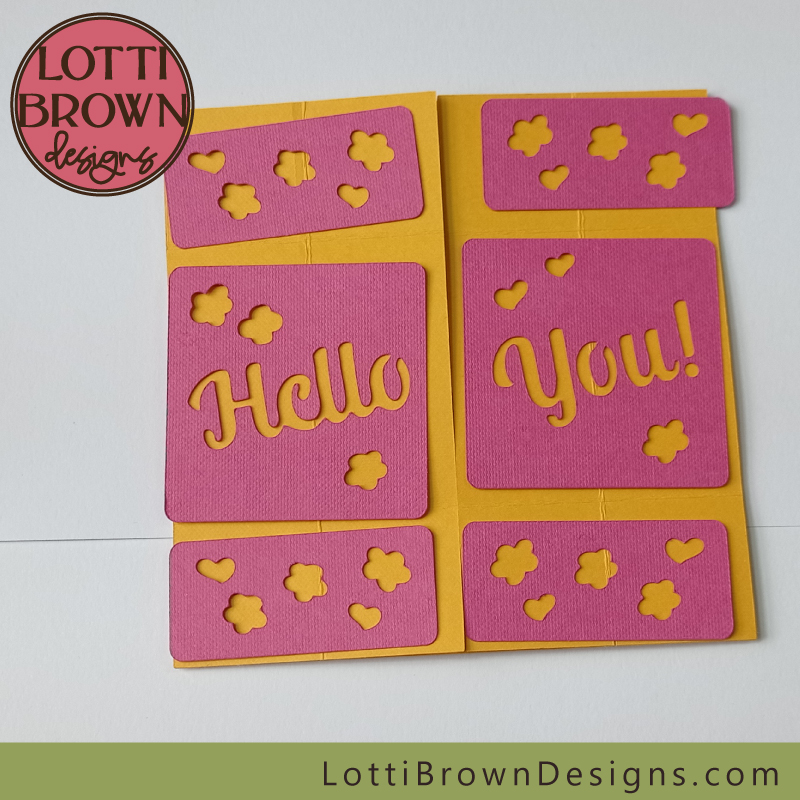 Hello You! Positioning the design elements for side 1 of the never ending card
- Add glue to the back of each element and stick down in place - try to get each fairly central between the creases, if you can. Wipe away any excess glue as you go!
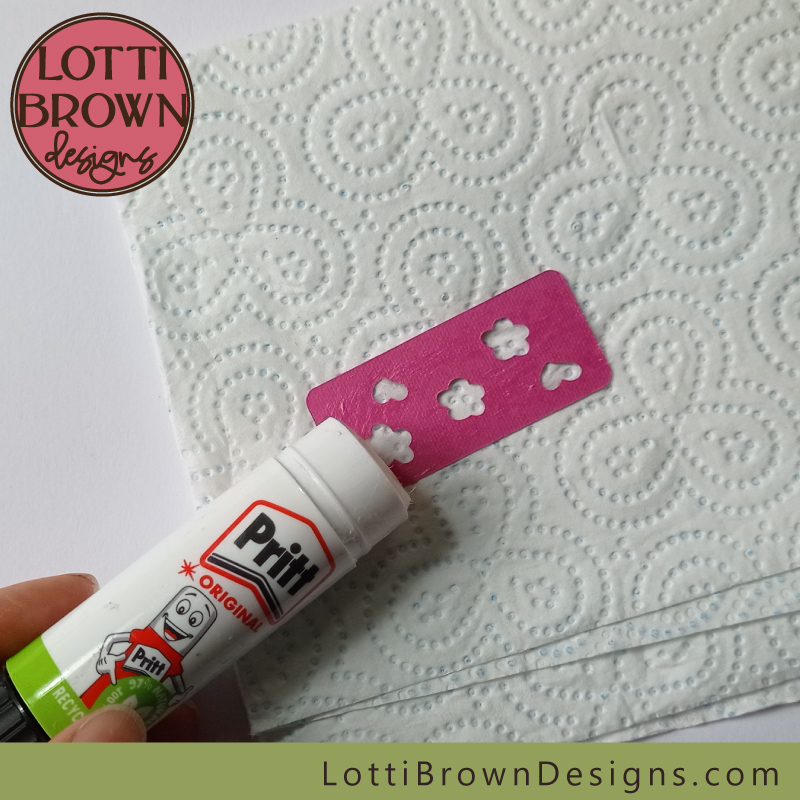 Glue each of the elements in place on the card
- And when you've finished sticking, side 1 should look like this (image below)...
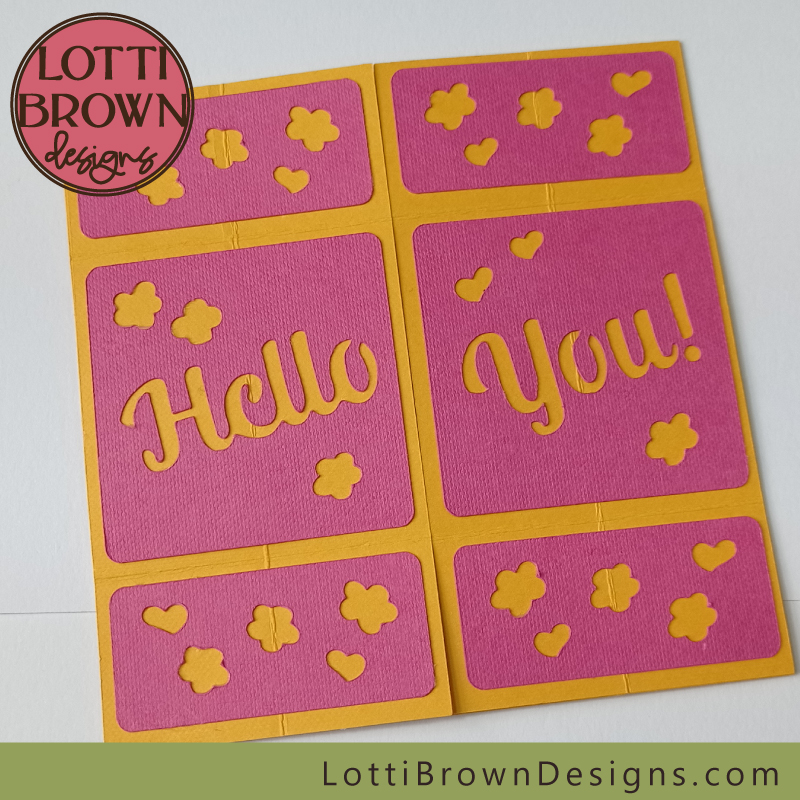 Hello You! Never ending card design side 1.
- If a lot of glue seeped out, it might be a wise idea to wait a minute or so for it to dry before going onto the next side - for most instances, you can go straight on and fold the central flaps out and back to get to side 2. This is how your side 2 should look.
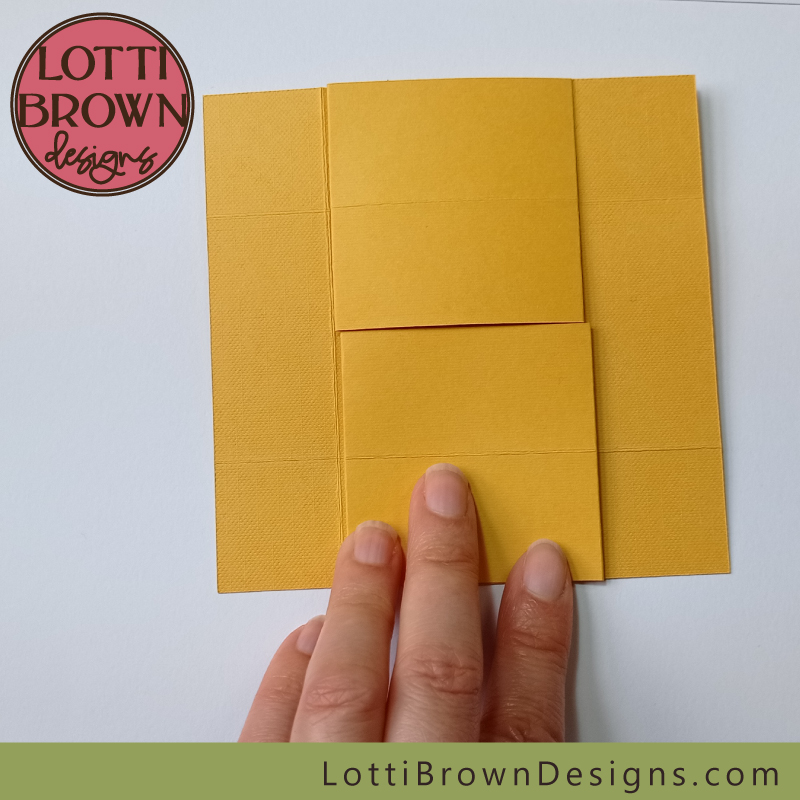 Side 2 ready to decorate
- We're using the green elements - or if you've chosen a different colour, the set of designs that go with 'Enjoy your day'.
- Lay them out, ready, as in the image below - once again, please make sure that you're working with the front of the card pieces facing forwards.
- The two central floral semi-circles should be positioned as mirror images of each other - either direction is okay but I prefer to position them like so (below) as then the same design that I use in the centre for side 3 will make a full circle (skip a bit ahead if you want to see what I mean).
- And the corner hearts are designed to point inwards as you can see in the image below - this keeps the design balanced and inward focused. If you'd like to play about with positioning and do something different, do so, but best to decide it at this stage before the glue comes out.
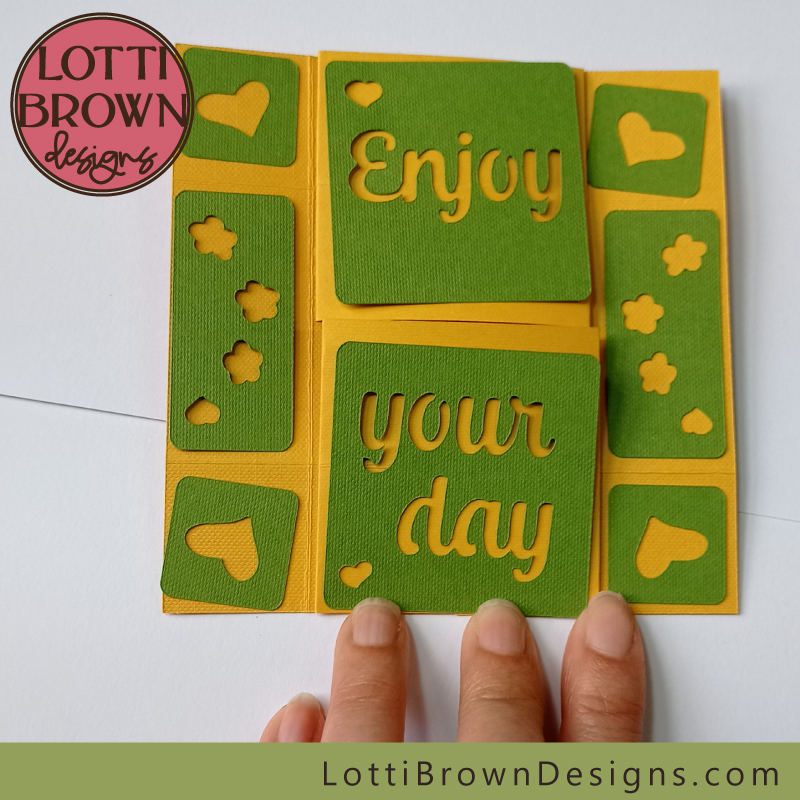 Get all the green elements in position ready to decorate side 2 of your card
- So now, just glue all the pieces down...
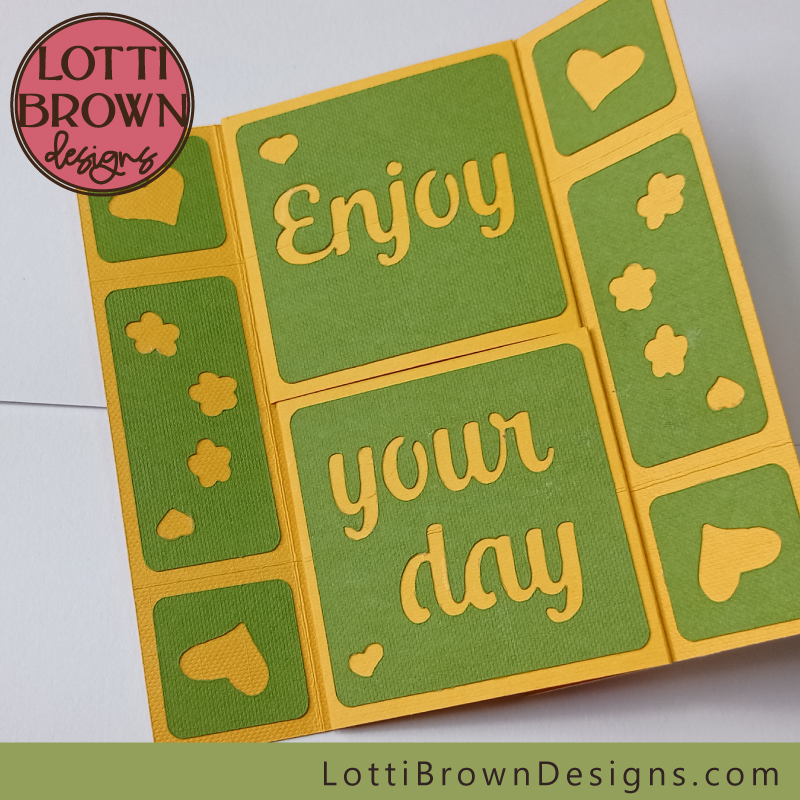 Enjoy your day! Side 2 complete of the never ending card
- Next, we'll move onto side 3. Lift the top flap up and the bottom flap down - and your card should be looking like the image below...
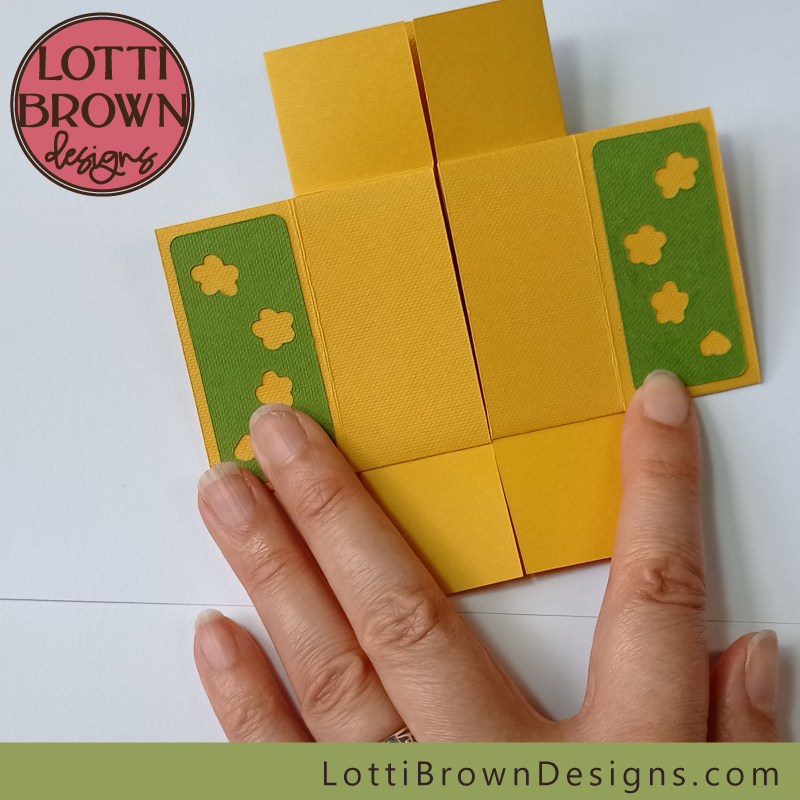 Side 3 of the card, ready to decorate
- As you can see, side 3 already has some decoration in place, from side 2 (see image above). I hope you were paying attention when I discussed colours at the start - your colours for side 3 will need to look good with these colours from side 2. I've chosen teal to go with the green. If you've chosen different colours, do a quick colour-check to make sure they still go nicely before you glue everything down. Your card should be looking a bit like this (image below)...
- Once again, the floral semi-circles are mirror images of each other - and I've chosen these to be positioned to make a full circle in the centre of the card.
- The hearts, top and bottom, point inwards again, like for the previous side.
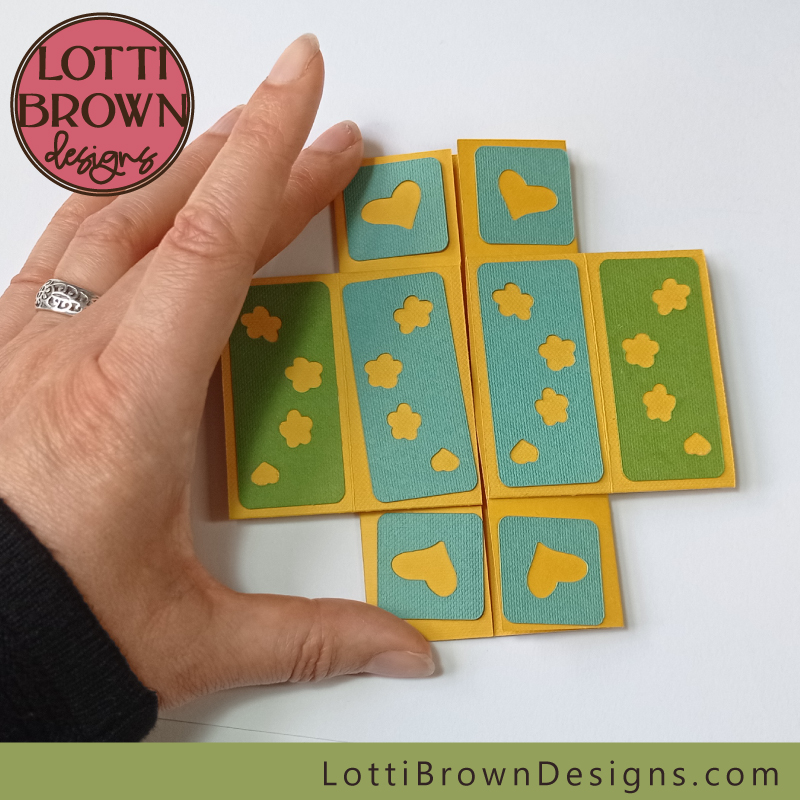 Positioning all the elements for side 3 of the card
- When all your bits are glued down, it should look like this (image below)...
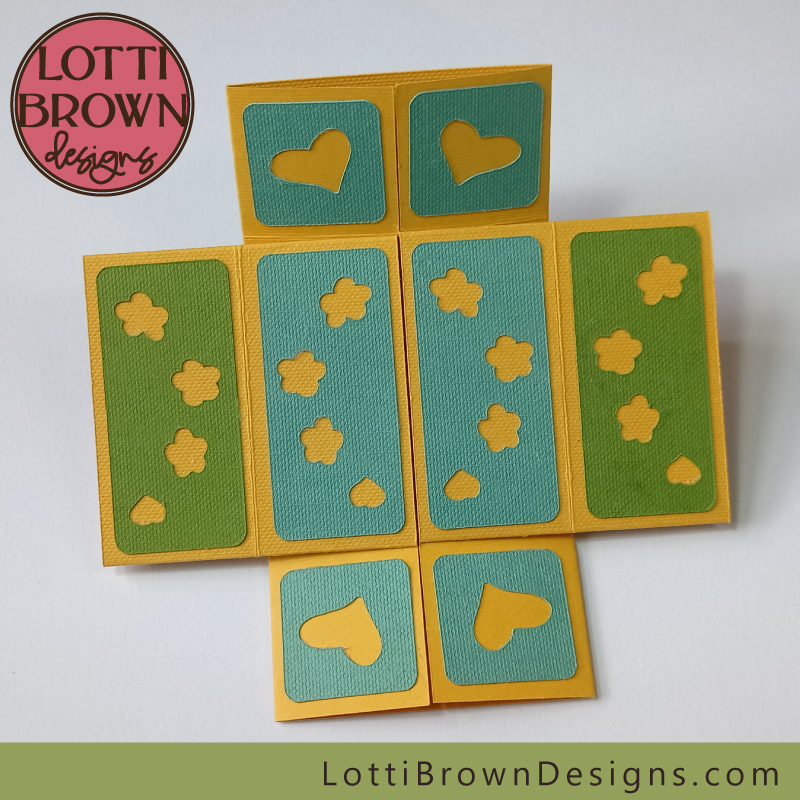 Side 3 of the card
- To get to the fourth and final side of the card, just pull the central flaps outwards - and your card should look something like the image below...
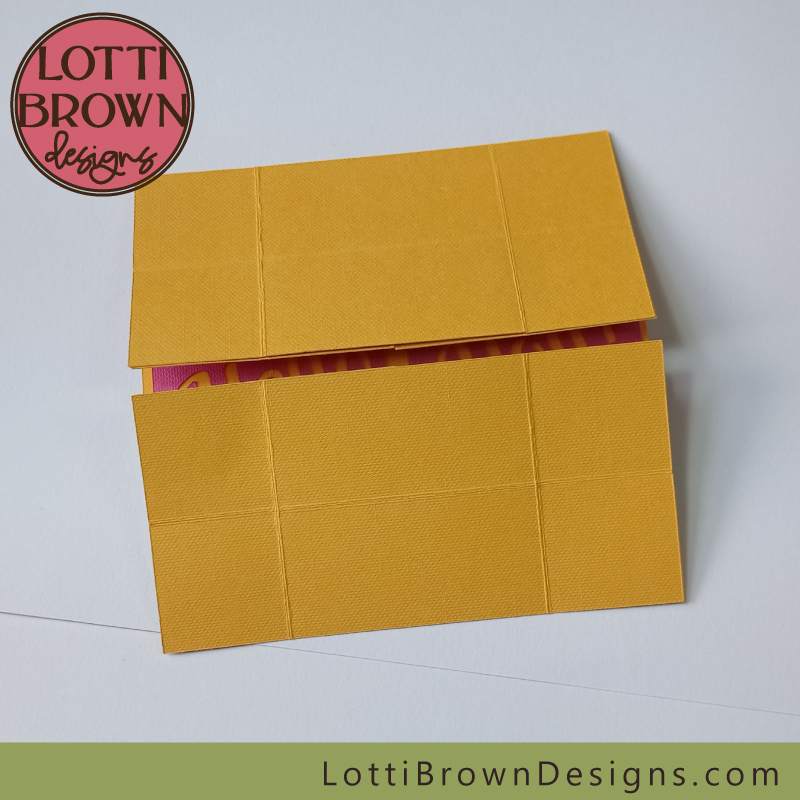 Side 4 of the card, ready to decorate
- For this final side, we're going to use the rust/orange design elements, or if you've chosen a different colour, the ones belonging to the 'With love' grouping.
- There is also a plain cream/white square that goes with these - this will make the message square where you can write a personal message to the recipient.
- Position all the elements out onto the card as in the image below - note that the hearts and flowers in the side pieces are once again mirror images of each other - position them whichever way around you like, but try and get them balanced to keep your design looking balanced.
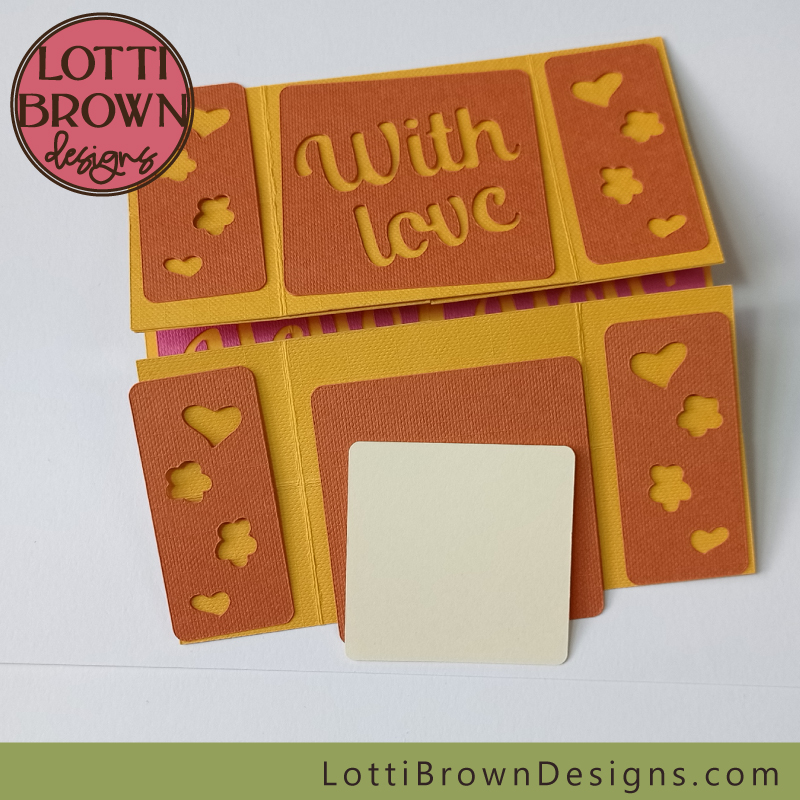 Design elements for the final side
- I prefer to glue the white/cream square onto the orange square first, before sticking down, but you might prefer to glue all the orange elements down first and then stick the white/cream square on top - either is good.
- Do make sure that you've chosen a card that's smooth and easy to write on for this square, (as I mentioned at the start), because this is where someone's going to be writing with a pen. Now's your last chance to change the card type for this little square, if necessary.
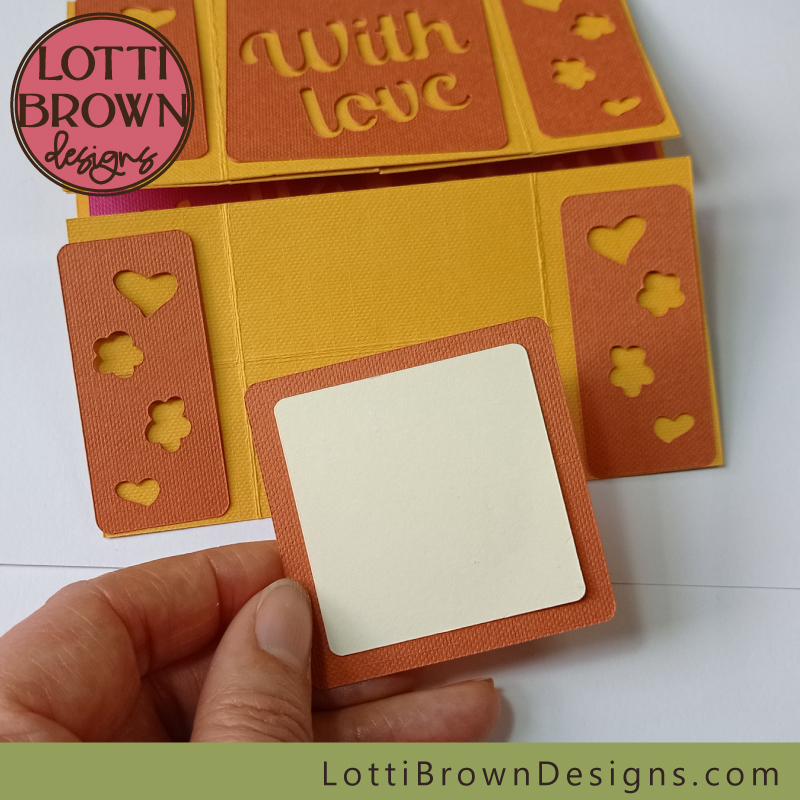 Glue down the message square
- Glue all the bits down and your final side should look like this (below)!
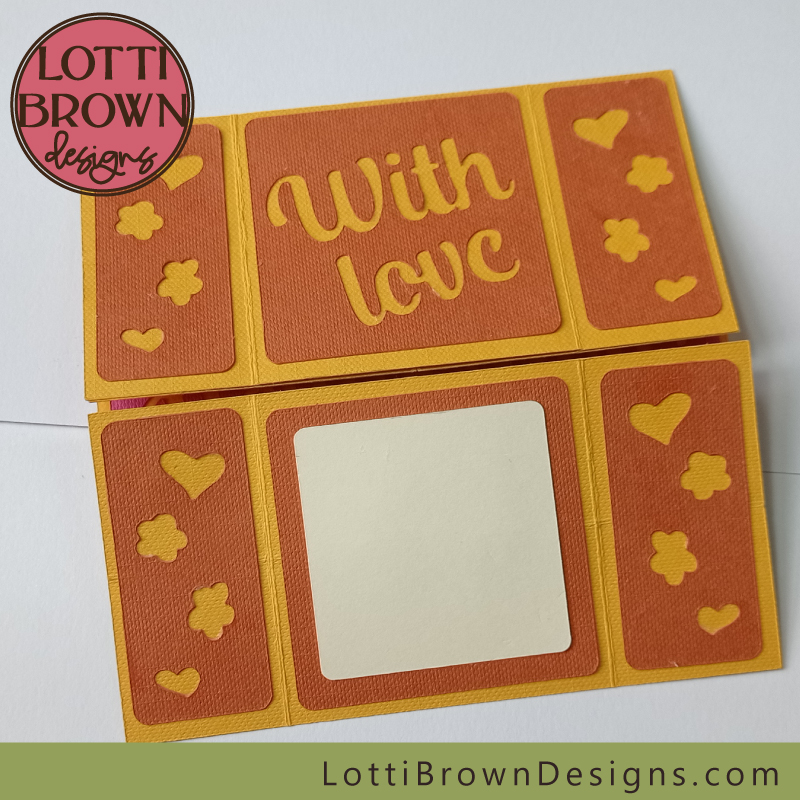 Side 4 of the never ending card
- And that's it! Your never ending card is now complete! Just open the flaps to find yourself back at the beginning again!
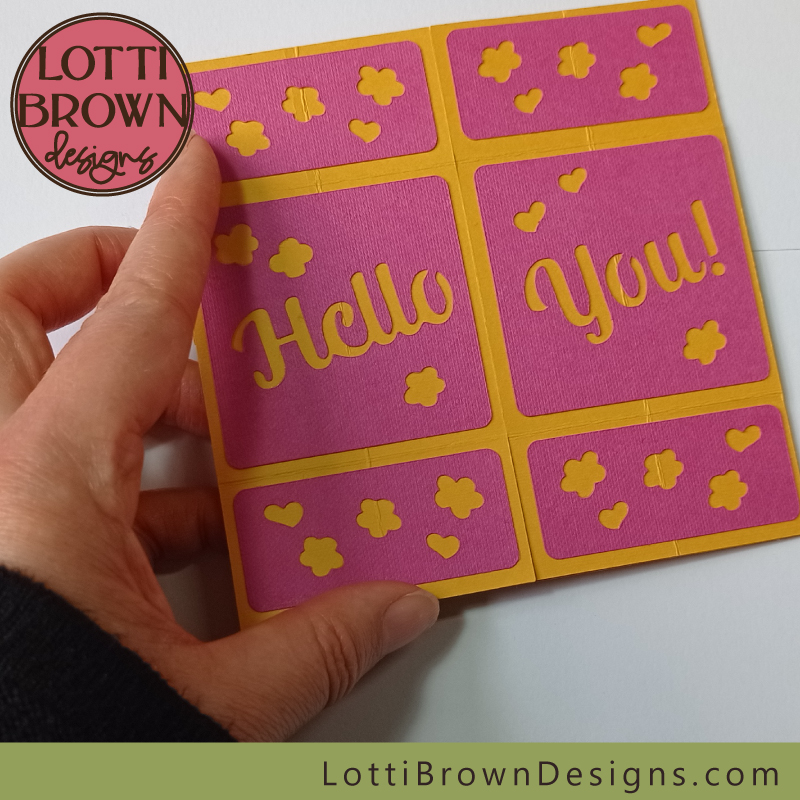 Back at the beginning of the card
- So now, let's take it for a test drive - run through your card a few times, folding and unfolding it through the sequence to see it all works well...
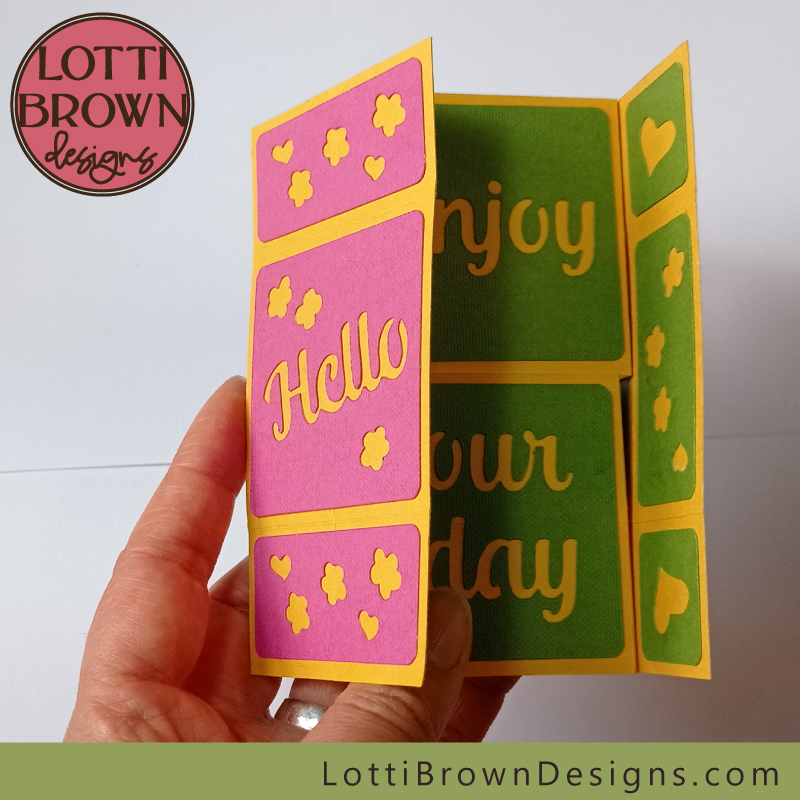 Side 1 to side 2
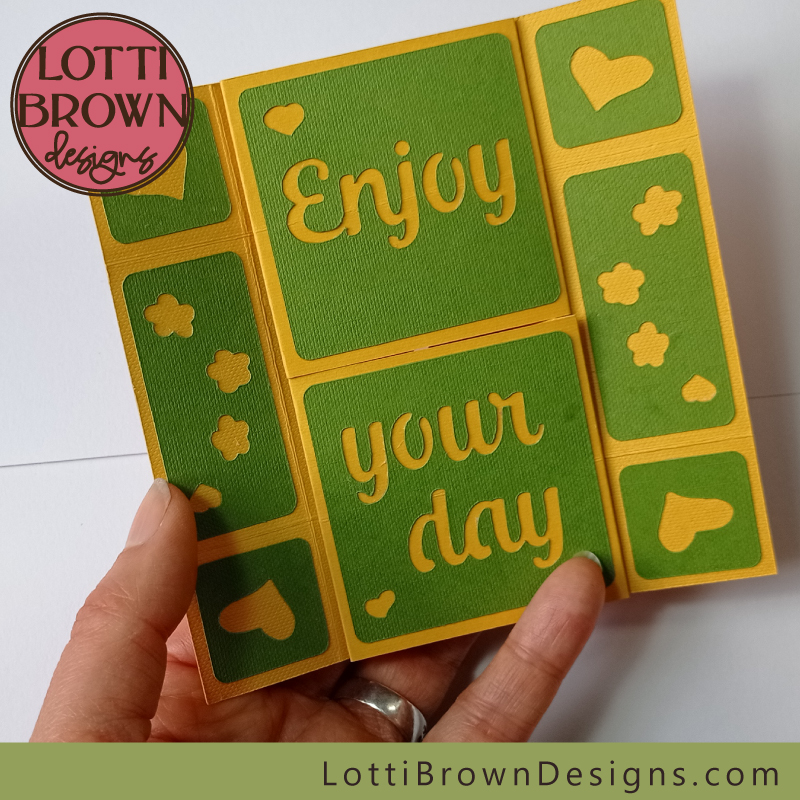 Side 2
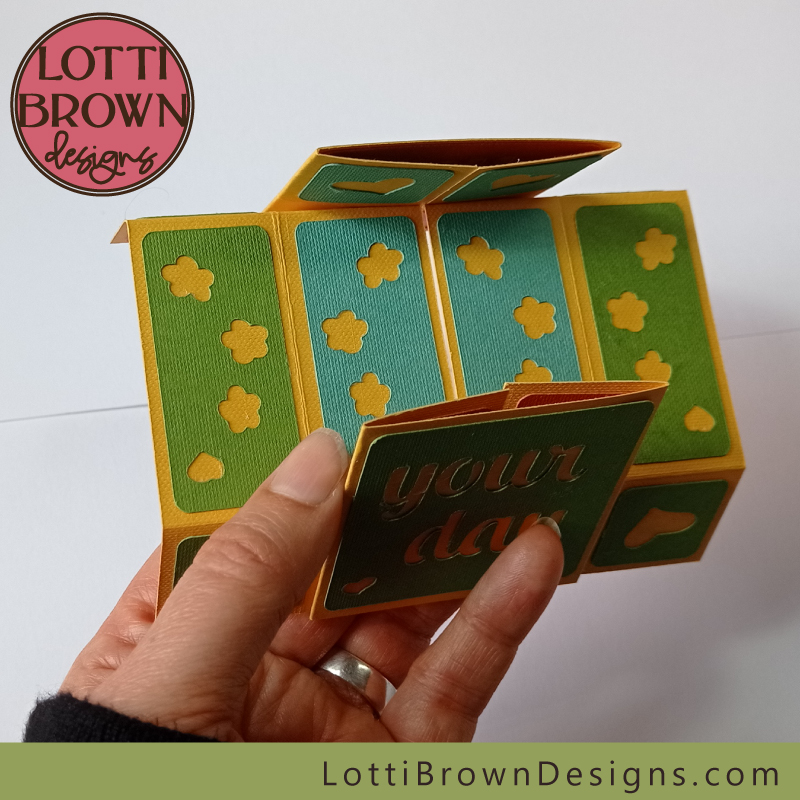 Unfolding, side 2 to side 3
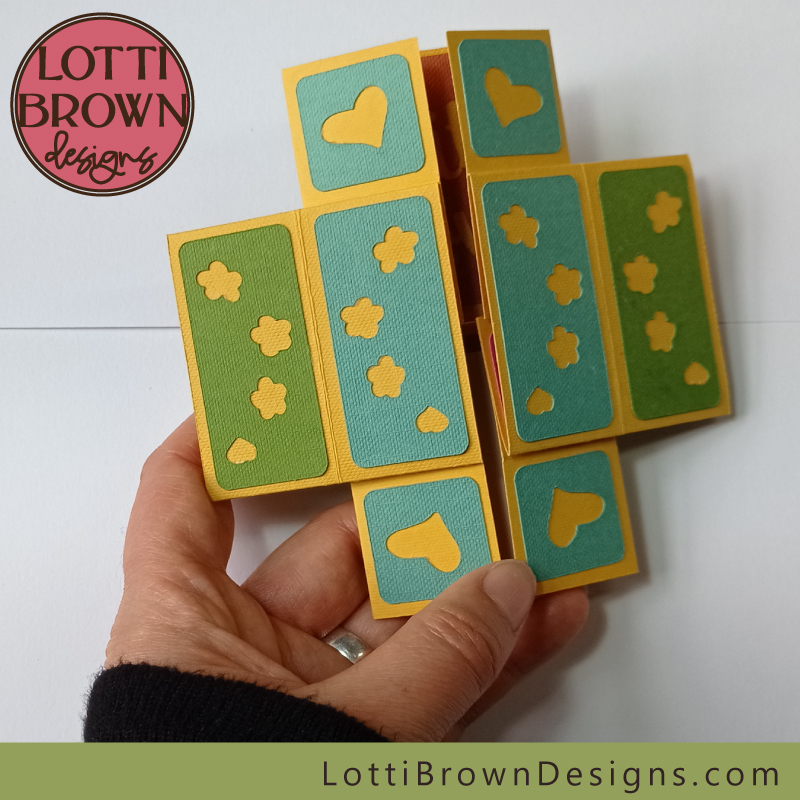 Side 3 of the card
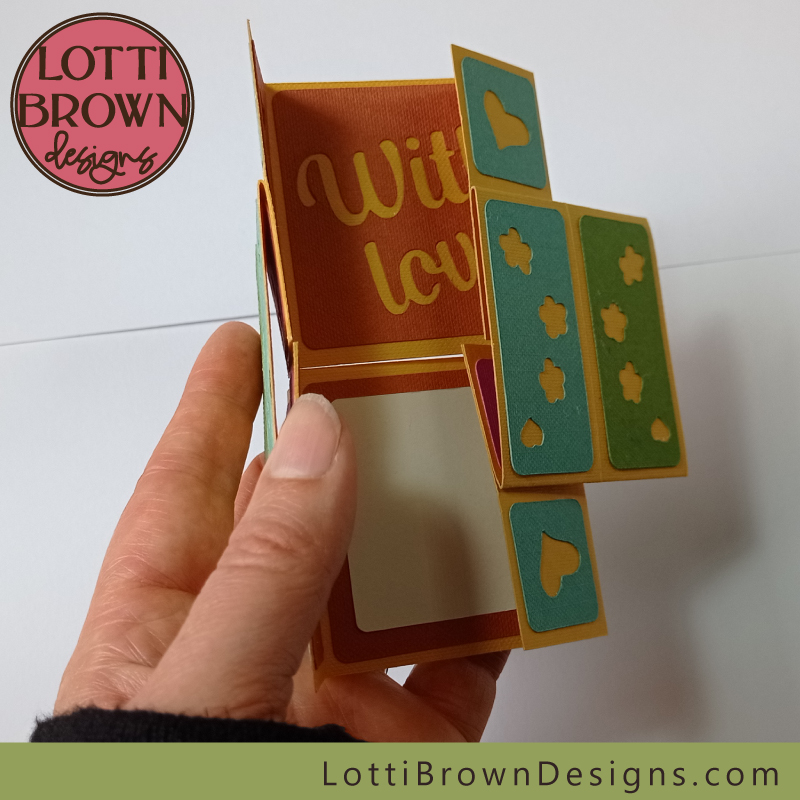 Unfolding side 3 to side 4
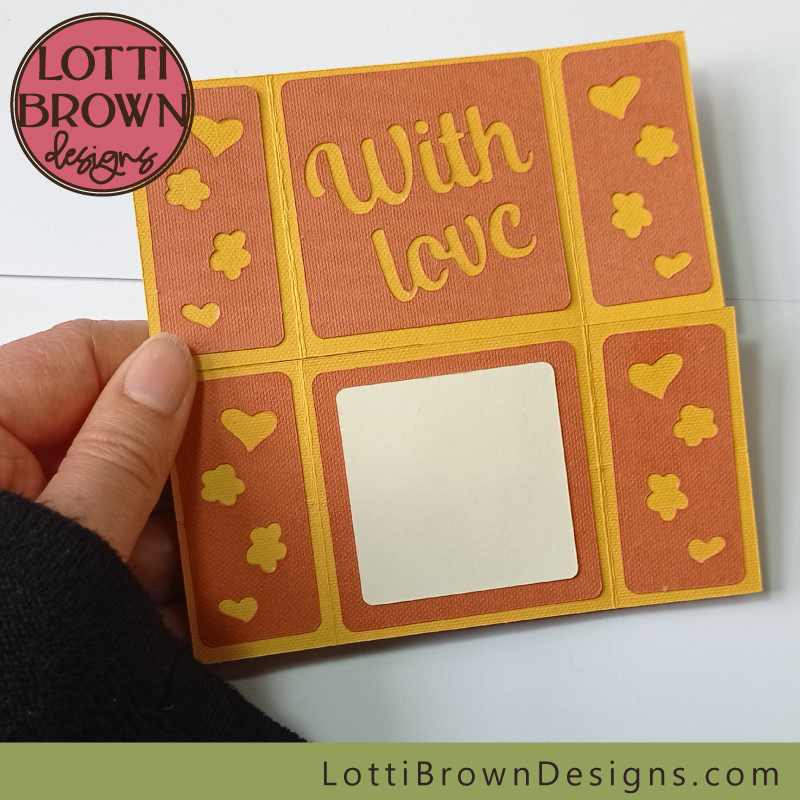 With love, side 4 of the card
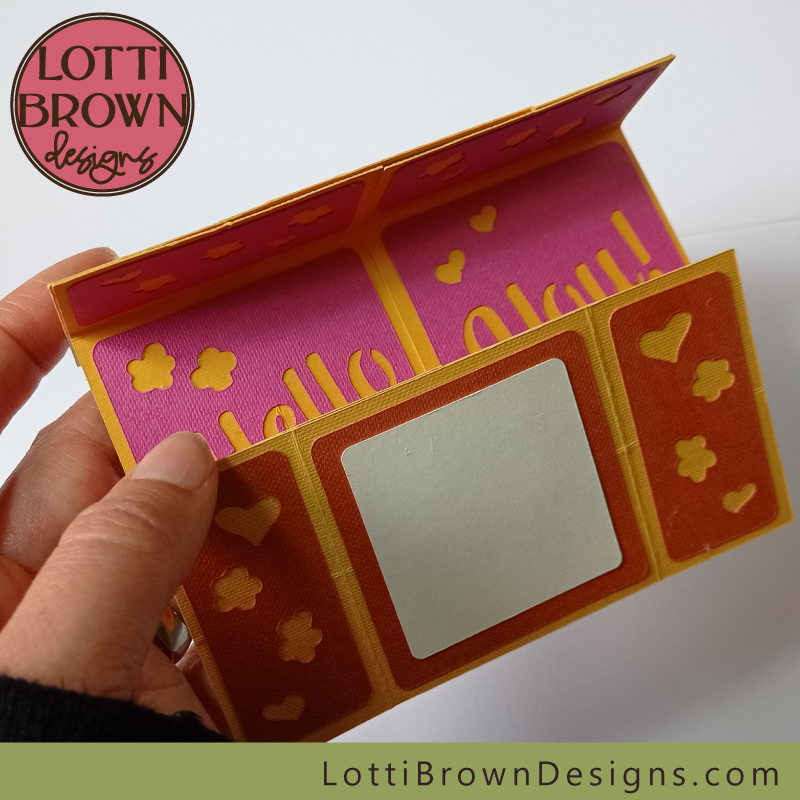 Unfolding back to the beginning
Well done - that was quite a make wasn't it?
Shall we get on with making the envelope for the card next?
Envelope Making Instructions
The envelope for this card is just the same as the one for most of the templates I design - I wanted to make sure that the envelope for this card could be cut from one sheet of A4 or Letter-sized paper, so I designed the never ending card to fit the envelope I'd already designed.
So if you already know how to make that one, just go ahead and make it - otherwise, I'll show you everything you need here.
Hopefully, your envelope is already cut and scored - we did that at this stage, here. If you need to go back and set things up, you can loop back to that page - or check out the basic template instructions for the envelope here(scoring) and here (making).
Again, this one is better in a lightweight, smooth card, that will be suitable for writing on - if you use a dark colour like this lovely blue I have here (Clairefontaine cardstock) please make sure you have a white or silver pen that will show up on the dark colour.
So when you have your envelope cut (and scored) and ready, we can get started...
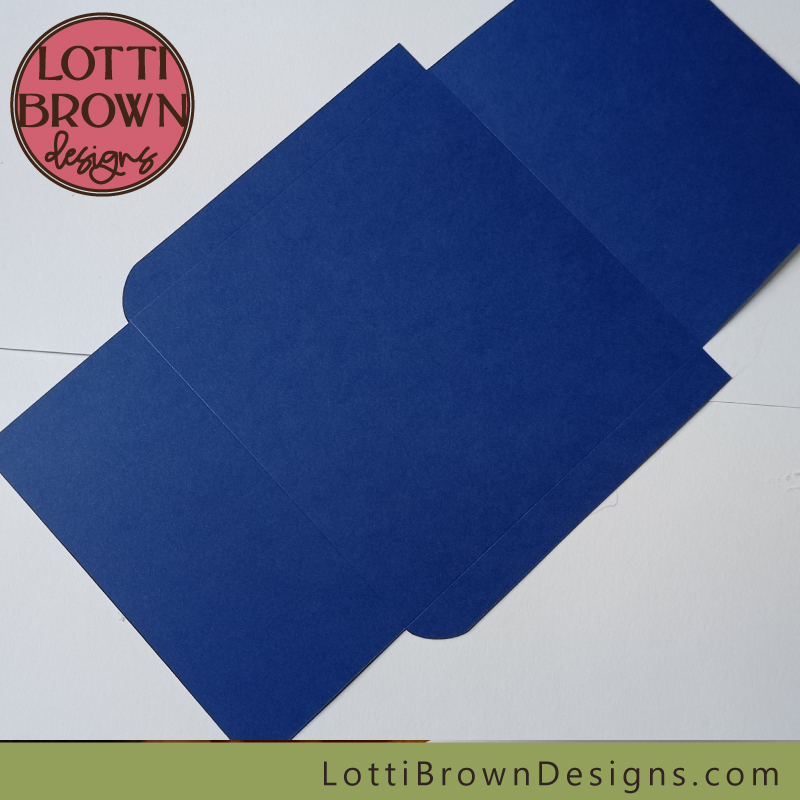 The envelope shape, ready to assemble
- First we need to use the metal ruler to fold the card along each of the score lines. For each score line, fold up first, running your fingers along the crease to firm it up. Then fold back on itself, then back again. The original score line should end up always on the outside edge of each fold.
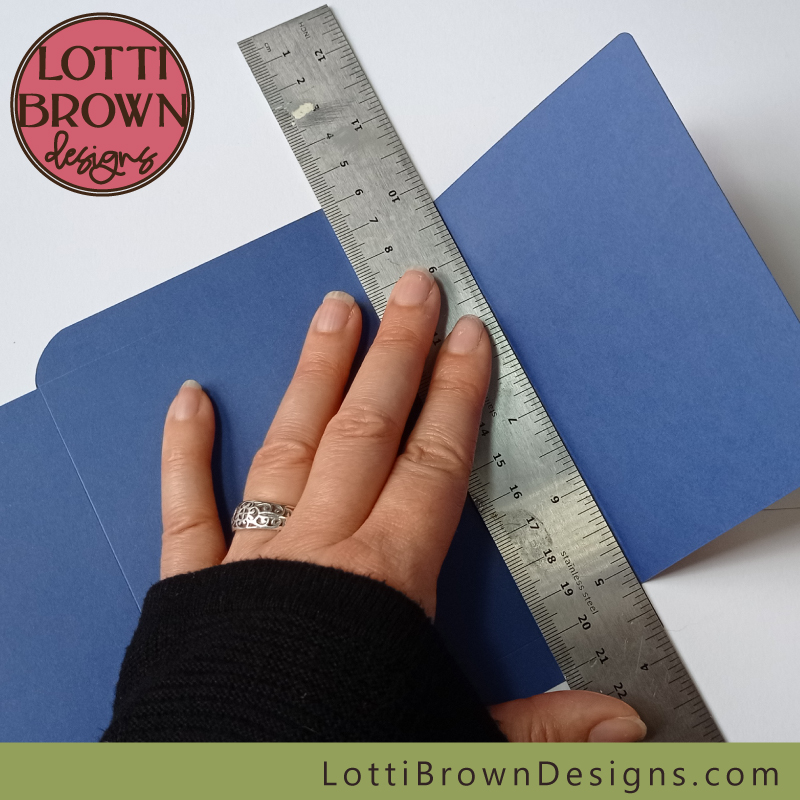 Use a metal ruler to make the folds
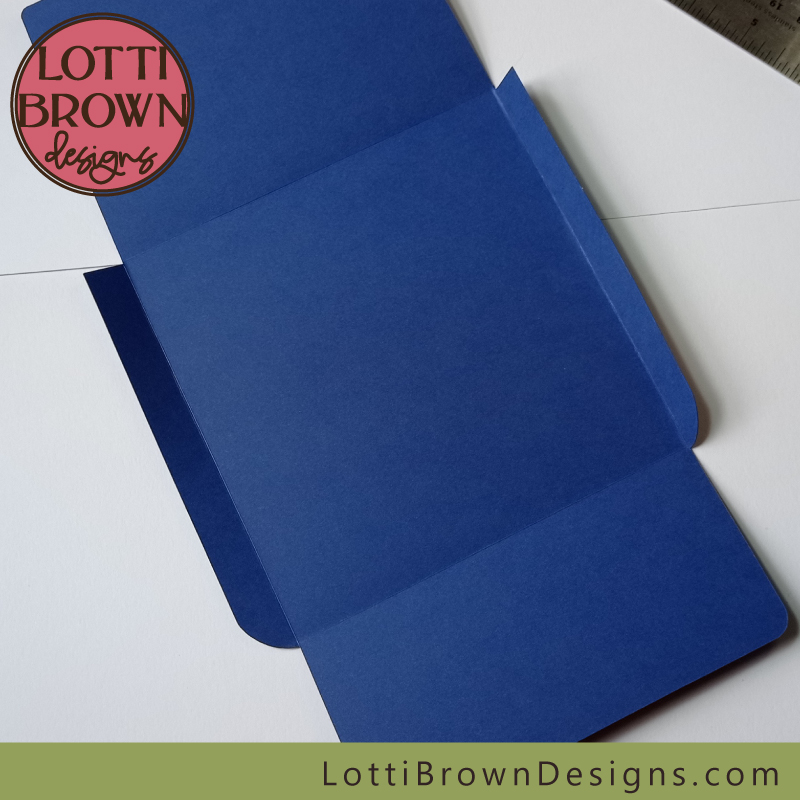 All four score lines have been folded
- All you need to do now is run your glue stick along the two side edges of the long flap (see image below).
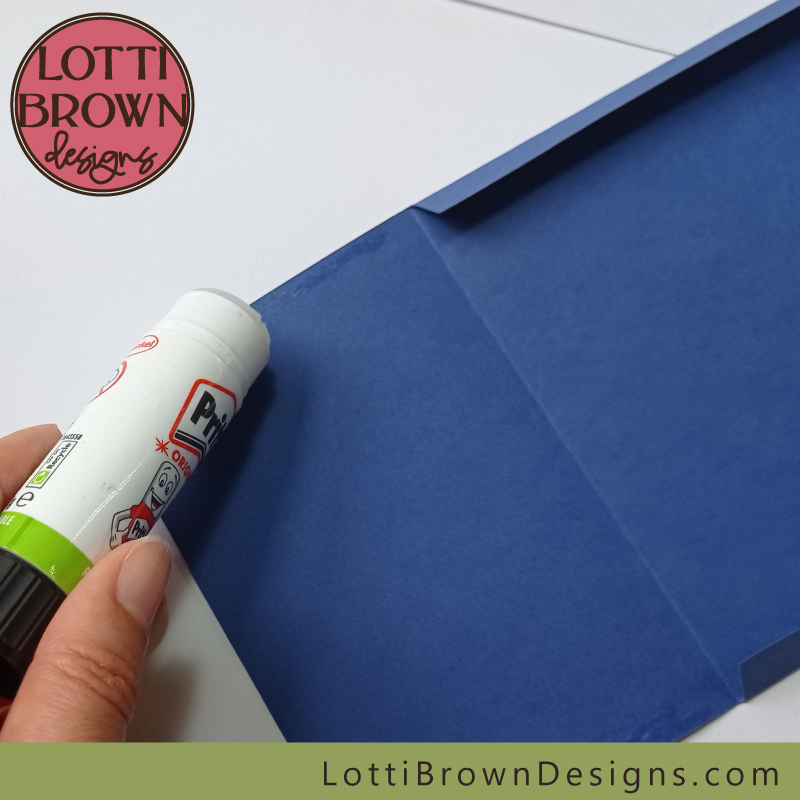 Glueing the envelope
- And stick down the large flap to the two skinny side flaps (see image below). Press down hard for a minute on each side to make sure they stick well.
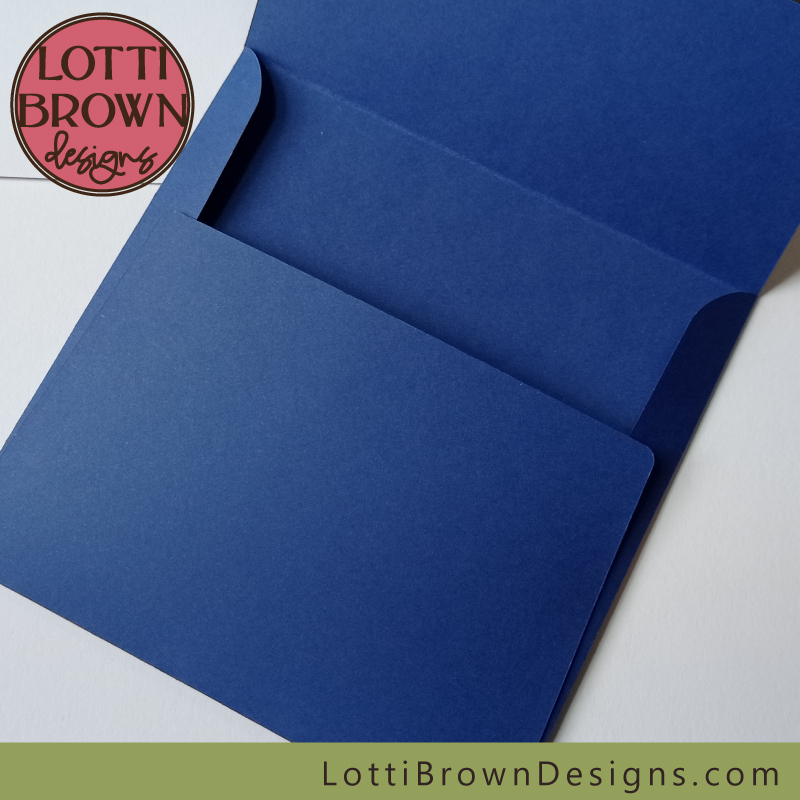 The envelope is complete
- You can add a little double-sided sticky tape ready to seal the flap when it's ready to send - or just glue it when you add the card before you post or give it.
- Your never ending card is now truly complete - complete with envelope so that you can be confident it will safely reach its recipient without coming to harm.
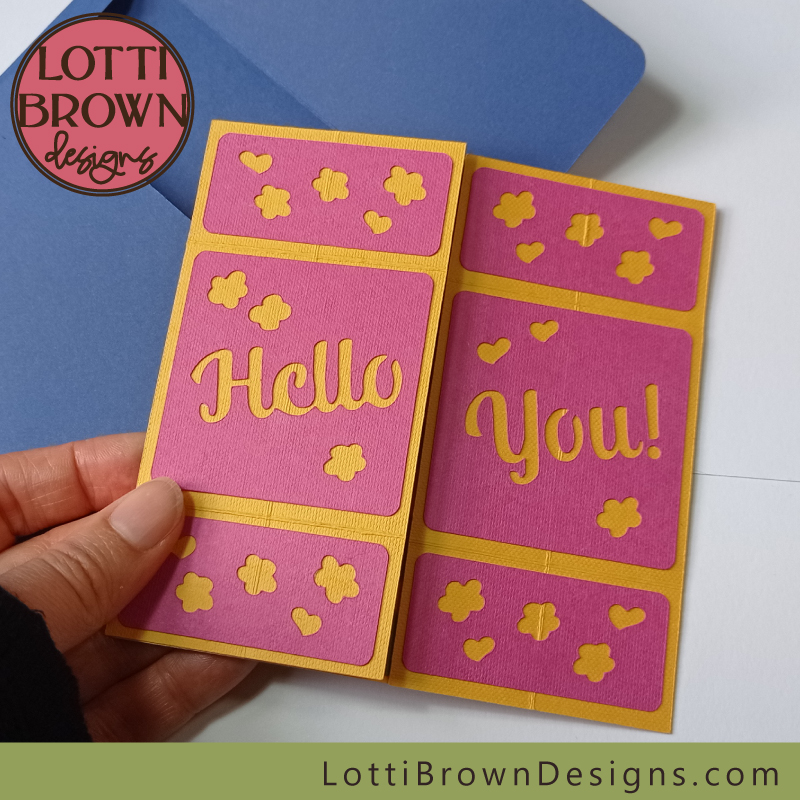 Never ending card complete with envelope
I really hope that you've enjoyed this make as much as I have. I think this is a fantastic little card that you can use for lots of different occasions and that will give the recipient a lot of pleasure!
If you need to revisit any parts of the tutorial series for the never ending card, you can find them all here.
If you'd like to see more of my card templates, you can do that here...
If you fancy seeing some more of my project ideas, do check out this page!
You Might Also Like:
Lotti Brown's Designs & Templates
How-tos...
- How to use SVG cut files for Cricut (also other cut file formats & machines)
Shall we stay in touch..?
Each month, I share stories from my own nature journal, new art from my studio, and simple seasonal inspiration to help you feel more connected with the turning year...
Recent Articles
-
British Nature Folklore Library: Stories, Seasons & Celtic Tree Wisdom
Dec 01, 25 05:09 AM
Explore British nature folklore, Celtic tree meanings, and seasonal wildlife stories. A growing library of myth, meaning, and hand-drawn inspiration. -
Beautiful Art Inspired by Nature
Dec 01, 25 05:04 AM
Beautiful folksy art inspired by nature from the fields and hedgerows of Yorkshire - colourful birds and wildlife with a nostalgic floral touch... -
Birds and Folklore in Britain: A November Nature Journal
Nov 26, 25 04:32 AM
November birds and berries - fieldfares, redwings, lapwings and snow geese with folklore, meaning and nature journal inspiration.
Follow me:
Share this page:


