*** IMPORTANT - I'm retiring my digital files - SVG/PNG/DXF/EPS - and printables from 31st December 2025 ***
*** Please ensure that you have everything you need - files and/or instructions printed off from the website (find them currently in the ARCHIVES section) - by 31st December 2025 as they will not be available after this date ***

Never Ending Card SVG Template
- Home
- SVG files
- SVG Card Templates
- Never Ending Card - Main Page
Fun never ending card SVG template for you to make with your Cricut and send to someone special - this is a very cool 3D interactive folding card project to make with your cutting machine...
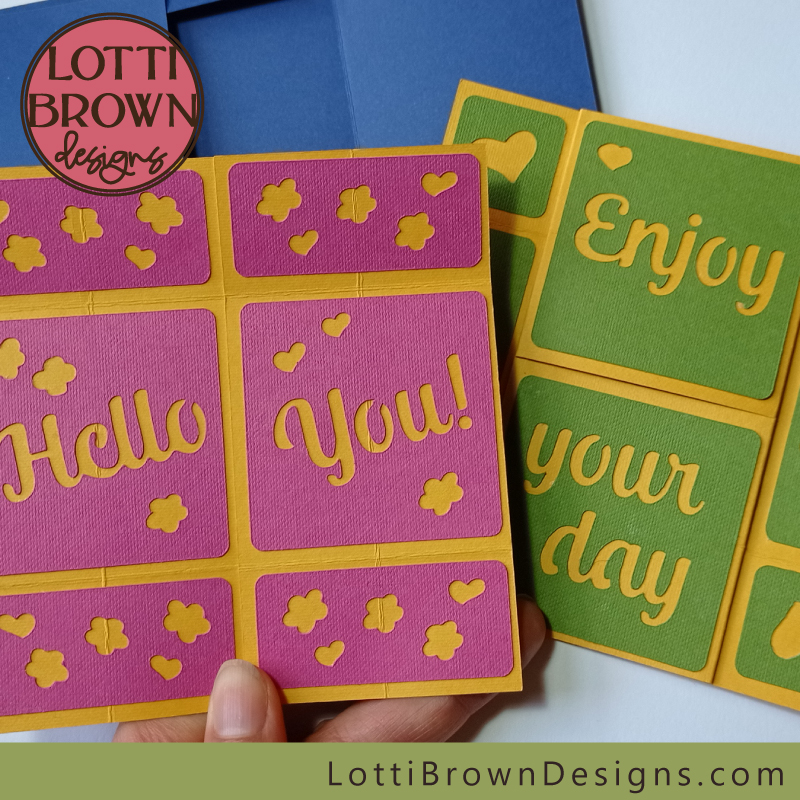 Make this cool, interactive folding 'Never Ending Card' with your Cricut cutting machine
If you want to make a really fun card, that unfolds like a puzzle, do try this never ending card that I've been so enjoying playing with!
It looks really complicated to make, but honestly, it's not that bad once you break it down into little steps - and I'll be showing you all the steps you need to make the card, from loading into your Cricut, setting it up in Design Space and cutting it, to folding it, sticking it together, and even how to open and fold it to make it work!
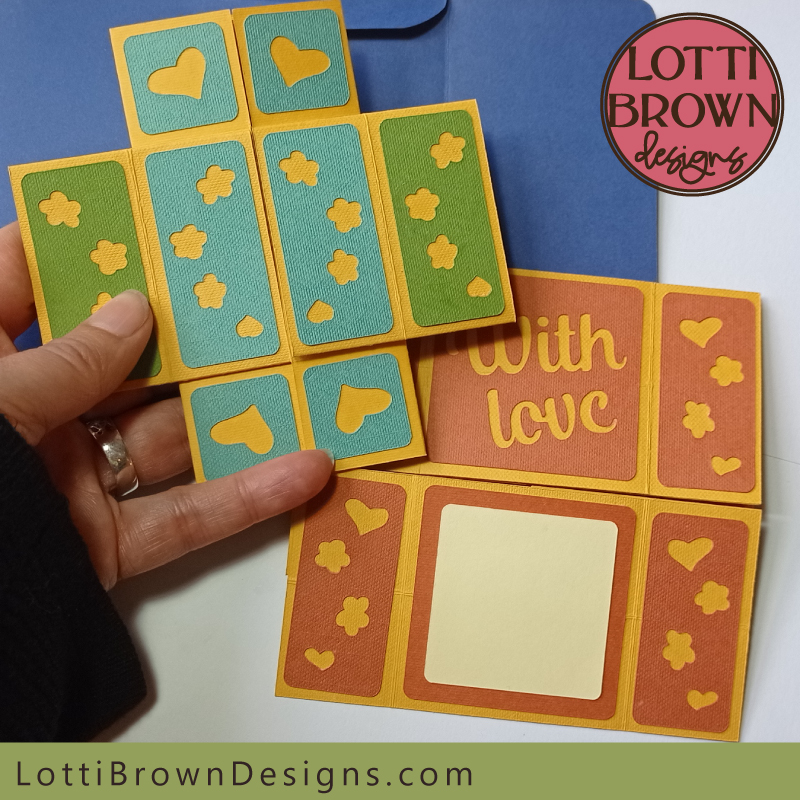 There are four different sides to the never ending card - four different 'puzzles' to solve!
Never Ending Card SVG Template
- You can download the template for the never ending card from my store here - with instant download worldwide.
- The template for the never ending card comes in SVG, PNG, EPS & PNG formats - suitable for most cutting machines. You can also use the PNG for cutting by hand, if you prefer.
- You can use the template for personal crafting or for small-business commercial use (up to 200 products).
- You can use the template for physical (craft) products only - no digital products or sharing, please.
- You can see the full T&Cs for the template here
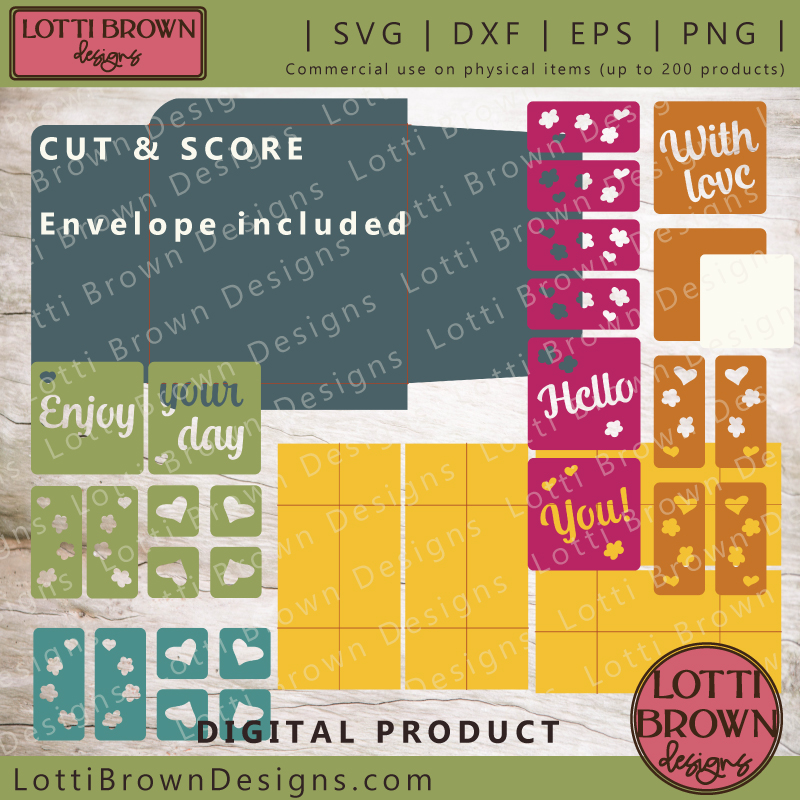 Never ending card template
The instructions for making the card that I'll share are for the Cricut, but if you're using another cutting machine, they may also help you.
The instructions will also include the assembly of the card once it's cut, so you can use this tutorial whichever type of cutting machine you choose to use.
The instructions are in 3 different parts, as they are rather long, as I took pictures of absolutely every stage to make sure you had all the information you needed to make the never ending card. I'll guide you through every step of the way!
We'll be working through:
- Tutorial 1 - Never ending card instructions for setting up the files on Cricut Design Space (this is a 'cut & score' project - so you'll need a way of scoring, but it need not be on your machine - I'll show you exactly what to do in Cricut Design Space, but this may also be helpful if you use another type of machine)
- Never ending card tutorial 2 - basic card instructions
- Never ending card tutorial 3 - decorating the card and making the envelope
I also discuss choosing materials and show you how the card will work on this page, just below, so please keep reading to find that out!
The template makes a card approximately 12 x 12 cm size (approximately 4.75 x 4.75 inches) with an envelope that's a little big larger.
You can make everything from A4 or Letter-sized cardstock (multiple sheets).
What's a Never Ending Card?
Before we get started, you might be a teensie bit curious about what a never ending card actually is - I know I was!
The never ending card is an interactive, folding card, that works like a puzzle - pretty much a never ending puzzle...
It's a fun and surprising journey for your recipient as they discover more and more aspects to the card - keep folding and unfolding, and the card is never ending!
You start at the start, as we always should...
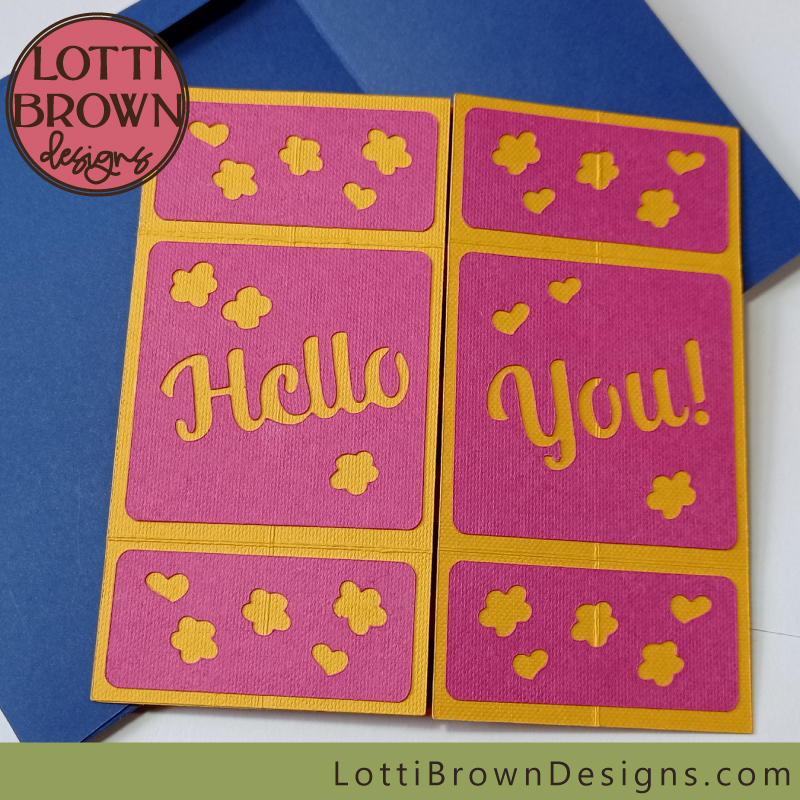 Hello You! Welcome to the start of your puzzle card...
Simply open up the never ending card to see the second 'layer' of the puzzle...
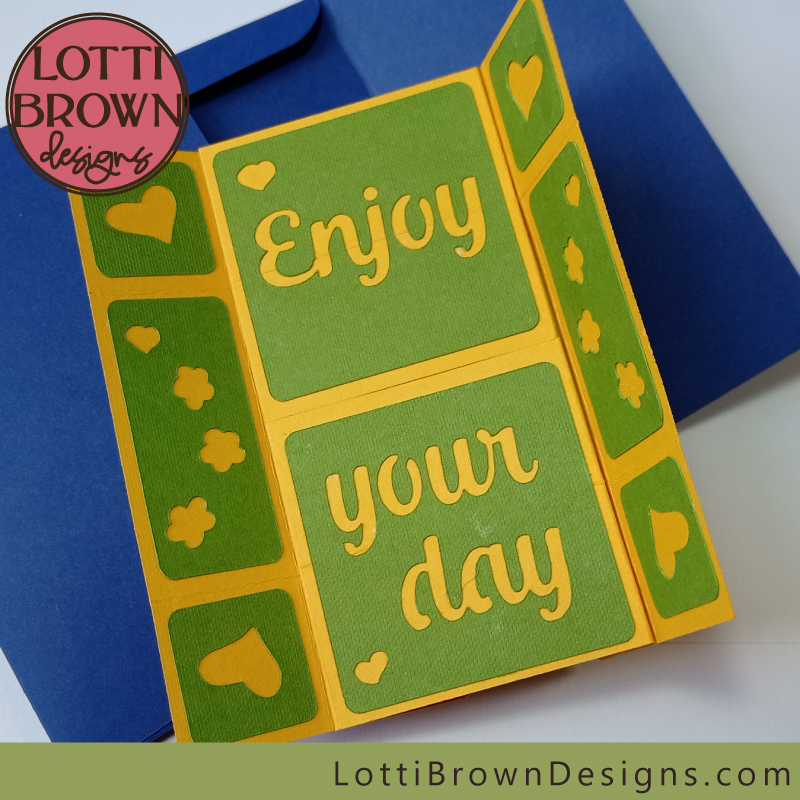 Unfolding the card - Enjoy your day!
But as you open the card, you realise it unfolds even further...
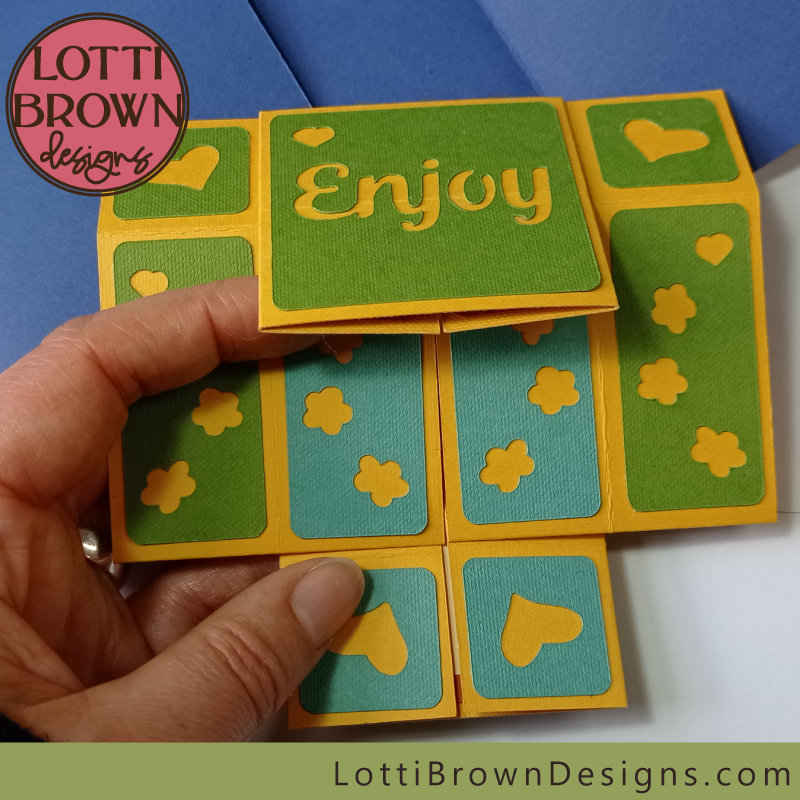 Keep unfolding to uncover the surprises!
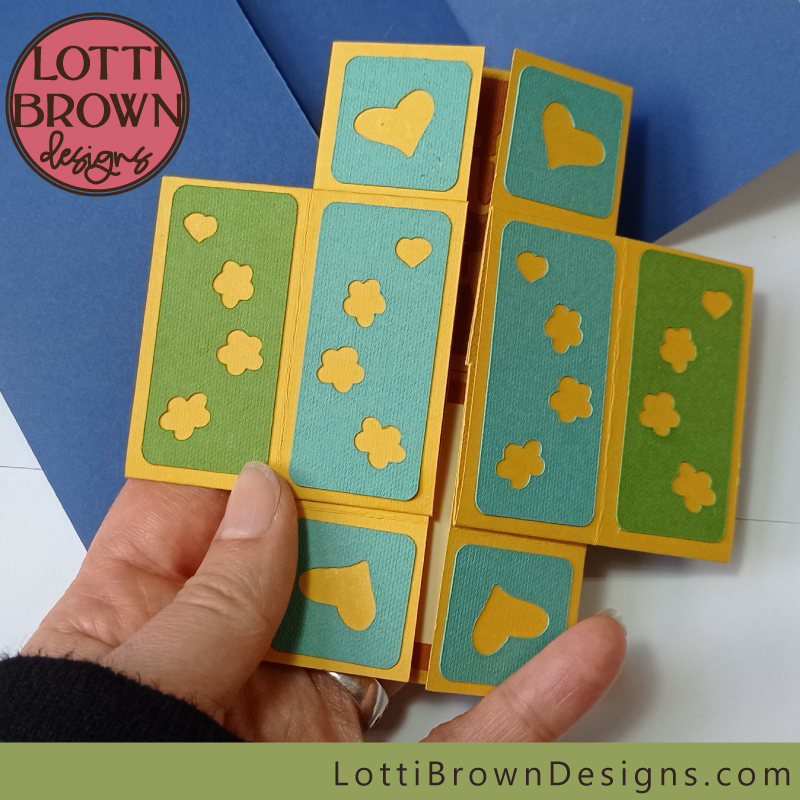 Keep unfolding - there's still another layer to find!
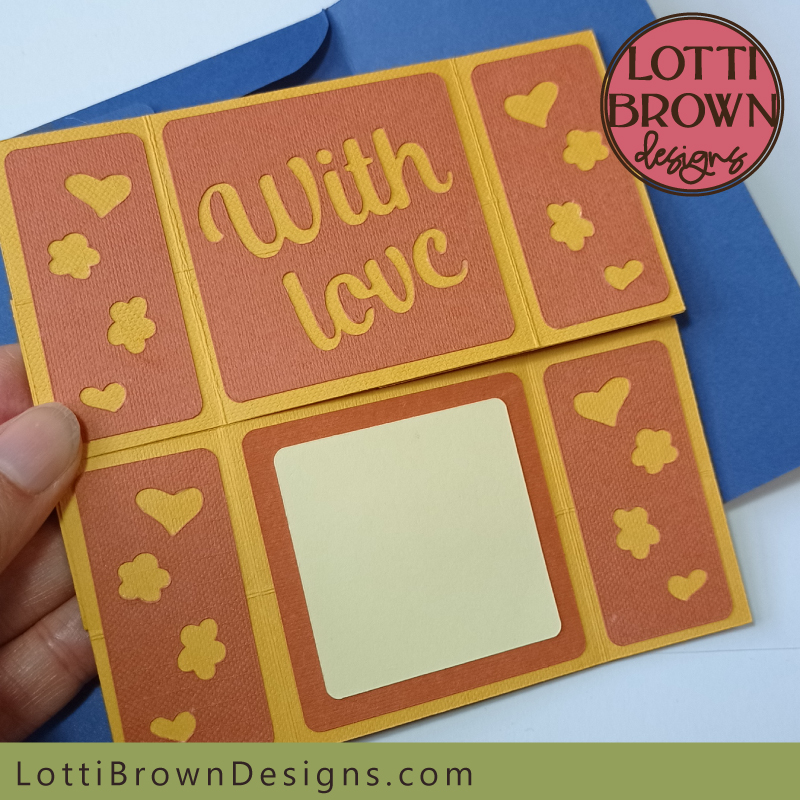 Sent with love - here's a space to write your message
Even though it's the end, still, the fun's not done! You can unfold the card one more time..
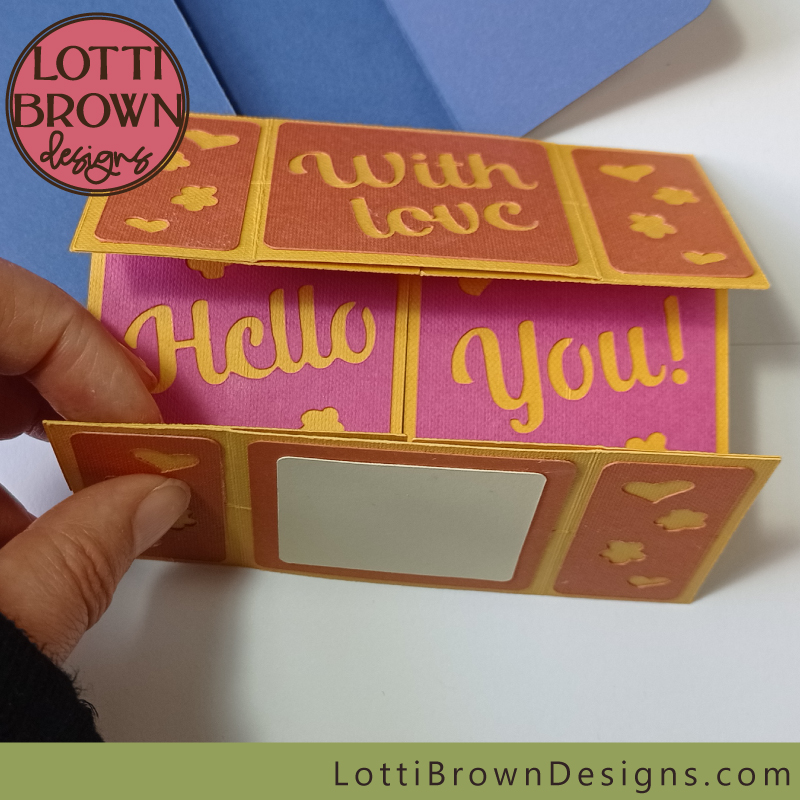 Unfold the card one more time...
And we're back to the beginning again...
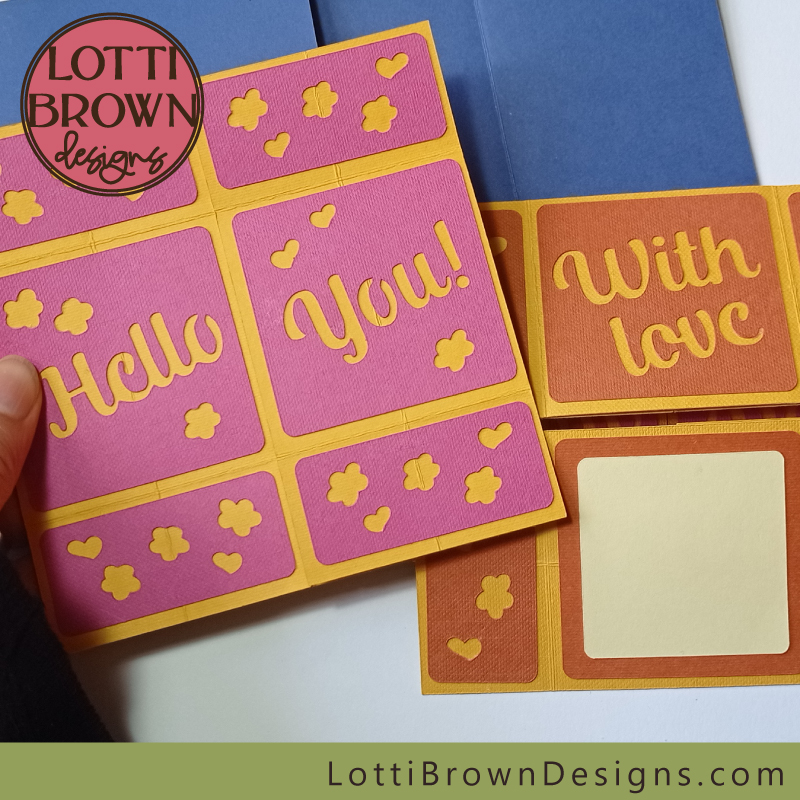 Unfolding fun with the never ending card
I've designed the never ending card SVG template so that it can be used for a birthday - but there's no specific birthday message, so you actually use it for an anniversary, wedding day, other special celebration or just to send best wishes...
Just write in your personal message in the space in the final layer.
I'll show you exactly how to make the never ending card in the next tutorials - you can follow each and every step along with me, and you'll soon discover it's nowhere near as complicated to make as it looks.
I'm thrilled with my card, and I can't stop unfolding it and playing with it - I can't wait to actually send it to a lucky recipient!
Making the Never Ending Card - Start Here
You will need
- Cardstock in several different colours - I've used 7 different colours for my never ending card SVG template, including a cream for the message square and a rich blue for the envelope (some more about colours and cardstock below)
- A way of cutting the template - including a way of accessing the digital files - I'm using my Cricut Maker cutting machine and cutting accessories and Cricut Design Space
- A way of scoring the score lines (I'm using the Cricut scoring tool - see a discussion of scoring tools and manual scoring here - the instructions for this make include specific step-by-step instructions for how to get the lines to score with your Cricut)
- Paper glue (glue stick)
- Magic tape or masking tape (optional)
- Metal ruler
- Double-sided tape (optional) - for sealing the envelope
- The template for the never ending card SVG/DXF/PNG/EPS - you can download that from my store here...
Choosing cardstock for your never ending card
You can make your own never ending card SVG from whichever colours of cardstock you like - I chose these colours to give a lovely rainbow effect, and also to try and keep the steps very clear to help you make it without getting confused...
For this card I used Cricut cardstock (all from the 'Jewel tones' pack) for the card and card decoration, all except for the message square on the final side (which I wanted from a smooth card to write on) and the envelope itself. For the message square and the envelope, I used lightweight cardstock (160gsm).
I recommend the Cricut cardstock (or something similar) as you need quite a sturdy card for this make, which can withstand multiple foldings and unfoldings, which the Cricut cardstock seems able to. Also, because we fold and unfold the card we need a card that has similar textures on both the front and the back, which the Cricut does have (so that it doesn't feel like the card has a front and a back - every single side is the front!). (My general discussion of choosing cardstock for Cricut is here.)
This consideration applies to the base rectangles which make up the card (yellow in my make) - but I stuck with Cricut cardstock for the decoration cuts too, so that I knew all the colours would look great together! You could quite happily use Sizzix cardstock (or another card you like) for the decoration parts of the card.
Go with any colours you like. I've made every 'side' a different colour, but you could make it simpler with just two colours if you like, or go even more colourful! Do bear in mind, though, that on the third side (teal in my make) some of the second colour still shows (green in my make) - so try to make extra sure that these colours go nicely with each other.
And of course, don't forget that every colour you choose needs to go with the base rectangles (yellow in my make). That's why I think choosing colours from a set or pack (like the Cricut 'Jewel' pack) does help a little with this.
You will also need my never ending card template, which you can get from my store (here)...
Never Ending Card Making Instructions
Let's start with setting up the never ending card SVG file in Cricut Design Space - the file needs to be scored and cut, so we'll look at how to set that up correctly first...
Then, we'll look at how to make the basic card in this tutorial...
And then move on to the final part of the instructions, which is the decoration of the card plus making the envelope - the tutorial for how to do this is here...
 Cut file to make a colourful never ending card for birthday, anniversary, or best wishes!
Get the never ending card SVG template from my store here...
SVG, DXF, EPS & PNG formats
Personal & small business commercial use
Physical (craft) products only (no digital products or sharing)
Something simpler?
Fancy making something a bit simpler than my never ending card SVG template? I've got a big range of greeting card templates for you to make on my page here...
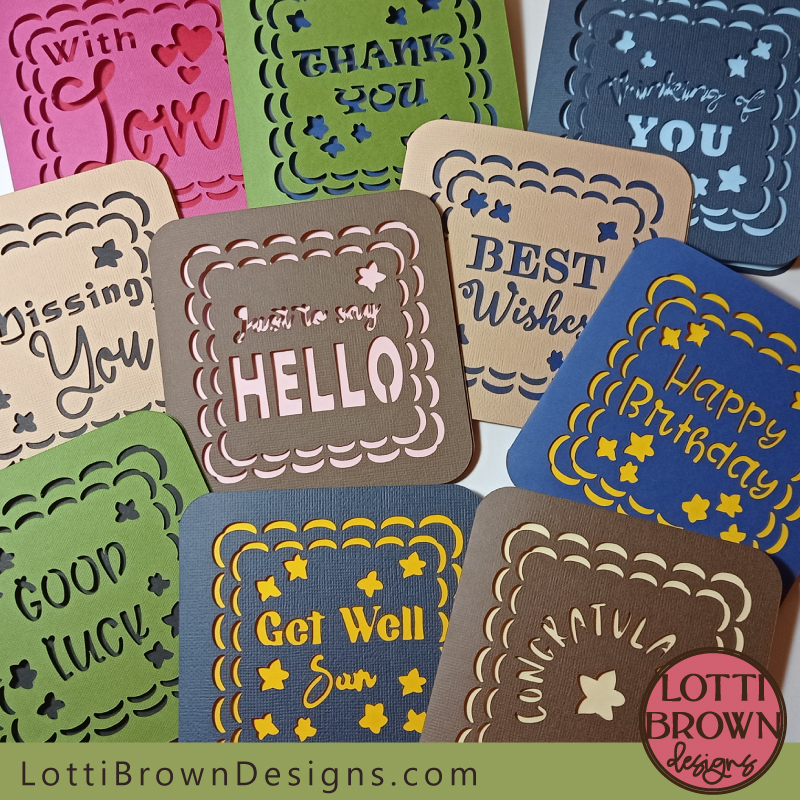 Greeting card templates for you!
You Might Also Like:
Lotti Brown's Designs & Templates
How-tos...
- How to use SVG cut files for Cricut (also other cut file formats & machines)
Shall we stay in touch..?
Each month, I share stories from my own nature journal, new art from my studio, and simple seasonal inspiration to help you feel more connected with the turning year...
Recent Articles
-
British Nature Folklore Library: Stories, Seasons & Celtic Tree Wisdom
Dec 01, 25 05:09 AM
Explore British nature folklore, Celtic tree meanings, and seasonal wildlife stories. A growing library of myth, meaning, and hand-drawn inspiration. -
Beautiful Art Inspired by Nature
Dec 01, 25 05:04 AM
Beautiful folksy art inspired by nature from the fields and hedgerows of Yorkshire - colourful birds and wildlife with a nostalgic floral touch... -
Birds and Folklore in Britain: A November Nature Journal
Nov 26, 25 04:32 AM
November birds and berries - fieldfares, redwings, lapwings and snow geese with folklore, meaning and nature journal inspiration.
Follow me:
Share this page:


