FEBRUARY 2024 - NEW WEB-STORE! Browse both my old (Etsy) store and new store here!

Easy Cricut Shadow Box Idea
- Home
- Shadow Box SVGs
- Easy Floral Heart Shadow Box

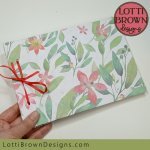
Here's an easy Cricut shadow box idea for you to make with your cutting machine (you can also cut by hand) - it's so intricate and pretty and also so easy to make with just three layers - you'll have it cut and up on the wall in no time (...it also makes a lovely gift idea, too!)
 Easy shadow box project
 Create a different look by changing your colours around
Get your floral heart shadow box template from my store here...
Digital download shadow box template
SVG, DXF, EPS & PNG formats suitable for Cricut and many other cutting machines or cutting by hand
For personal and small-business crafting (up to 200 units)
For physical (craft) products only - no digital use, products or sharing
Easy Cricut Shadow Box Template
This is a beautiful floral heart design and a really easy Cricut shadow box template for you - I've so far designed quite a few shadow box templates, that are all pretty easy, but I'm certain that this is the easiest, and it looks gorgeous too...
With a heart design made up of flowers, it would look lovely on a bedroom or living room wall - and would also make a really thoughtful handmade gift for weddings, engagements, anniversaries, birthdays, or just because!
 Floral design heart shadow box
 Floral heart SVG template (also DXF, EPS, PNG) - three layers
The floral heart shadow box is based on one of my floral heart SVG designs - and it's just three layers to make - one of these is just a plain square to make the background so it could hardly be simpler!
I designed it so that it looks intricate and beautiful though - so no one will guess how easy it actually was to make!
 Showing intricate detail (close-up)
I'll take you through step-by-step, below, exactly how to make the floral heart shadow box - I'll be showing you the white, blue and red version (photo above) that's the colours you'll see in your template - but I also made the version in a tropical style (photo below) with black, pink, and green for a different look.
You can use whichever colours you prefer, but these might inspire you - I'll discuss colour choices just below and you can also see some different colour ideas (as well as some familiar ones you'll see here) on this page...
 Tropical look - pink and green floral shadow box idea
How to Make Your Floral Heart Shadow Box
What you'll need:
- Cardstock - in three different colours (see the section below for tips for choosing your own colours). I've used Sizzix 'Surfacez' textured cardstock for each of the colour ideas. I've some tips for choosing and using cardstock with a Cricut here...
- Double-sided sticky pads - these stick the layers together and separate them a little to give a better shadow effect.
- Frame - a box frame that's a little deeper will give you the best results for your shadow box. I've used a frame that's around 8 x 8 inches (20 x 20cm)
- A way to cut your card layers - I'm using my Cricut Maker cutting machine. You could also use the template with another brand of cutting machine or cut by hand if you prefer
- The 'Floral Heart' shadow box template - available via my store here if you don't already have it
 Red, white and blue, makes a pretty piece with a lacy look
 Pink and green combined with a dark navy/black gives a floral tropical look!
Your colour choices can really change the look of the floral heart shadow box a lot - I wanted to make a light and a dark one to show you, so I made one with the main design cut in white (actually an extremely pale blue) and one cut in black (actually a very dark navy/slate grey)...
I think the white one, with the blue and red, is a classic look and I love that the design looks so pretty and lace-like...
The black (navy) one, I think looks more contemporary with the slightly unusual colour choices and definitely has a tropical vibe!
Whichever colours you choose for your own project, please do consider the contrast between the different layers - you can see how the top layer (with the intricate cut design) really stands out against the layer immediately below (or next to it as you look at it) for both of these examples...
This is done by contrasting between the dark navy/black and a very pale pink - and again with the white against a mid-to-dark toned blue.
You then want to find another contrast - either of tone or colour for the third and final layer (red or zingy green in the examples above) - this needs to contrast most with the middle layer, as visually that's right next to it - so the red against the blue gives a visual stimulation - the red looks bright against the blue, but doesn't overwhelm it, nor the white that's the main focus of the design.
The same for the pink and green - they give a little 'zing' when they're next to each other - but they don't take attention away from the black/navy main design.
You can try this with different colours as you like, and see how it looks - and please know that this is just one way of doing it - you can also tone up with very similar colours for each of the three layers - this can give you a much softer, gentler and more subtle look to the design, especially if you use softer or more muted colours - which might be just perfect for you!
Easy Step-by-Step Instructions
You can print these instructions to help you if you wish.
Use the 'print' buttons on the top right on the webpage and towards the bottom of the page, below the instructions. This will allow you to leave out any parts of the page you don't want or need.
- Resize your design - measure your own shadow box frame and resize the SVG in your cutting machine program to fit your own frame. If you use the SVG as-is in Cricut Design Space, it should load at approximately 20 x 20cm (8 x 8 inch) - it may not do so if you use another file format or a different type of cutting machine. I move the whole thing over to the left a little bit, just to make sure it cuts from an A4 sheet of card for each layer.
- Choose your colours - get creative with it - see the section above to help you.
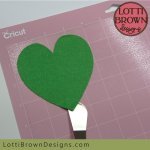
- Cut your layers - if you need any help with this part, take a look at this page - and this extra page just for Cricut users.
- Once everything is cut out, we're ready to start the craft tutorial...
 You should have these three layers cut and ready
- You should have all three layers cut out, like in the image below - we're going to stick them together and use double-sided sticky pads between the layers as this adds a little bit of depth between the layers and adds that 3D 'shadow' look that the art style is named after. It's easy but I'll show you each of the steps below...
- We'll work from the back - so we'll start by laying down the plain square (red in the image below) down flat (facing up) on the work surface.
- Then, turn over the middle layer (blue in the image below) so that you're working on the back of the cardstock - and add double-sided sticky tabs around the edge - I usually use 3 or 4 per side. You can see in the photo below how I've tried to keep them around the edge of the square - this is because we're aiming to put the sticky tabs for each layer in a similar place (to avoid saggings) and you'll see that the white layer has quite narrow edges.
- If you want to create a larger gap between the layers (for more dramatic shadows) you can double-up on sticky tabs (one on top of the other) or even go for three at once!
 Stick double-sided sticky tabs around the edges of the BACK of the middle layer (blue)
- Now, just turn over your middle layer (blue) and align the top edges with the top edges of the bottom layer (red) - then slowly lower the blue layer down and stick down onto the base layer - it should look something like the photo below...
 Stick down the middle layer
- We'll then repeat the process for the top/final layer - stick the double-sided sticky tabs around the edges of the piece - on the BACK of the cardstock. If you can, try to get the sticky tabs in a similar position around the edges - you don't need to be precise! See mine in the image below...
 Add double-sided sticky tabs on the BACK of the top (final) layer, around the edges, trying to get them in similar positions to on the previous layer, as well as you can, without needing to be too precise or exact!
- The, of course, we just turn this layer over, line up the top edges with the blue layer below, and slowly lower the top layer down - and press down to stick. See, I told you it was easy - that's it! Done!
 Just line up the edges and stick down the top layer - and you're done!
 Beautiful and easy! Floral heart design shadow box template
- All that's left to do is pop your creation into its frame and your shadow box is ready to gift or hang on your own wall! Well done!
Just pop your creation into your shadow box frame! Pretty pink & green gives a different look with a tropical feel
And this is how the tropical-look pink & green one worked out!
 Looks intricate - easy to make!
Where to get the cut file template
If you like the look of this project, you can get the cut file template you need for this Cricut shadow box project from my store at the link right below...
 Easy Cricut shadow box project - floral heart design
Get the floral heart shadow box template from my store here...
Digital download shadow box template
SVG, DXF, EPS & PNG formats suitable for Cricut and many other cutting machines or cutting by hand
For personal and small-business crafting (up to 200 units)
For physical (craft) products only - no digital use, products or sharing
You might also like:
- How to use SVG cut files for Cricut (also other cut file formats & machines)
If you like this design, but don't really want or need to make a shadow box, you can see it as a layered SVG (you can also use just the top layer) on this page....
 Floral heart SVG file - use just the top layer or all three
See more floral SVG designs here...
See more Cricut shadow box projects here...

Want to keep in touch?
And get this beautiful cut file for free?
Sign up below for my free email newsletter to get:
- News about my new designs
- Occasional special offers just for subscribers
- Free 'Home is Where the Heart is' layered cut file design (SVG, DXF, EPS & PNG formats - for personal use only)
My newsletter is usually sent out once a month (at the start of the month) and you can unsubscribe any time...
Sign up below...!
 Get this beautiful 'Home is Where the Heart is' layered cut file for free - SVG, DXF, EPS & PNG formats (personal use only)
Recent Articles
-
Making a Book from Scratch with your Cricut
Apr 17, 24 04:51 AM
 Have fun making a book from scratch with your Cricut - great as a scrapbook, journal, sketchbook, etc... Easy to make!
 -
Cricut Felt Cutting Project for Beginners
Mar 20, 24 05:59 AM
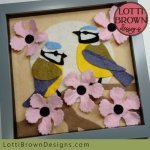 Fun Cricut Felt Cutting Project for Beginners - Make easy blue tits and flowers 3D felt art...
 -
Cutting Felt with Cricut
Mar 06, 24 05:59 AM
 Guide to cutting felt with Cricut - how to cut felt, best felt for Cricut, best Cricut blade for felt and more tips...
Feel inspired...
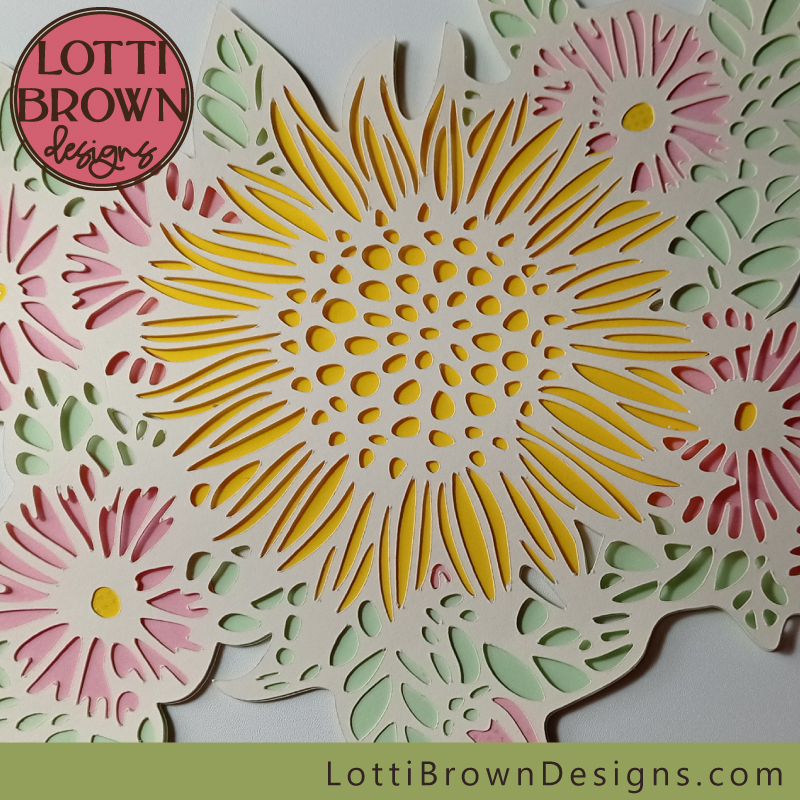
Sunflower SVG for Cricut Crafting
Fun floral craft tutorial with a layered sunflower SVG for Cricut, Silhouette and other cutting machines...
Stars Cardstock Gift Box Template
Fun stars design cardstock gift box template to make with your Cricut or similar cutting machine or make by hand...
Engagement SVG Shadow Box Template
Romantic shadow box to celebrate an engagement - SVG template for Cricut and other cutting machines - craft project that makes a lovely gift...
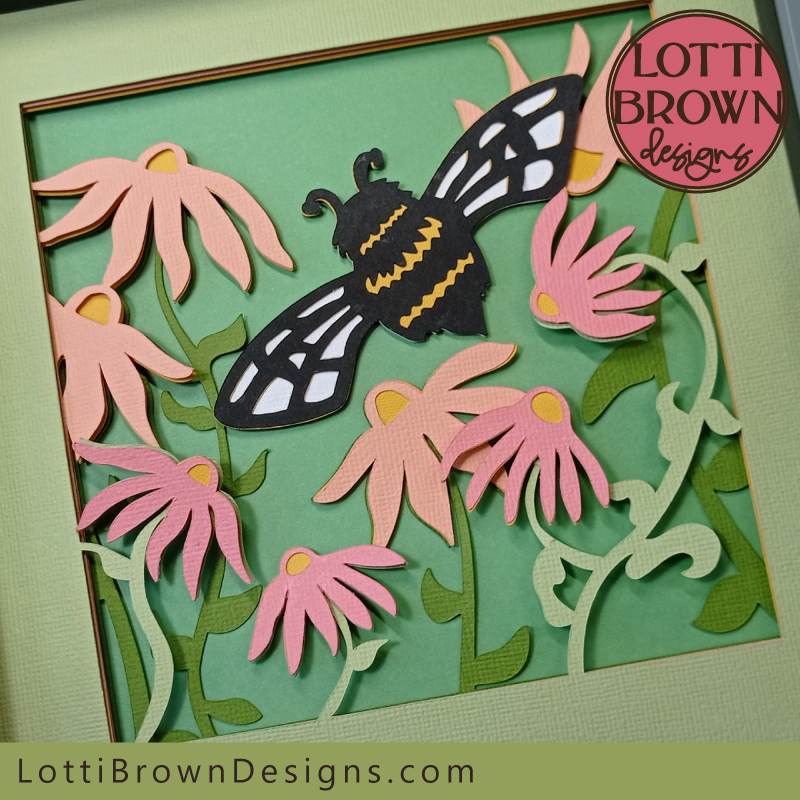
Bee Shadow Box Paper Art
Bee shadow box paper art DIY craft project for Cricut and other cutting machines or paper cutting by hand - SVG, DXF, EPS and PNG templates
How to Make Paper Daffodils Tutorial Page 1
Learn how to make paper daffodils with my detailed photo tutorial using my beautiful floral template for cutting machines or cutting by hand...


- Home
- Shadow Box SVGs
- Easy Floral Heart Shadow Box