*** IMPORTANT - I'm retiring my digital files - SVG/PNG/DXF/EPS - and printables from 31st December 2025 ***
*** Please ensure that you have everything you need - files and/or instructions printed off from the website (find them currently in the ARCHIVES section) - by 31st December 2025 as they will not be available after this date ***

Tree of Life SVG Designs
- Home
- SVG files
- Shadow Box SVGs
- Tree of Life SVG Designs

Beautiful hand-drawn tree of life SVG designs for Cricut and other cutting machines...
I have two designs for you:
- a simple circle tree of life cut file
- a tree of life shadow box template
As well as a tutorial to help you make the tree of life shadow box from layers of cardstock...
 Tree of life designs cut from cardstock - shadow box (square) and simple designs (circle)
 Tree of life shadow box SVG template
SVG, DXF, EPS & PNG file formats are included
For personal & small-business commercial use
Physical (craft) products only - no digital products or sharing
I love Celtic art (see my artworks page here) - and I love nature - so I really love the Tree of Life symbol.
It's a symbol that we also see in lots of other cultures and is usually in a circle, representing the circle or cycle of life, death and rebirth.
The branches reach up to heaven and so represent the celestial plane. The roots reach into the earth and represent the 'Otherworld' below. The trunk represents the earthly plane between.
In Celtic culture, the tree also represents longevity, strength and wisdom - a sense of stability and security in the seasons of year or the seasons of our life.
 Tree of life - cut in off-white cardstock with my Cricut Maker
After creating the circle tree of life design, I was really inspired to also make it into a shadow box design - incorporating some of my hand-drawn Celtic knotwork too.
So you can take your pick whether you want a simple circle tree of life SVG design for your craft project, or if you'd like to make your tree of life into a complete shadow box to display or gift...
Maybe you'd like to make both?
 Tree of life shadow box project template
I'll take a closer look at my tree of life SVG designs below - the simple circle design first, followed by the shadow box design with full tutorial. There's lots of colour inspiration for your own makes here, too!
Simple Circle Tree of Life SVG
 Tree of life design - simple circle
This is a simple circle design that you can use with or without the background circle (included in the file)...
 The tree of life cut file comes with a circle background
 Choose the effect you want for your project - with or without the background circle
 Tree of life design in cardstock
I love to cut my designs in cardstock with my Cricut Maker - it allows me to test the design and make sure it all works as intended - and also to try out some colours to inspire you too...
I cut this design first in a brown card (Sizzix textured cardstock) with a lovely yellow circle background (Cricut cardstock from the Jewel pack - Sizzix also do a similar yellow, but I'd run out). You can see that above. This shows the design cut at the size supplied (about 8 inches height).
I also tried it in an off-white card (very pale grey) against a black circle background (both Sizzix textured cardstock) - which you can see below. This is a slightly smaller size (around 6 inches height). I also think it looks fantastic against the royal blue too (Clairefontaine cardstock 160gsm) - also below...
 Tree of life - two different sizes, with and without background circle
 Blue and white looks beautiful!
 Tree of life circle design SVG
You could also make other projects with the tree of life SVG cut file - I think it would look really effective on a T-shirt or sweatshirt in HTV vinyl - or how about on a tote bag, or a cushion?
 You could use HTV vinyl to transfer the tree of life design to fabrics including T-shirts and clothing
If you've got a project in mind for the simple circle tree of life SVG design, you can download the file from my store, link right below...
Get the tree of life circle SVG from my store here
SVG/EPS/DXF/PNG
Personal & small-business commercial use
Physical (craft) products only - no digital files/products or sharing
Tree of Life Shadow Box Project
I think this might be my favourite shadow box make to date! I loved designing and making this - I've done it in three different colours and had lots of fun experimenting so I hope it will be inspiring for you.
I'm going to show you how to make my tree of life shadow box. It's pretty easy with just four layers to cut - but so effective and looks so intricate and complicated!
I'll show you how to make the version below - off-white, red, and yellow - which is the version in the template. I also made it in other colours - greens seems a great colour choice for the tree of life theme, so I tried out a couple of these, too, so I hope it gives you some inspiration for further colour choices to make your own tree of life craft project.
 Layered cardstock tree of life shadow box
 Purple and green tree of life shadow box project inspiration
 Green and blue tree of life shadow box project inspiration
You will need:
- Cardstock - in 4 different colours. I'll discuss the choice of colours a little below. I used Sizzix textured cardstock throughout except for the purple tree, and the background yellow - both of which are Cricut cardstock from the Jewel pack. Sizzix do an almost identical yellow and a similar purple, but I'd run out of both of these.
- Double-sided sticky pads - (the ones with a bit of foam) these stick the layers together and separate them a little to give a nice shadow effect.
- Frame - a box frame that's a little bit deeper is ideal for your shadow box project. The frame I used measures 8 x 8 inches (20 x 20cm) and the template is set to this size. Please measure your own frame size and resize the template to suit.
- A method of cutting your cardstock layers - I used my Cricut Maker cutting machine. You can also use a different make of cutting machine or you can cut by hand using the PNG if you prefer.
- The tree of life shadow box SVG template - available via my store
 Four layers for the tree of life shadow box template
How to Make the Tree of Life Shadow Box
- First - you will need to resize your template in your cutting machine program to fit your own frame. The template is 20 x 20 cm (approx 8 x 8 inches) which fits my 8 x 8 inch frame. Please measure your own frame before you start and resize the template to fit. I shift the file a little to the left in Cricut Design Space to make sure that it fits onto an A4-sized sheet of card.
- Choose your cardstock colours - feel free to use the colours suggested in the tree of life SVG shadow box template, one of the other colour combinations I've tried on this page, or get inspired and go for something completely different. I recommend to try and get some contrast going between the top two layers so that you can really see the intricate design - a contrast between light and dark works well. Green or brown is great for the tree if you'd like it to look natural. I also wanted to experiment with a light colour for the tree design, and when I did it in the off-white (a very pale grey) I really loved the lacy effect so I went with that as my top choice! A bright colour works well for the final background layer - there's not much of this showing through, just the centre heart and corner hearts - so you could choose a nice bright colour like yellow to make them stand out - or you can see I went more subtle in the purple and green version, with a lighter green, as these are strong colours anyway.
- Cut your layers using your cutting machine or other cutting method you prefer. I used my Cricut Maker using intricate cardstock setting.
- When your layers are cut and ready, you're ready to come back and here and start the tutorial 'proper' - if you need any help using or accessing your cut file, you can find some help here - there's some extra help for Cricut users here...
 The layers are cut and ready to go!
We'll start from the back and build up - so that's the bright yellow square as the very back layer - and the mustard/tan layer as the one to fit on top of it...
We just need to add double-sided sticky tabs to the back of the mustard/tan layer. I usually do three or four per side - you could even get away with just two. The important thing is to try and keep them fairly evenly spaced, but also to try and keep to the same positioning on each layer (so there's no sagging or bulging). It certainly doesn't have to be perfect, but if you can keep them roughly in the same position, your shadow box will come out much better...
 Add double-sided sticky tabs to the back of the mustard/tan layer - you can double-up if you want more space between the layers!
Then, we need to stick the mustard/tan layer down on top of the bright yellow layer - position it carefully! I find it works well to line up the top edges of the two layers together carefully and then lower the top layer down. There's usually a bit of leeway in being able to pull the layers apart and reposition if you don't get it right first time - but be very gentle doing this so you don't crease your card!
It should look something like this, below - when you're happy with it, press to stick down firmly...
 First two layers complete!
Next, it's the dark red layer - we do just the same, adding the double-sided sticky tabs around the edge on the back of the red layer. Try to get them in a similar position to the ones on the last layer!
 Add double-sided sticky tabs around the edge of the back of the dark red layer
And line up the top edges to position - and stick down the red layer on top of the mustard/tan layer...
It should look something like this (below)...
 The red layer is in place - just the final, top, layer to go!
So we just need to add the final, top, layer that will bring everything together. We just need to repeat exactly the same process, adding the double-sided sticky tabs to the back of the top layer, around the edges, trying to get them in the same or similar positions as the previous layers...
 Add double-sided sticky tabs around the edges of the final tree of life layer
Then carefully position and stick into place - and your tree of life shadow box project is complete... (well, very nearly)!
 Tree of life layered cardstock project for shadow box - complete!
The one final thing we need to do is just to pop the project into a nice frame - now it's ready to display or gift...
Framed tree of life shadow box wall artLayered tree of life wall art shadow boxMore Colour Inspiration for Your Tree of Life Shadow Box
Here's some more colour inspiration for your tree of life SVG shadow box project...
 Rich purple looks vibrant against all different tones of green
 Gorgeous greens! The tree of life design looks natural in tones of green with a blue background and yellow hearts
 From the original template - a close-up look - white, dark red, mustard/tan, and bright yellow
 Purple and green tree of life shadow box
I hope you feel inspired for your own tree of life shadow box project by all the different colour ideas. If you'd like to make the project, you can get the Tree of Life SVG template for the shadow box in my store at the link right below...
Get the Tree of Life SVG shadow box template in my store here...
SVG/DXF/PNG/EPS formats
Personal & small-business commercial use
Physical (craft) products only - no digital use or sharing
Where to Find Both Tree of Life SVG Designs
Find each of my tree of life SVG designs in my store at the links below...
You Might Also Like:
Lotti Brown's Designs & Templates
How-tos...
- How to use SVG cut files for Cricut (also other cut file formats & machines)

If you like my Tree of Life design, you might also like my Green Man SVG design - find out more about him here...
And if you like Celtic art and designs, please do take a look at all my Celtic art prints and illustrations on this page... and this page for Celtic trees including two Tree of Life artworks! (Tree of Life artworks towards the end of that page.)


Shall we stay in touch..?
Each month, I share stories from my own nature journal, new art from my studio, and simple seasonal inspiration to help you feel more connected with the turning year...
Recent Articles
-
Nature Journaling Autumn Fungi & Folklore
Oct 28, 25 05:58 AM
 Nature journaling autumn fungi - discover how nature journaling helps you slow down, notice more, and reconnect with the season...
 -
Symbolism and Meaning of Fern/Reed for the Celtic Tree Calendar
Oct 27, 25 07:06 AM
 Explore the symbolism, myth and meaning of the fern (reed) as part of the Celtic Tree Calendar...
 -
Sun & Moon, Stars & Spirals
Oct 20, 25 09:31 AM
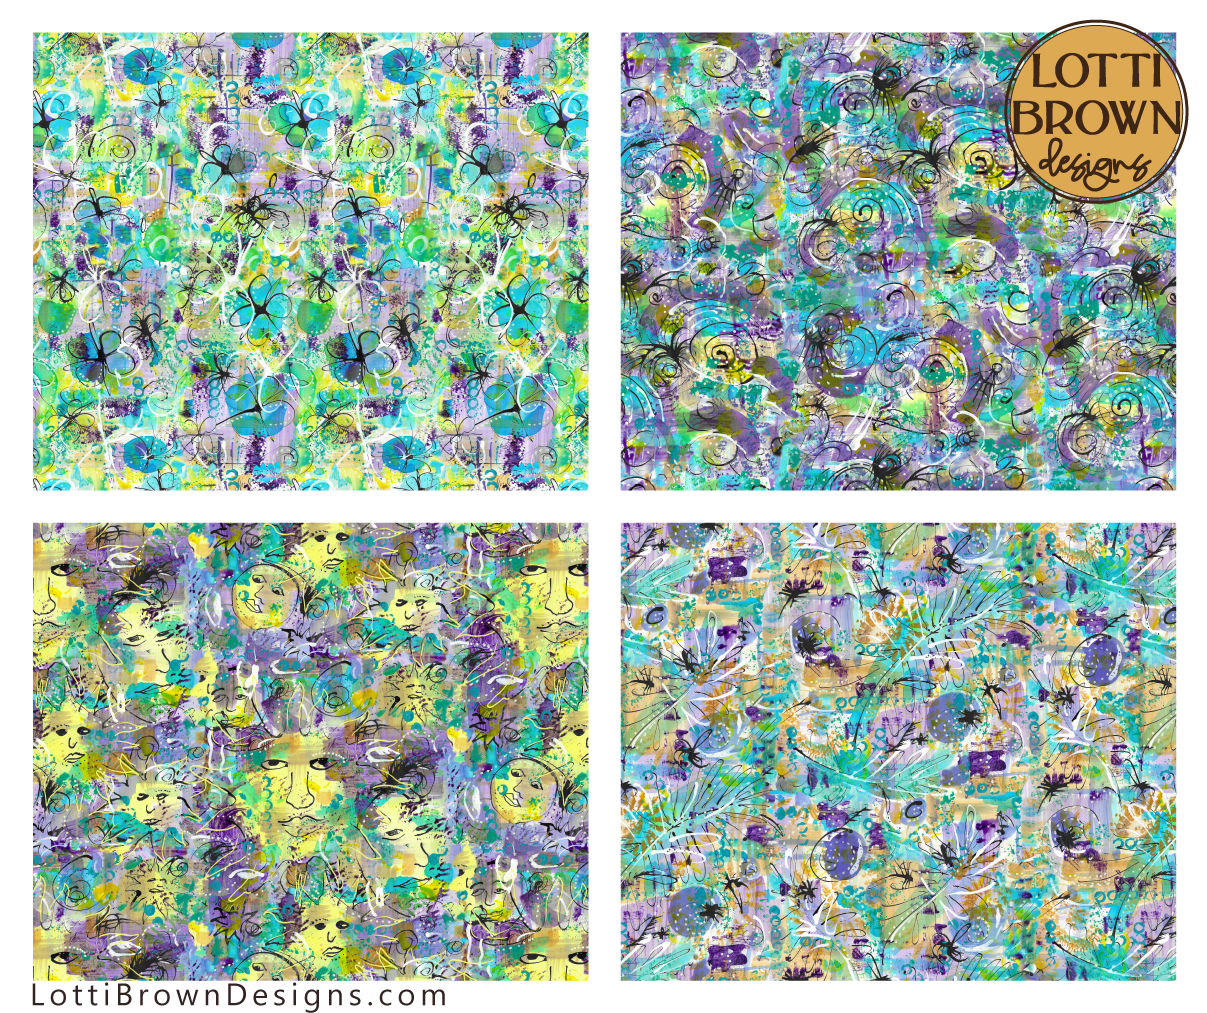 New painted patterns with sun and moons, floral, spiral and star designs...
Explore fabrics and wallpapers in these designs here (Spoonflower)...
Explore homewares and accessories in these designs her…
New painted patterns with sun and moons, floral, spiral and star designs...
Explore fabrics and wallpapers in these designs here (Spoonflower)...
Explore homewares and accessories in these designs her…
Follow me:
Share this page: