*** IMPORTANT - I'm retiring my digital files - SVG/PNG/DXF/EPS - and printables from 31st December 2025 ***
*** Please ensure that you have everything you need - files and/or instructions printed off from the website (find them currently in the ARCHIVES section) - by 31st December 2025 as they will not be available after this date ***

Bee Shadow Box Paper Art Project
- Home
- SVG files
- Shadow Box SVGs
- Bee Shadow Box
Beautiful bee and flowers shadow box paper art - a really pretty craft project to make with your Cricut or similar cutting machine or if paper cutting by hand.
Full instructions on this page...
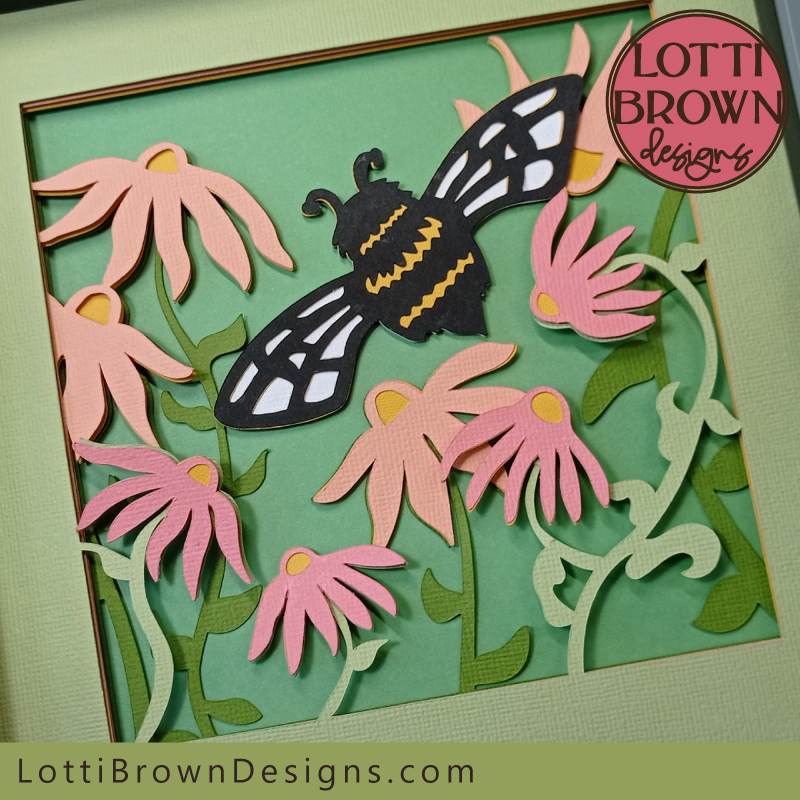 Bee shadow box paper wall art - craft project
Get the bee shadow box template from my store here...
Shadow box digital template with bee and flowers design
Ideal for Cricut and similar cutting machines or hand-cut papercutting projects
SVG, DXF, EPS and PNG file formats
For personal use & small-business commercial use
For physical/craft products only - no digital products, use, or sharing
Bee Shadow Box Paper Art Project
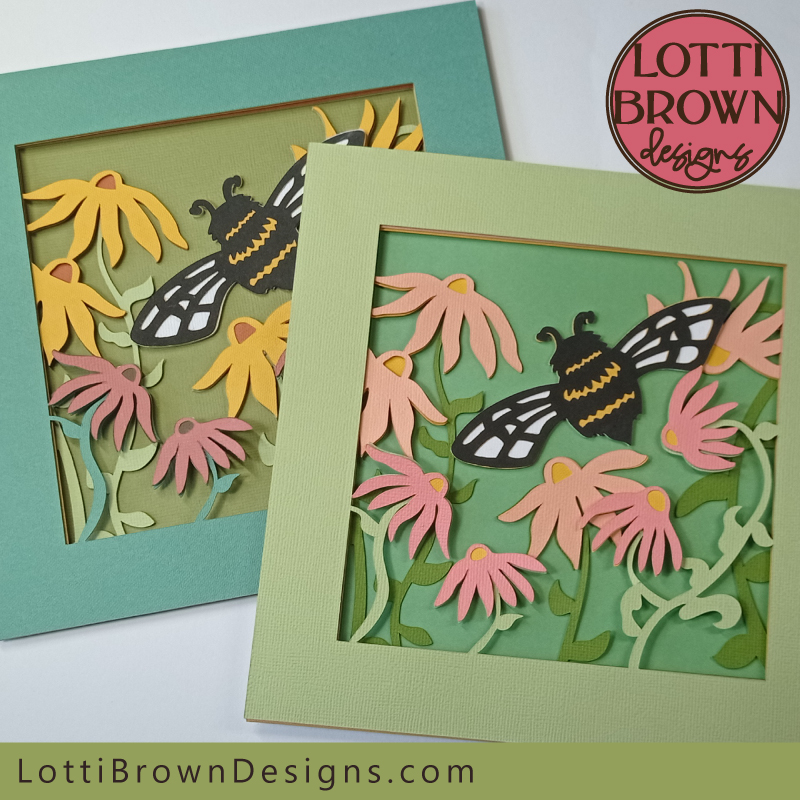 Bee shadow box paper wall art project
I made this pretty bee and flowers shadow box paper art project for you to be able to make something really beautiful, summery, and colourful...
Sometimes, quite often, I just feel like I want to see, and make, something really beautiful and filled with joy - and I always think nature is one of the best sources of all the wonderful things we can see in the world - so I decided to take inspiration from a sunny day and create this bee design for you...
My bee shadow box template is easy to make - although there's several layers to make and some extra glueing to do - but I think that you'll really enjoy it and you'll love the finished shadow box, too!
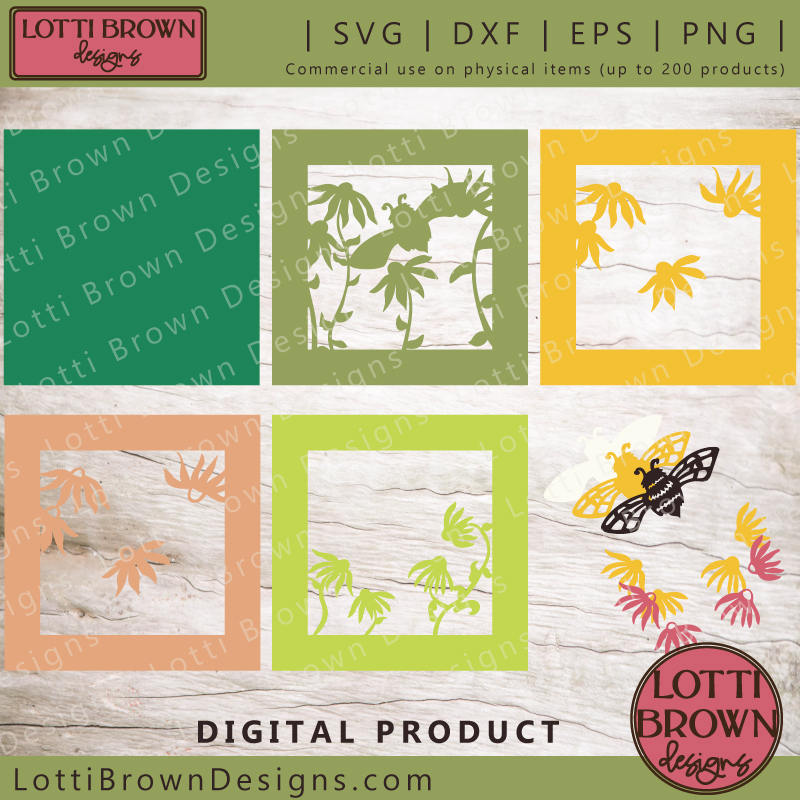 Bee and flowers shadow box SVG, DXF, EPS, PNG file
What you'll need:
You will need:
- Cardstock - in at least eight different colours. If you want to make the flower centres different colours, you will need more colours - (I changed the colours up a little in the alternative colour idea I'll show you - more on this just below). I've used a mix of Sizzix 'Surfacez' cardstock and Cricut cardstock for each of the two colour ideas I'll share on this page. The cut is a little intricate in places, so it's best to use a quality cardstock that you know cuts well. I used the 'Cardstock for intricate cuts' setting for my Cricut Maker. I also used Dovecraft crafting paper for the green background in my tutorial example (cut using 'Copy Paper' setting) as I thought that looked the best colour and being the background, it didn't really need to be too stiff. And I used Clairefontaine black cardstock (160 gsm) for the bee (cut with 'Light cardstock' setting). If you need tips for choosing and using cardstock with a Cricut, you can find those here...
- Double-sided sticky pads - these stick the layers together and separate them a little to give a better shadow effect.
- Paper glue, such as a stick glue - this is to stick down the flower layers and bee layers
- Frame - a box frame that's a little deeper will give you the best results for your shadow box. I've used a frame that's around 8 x 8 inches (20 x 20cm)
- A way to cut your card layers - I'm using my Cricut Maker cutting machine. You will be also able to use the template with other cutting machines or if you want to cut by hand
- The bee shadow box template - available from my store here
Craft Tutorial for your Paper Art Shadow Box
You can print these instructions to help you if you wish - the print button is just below and you can also find print buttons on the top right on the webpage and towards the bottom of the page, below the instructions.
First resize the design to fit your chosen frame - the bee shadow box SVG is sized to fit a 20 x 20cm (8 x 8 inch) shadow box. Please use your chosen cutting machine program to resize it to fit your own frame (measure your own frame!). The SVG template should load to 20 x 20 cm (7.87 x 7.87 inches) in Cricut Design Space, but may not do so if you use another file format or a different type of cutting machine.
If you need the measurements for the different elements:
- All square elements - 20 x 20 cm (7.87 x 7.87 inches)
- Bee elements - 9.25 x 6.81 cm (3.64 x 2.68 inches)
- Separate floral elements (dark pink & yellow on template - all elements together) - 13.29 x 9.53 cm (5.23 x 3.75 inches)
If you need help with accessing, downloading or opening your file, that's here... I also have some basic help for using your Cricut here!
Choosing Colours for Your Project
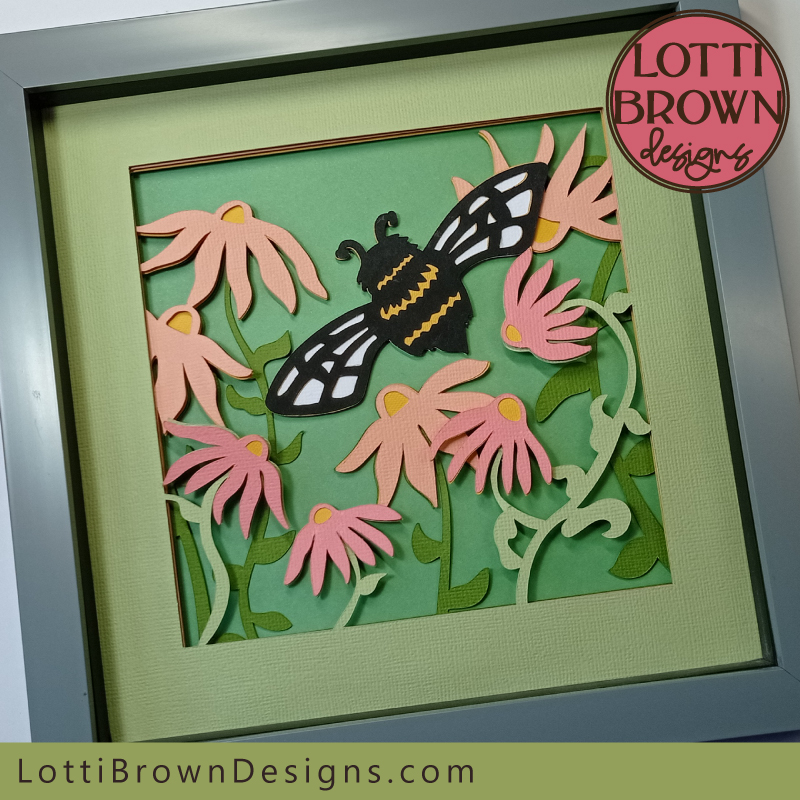 A pretty garden look in pinks and greens - using the template colours
If you want to change up the colours of the design template a bit, feel free, that's what being creative is all about.
- In most cases, I expect you'll want to keep the bee colours as they are.
- I also think it's usually best to keep the layers with the leaves and stalks to a green or similar colour (you could try blues, tans, or browns).
- Have some fun with the flowers - you'll see for the template (photo above) I've kept it simple with two similar tones of pink and peach/salmon pink, with all the flower centres yellow. For my alternative idea, though (photo below), I made one set of flowers pink, and the other yellow, and had the flower centres brown and orange. So you can see that you can create some slightly different looks for your project.
- Change the background colour - this is the easiest way to create a different look for your own project - I've gone for quite a natural look for both my colour ideas using different shades of green - I think a blue would also look lovely, like the sky - or you might prefer a crisp, clean white, or a cheerful yellow, a fun orange, a pretty pink..? Try some colours together, keeping in mind the colours you've chosen for the rest of the project, and see what you can come up with!
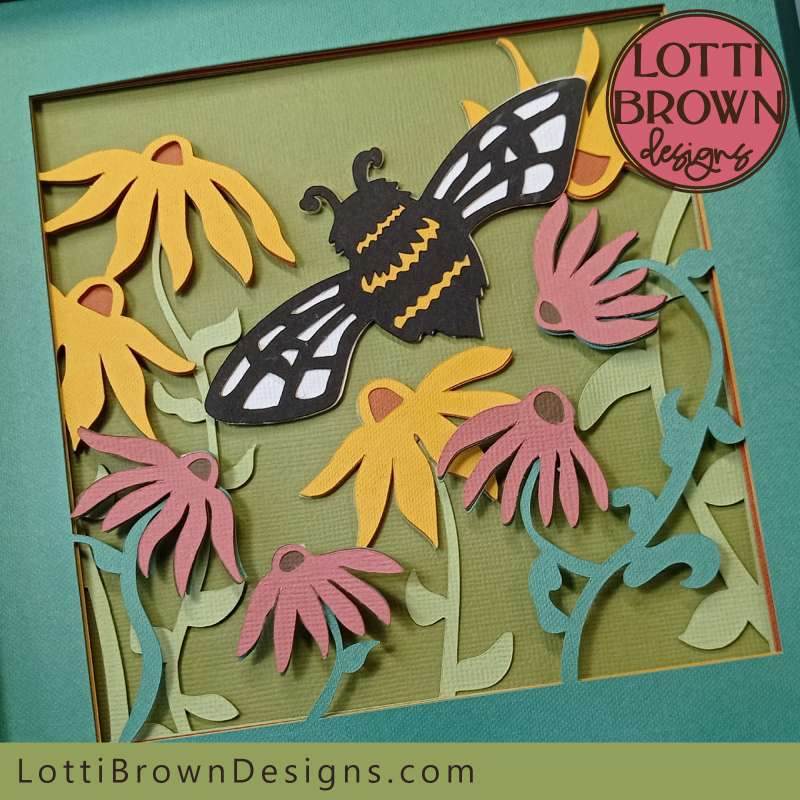 Adding more colours to the bee and flowers design - alternative colour idea
Once you've chosen your colours and resized the design (if necessary), you can cut your layers (if you need help with that, click here)...
Then, with your layers all cut and ready we can start assembling your shadow box paper art project!
Assembling all the layers
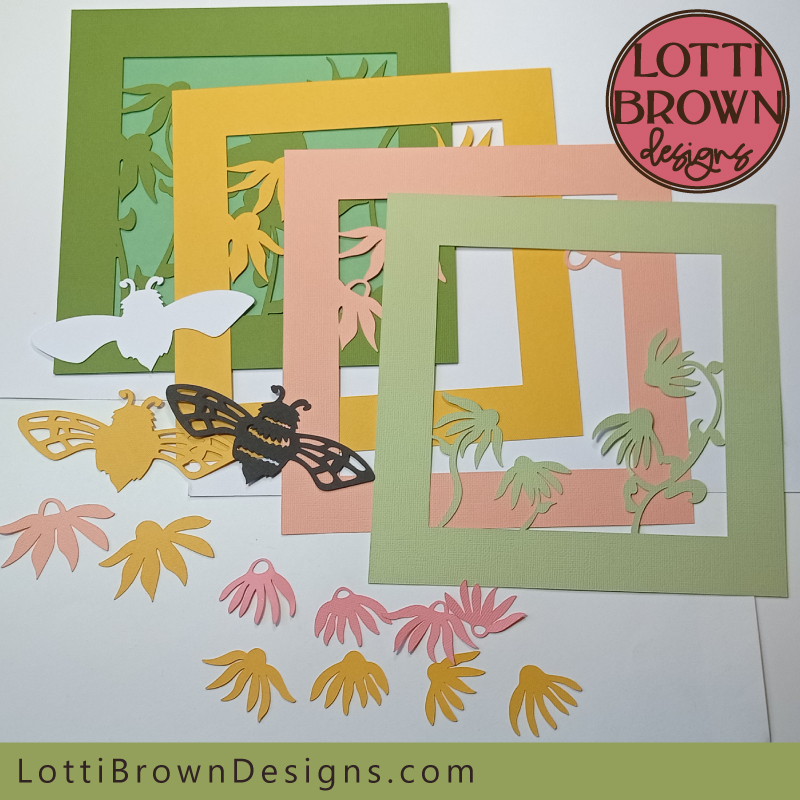 Layers all cut and ready to go!
- Let's start with the layers all cut out and ready to go - I usually find it best to lay them out in some kind of order as it helps me move more quickly through the project without spending time searching for specific pieces.
- For this project, I decided to start with all the loose pieces - so the bees and the flowers. And I started off with the bee - there's three main layers to the bee - white, yellow, and black...
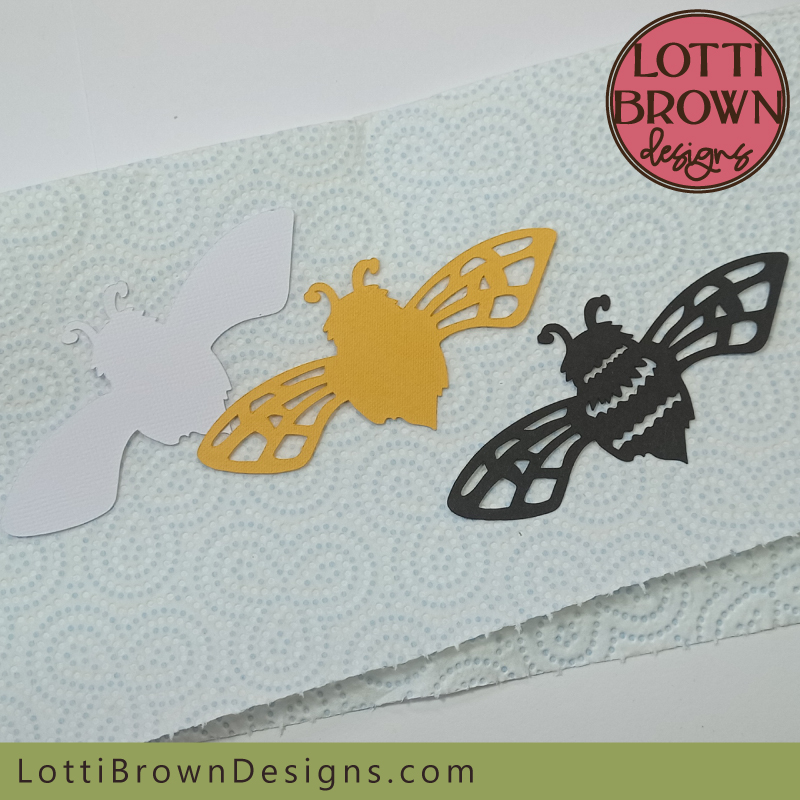 Bee shape - yellow, white and black cardstock layers
- So the white is the bottom layer of the bee - and we're going to glue the middle layer (the yellow one) on top of it. So add some glue to the reverse of the yellow layer like in the image below - I'm just using a solid glue stick like this as it's clean and easy to use. We want it stuck down securely, so do make sure you get around all the edges...
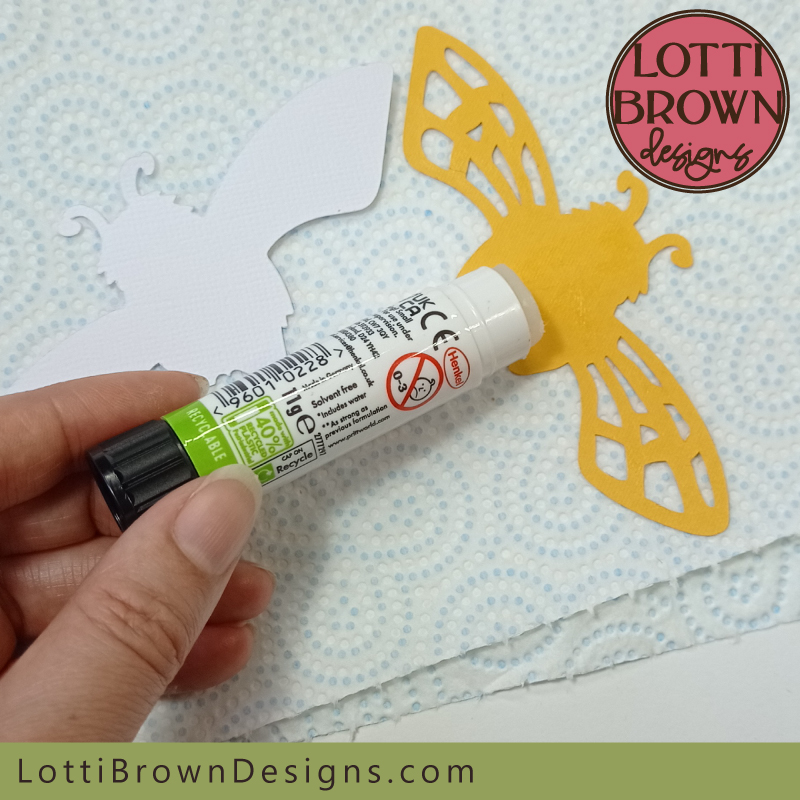 Add glue to the back of the yellow bee shape
- Then stick the yellow layer down on top of the white layer, trying to get the outer edges of both lined up the best you can - see the image below...
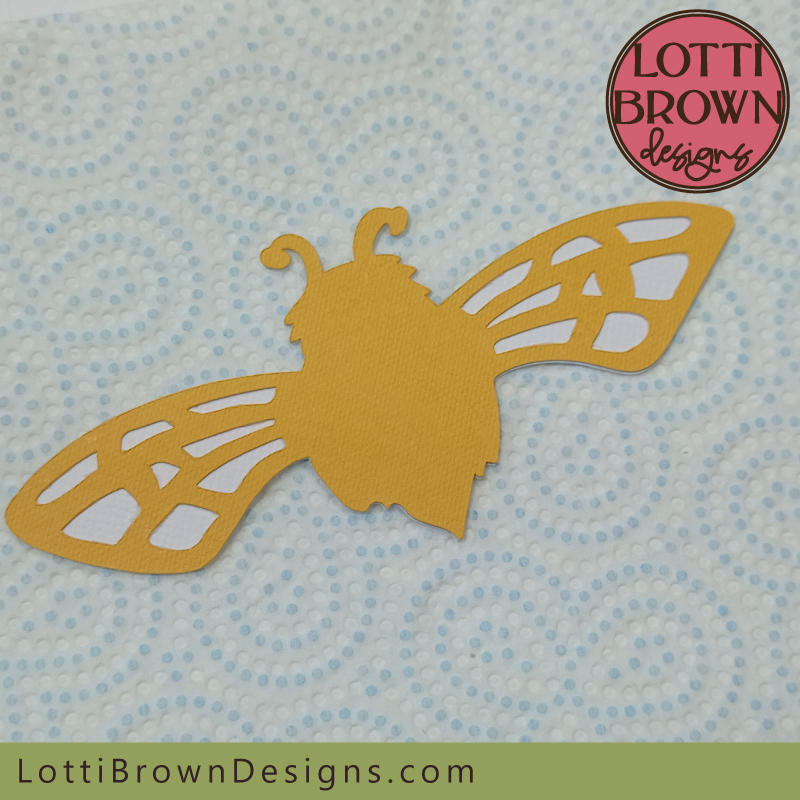 Line up the edges and glue down the yellow bee shape on top of the white one
- Then we'll add glue to the reverse of the black bee shape - try to be careful to not get glue onto the front side of the black as the glue does tend to show up on these darker colours. I try and use an up-and-down dabbing motion to add the glue, rather than smearing it on. See the image below...
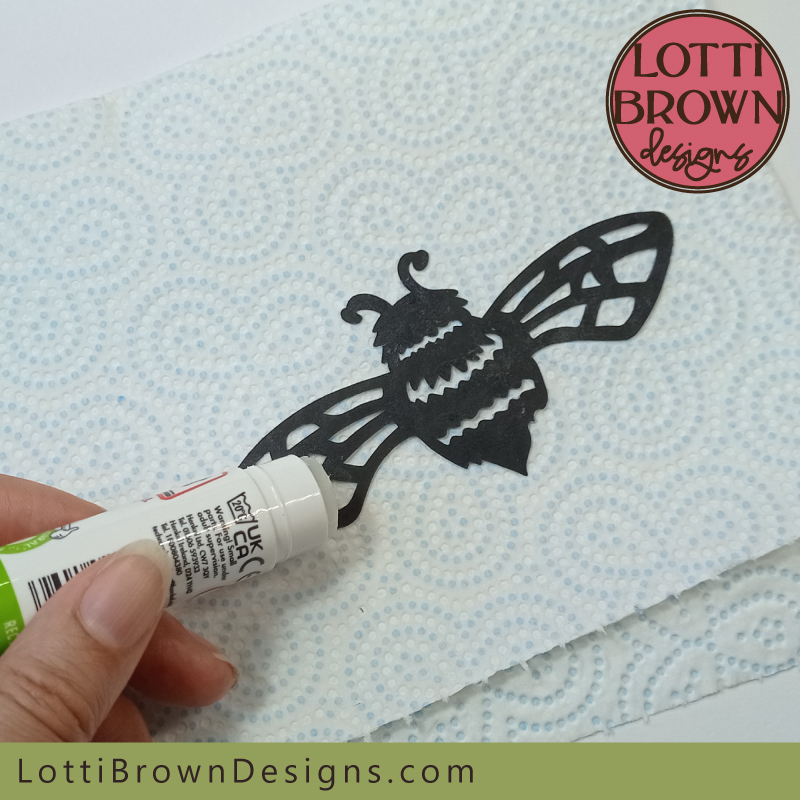 Carefully dab glue onto the reverse of the black bee layer - try to avoid getting glue on the front of the bee!
- Then stick him down, on top of the yellow and white layers, again trying to line up all the edges carefully - see the photo below...
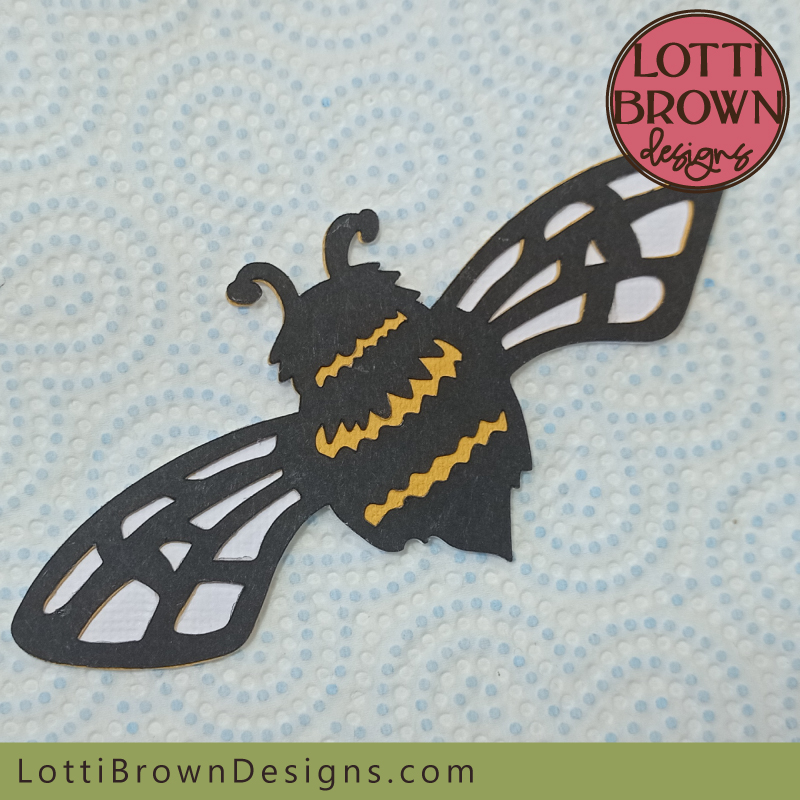 Glue down the black bee layer carefully but firmly, trying to line up all the edges
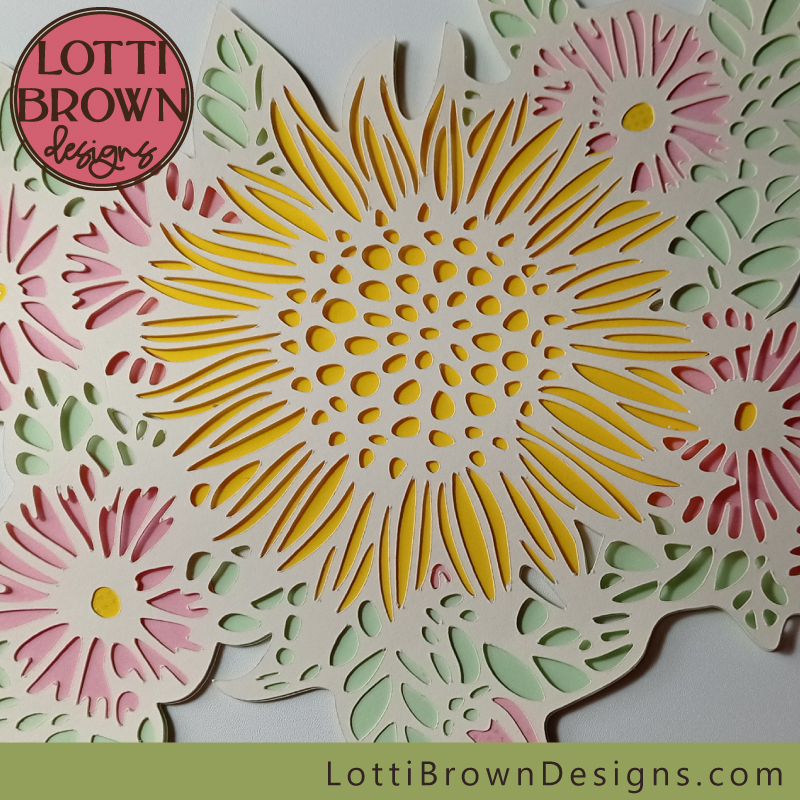
- Next, we can move on to the flowers - the yellow layer is going to be the background layer for the flower, with the flower centre showing through. There are four smaller flowers and one larger flower which will be a different colour if you're following my colour scheme - see the photo below...
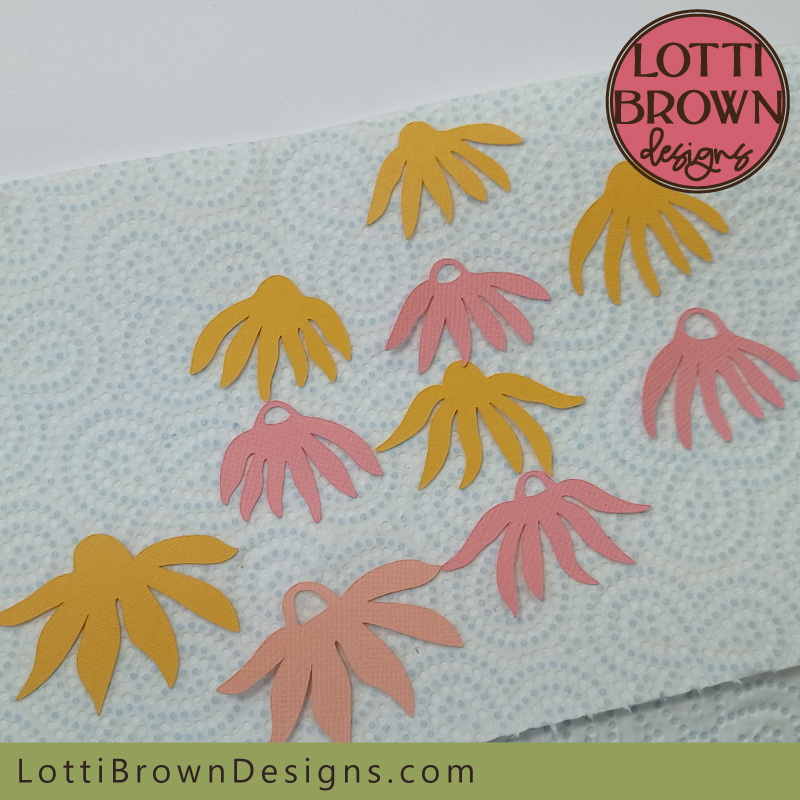 Get your flower layers together, ready to glue
- So now we just need to add glue to the reverse of all the pink/peach petal layers - see the image below...
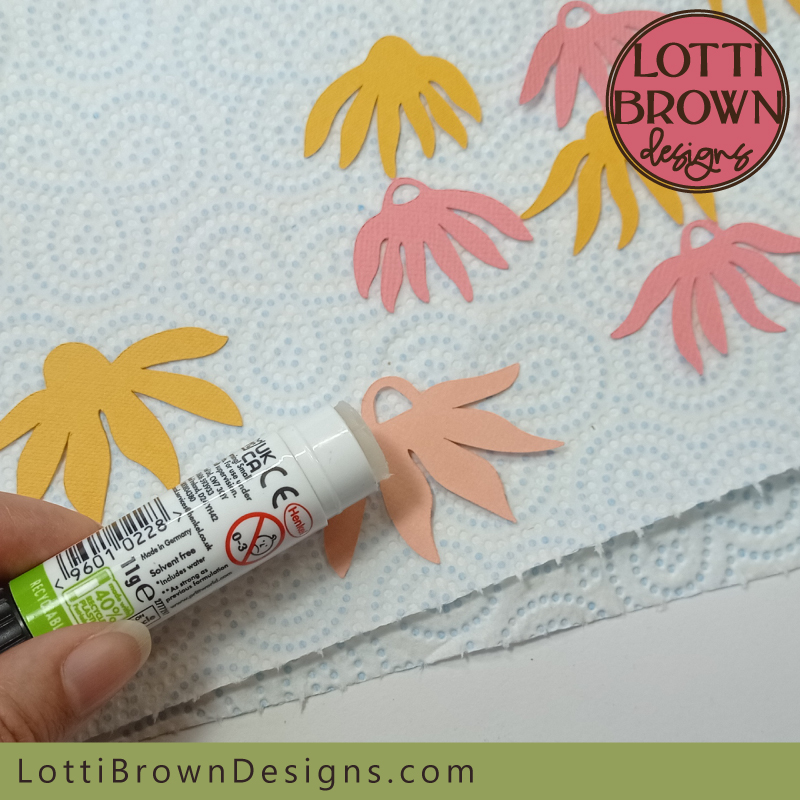 Add glue to the reverse of the pink/peach petal layers
- Then glue the petal layer down onto the yellow base layer - like in the image below - trying to get the edges all aligned and neat (you might be able to make a better job than I did!)...
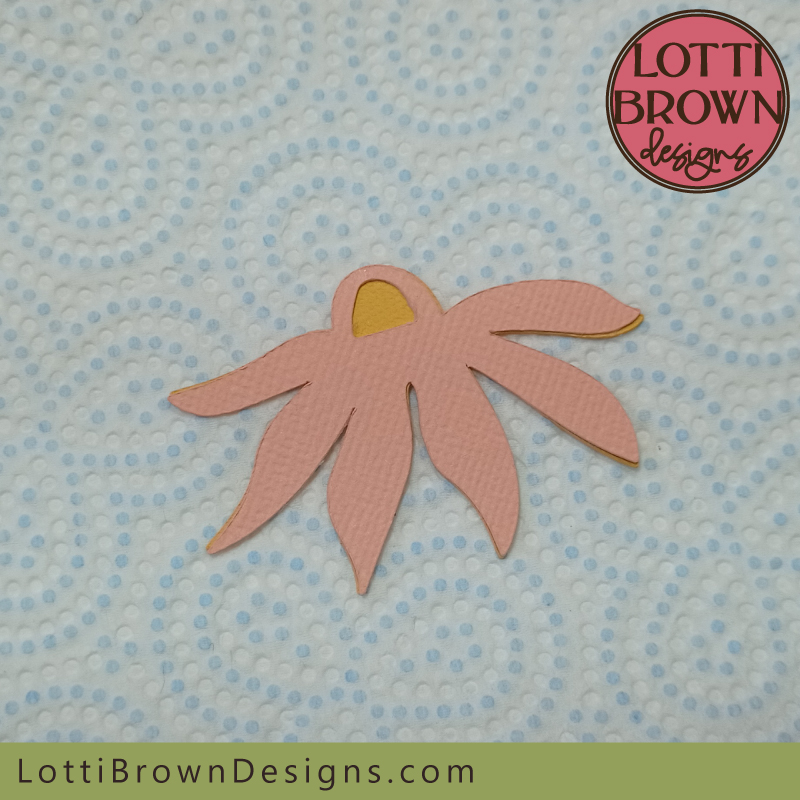 Glue the pink layer down
- Repeat this for all of the flowers - see the image below...
 Glue all of the flower shapes - five in total, one large four small
- Now let's move onto the main layers of the shadow box - I'm going to be starting from the back or bottom layer and working up, so that's the plain square at the back and the layer with both flowers and bee shape - see my photo below...
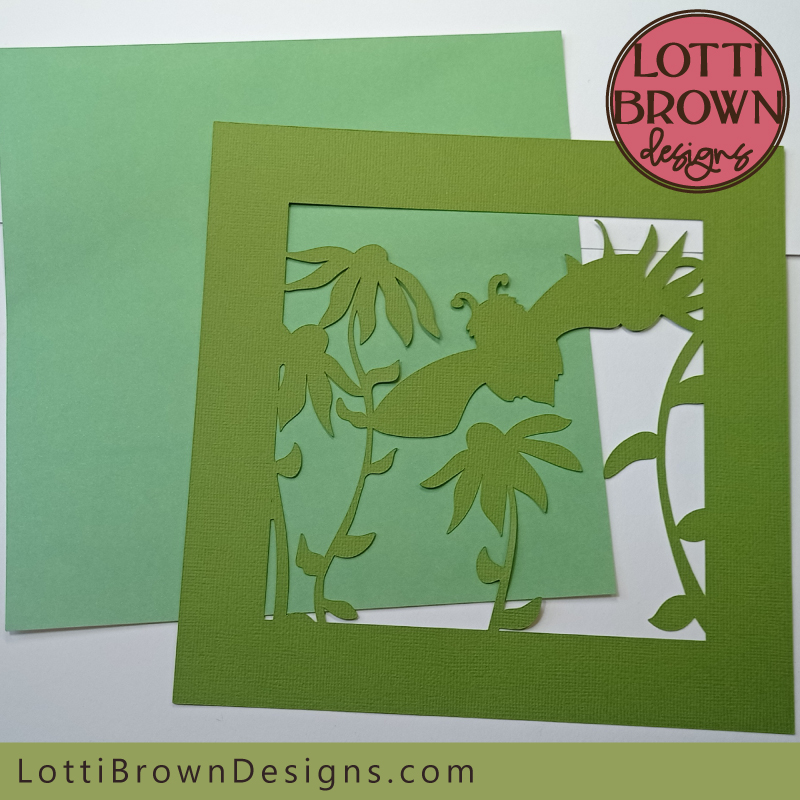 We'll start with these two back or bottom layers to build our shadow box up
- I'll be separating the layers with double-sided sticky tabs - which will go on the BACK of the bee and flower layer. The sticky tabs allows a little separation or space between the layers and adds to the 3D 'shadow' look for the box. If you like, you can double-up on the sticky tabs (one on top of another) to make the gaps deeper. I'll just be using one deep, with three per side - you can use four or five per side if you want, or just two if you're short of tabs or time...
- Do try and keep the positioning the same (or very similar - no need to measure) for each layer - this way, one tab sits on top of the other and the layers are built up evenly with no sagging - you can see how I've positioned mine around the edges in the photo below...
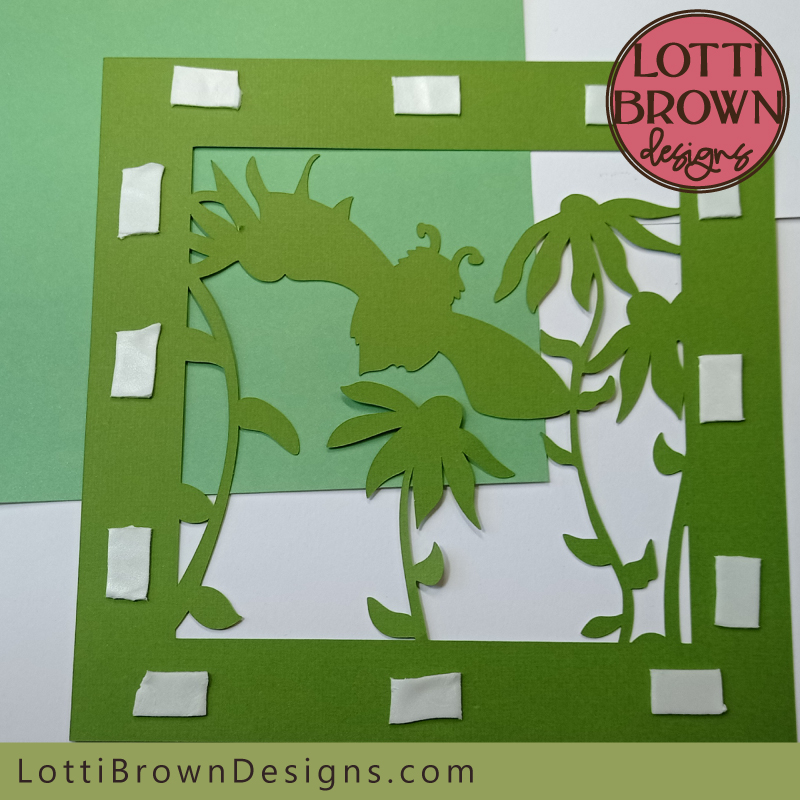 Position double-sided sticky tabs around the edges, on the reverse of the layer
- Then, turn the layer over, line up the top edges carefully with the plain square underneath, and carefully lower the layer down, and when you're happy it's in position, press into place - see the image below...
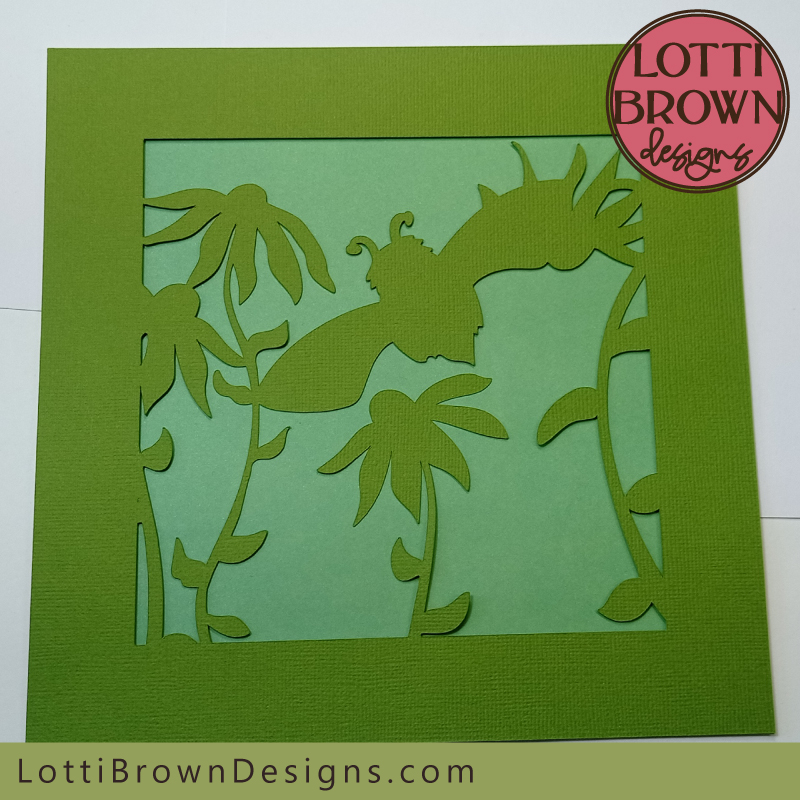 Line up the top edges of the two layers then carefully stick down
- Next, it's the yellow layer - the one with just the three flower-head shapes at the top. Add your double-sided sticky tabs to the back of this layer, trying to get them in a similar position to your last layer (as best you can without needing to be precise) - see the image below...
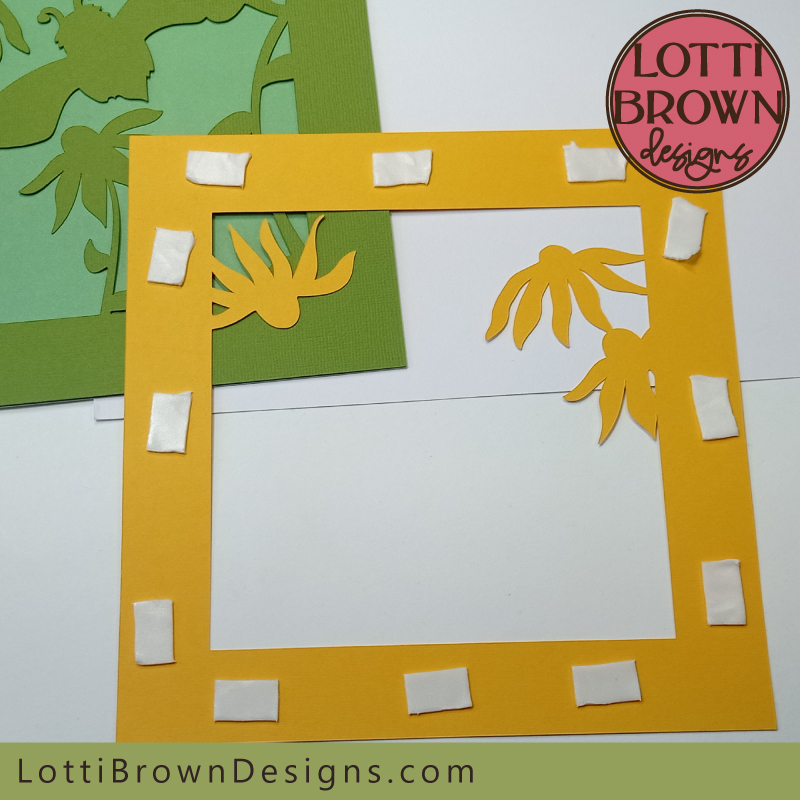 Add double-sided sticky tabs to the back of the layer, trying to get them in a similar position to the previous layer
- Then, turn it over, line up the top edges and lower it down carefully and stick in place - it should look something like my photo below...
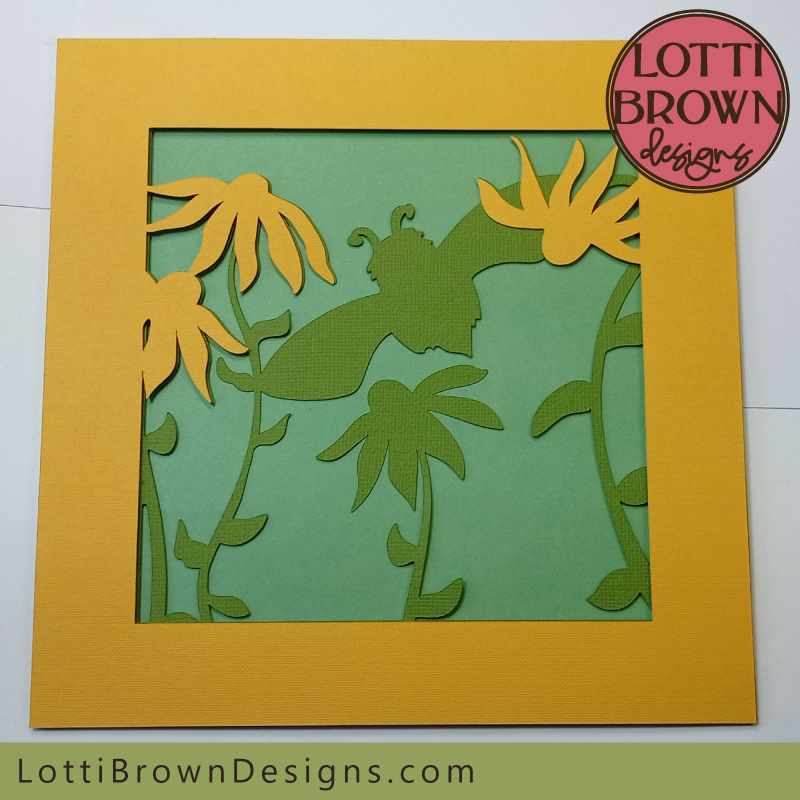 Slowly building up the layers - align the top edges and stick in place
- The next layer is the peach colour - it's got the same three little flowers near the top but with little holes cut out for the flower centres. Again, add the double-sided sticky tabs to the back of the layer, trying to get them in the similar positions to the other two layers - see my photo below...
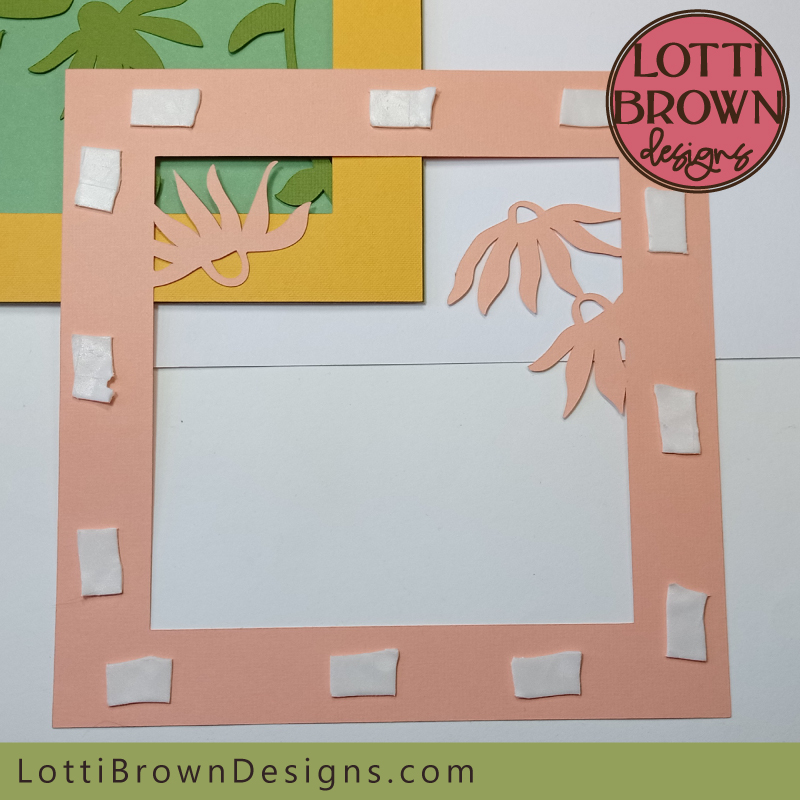 Add your double-sided sticky tabs to the reverse of the pinky-peach layer, trying to get them in the same positions as previously
- And again, it's just a matter of turning the layer over, lining it up along the top edges, and press it down onto the layers beneath - see the image below...
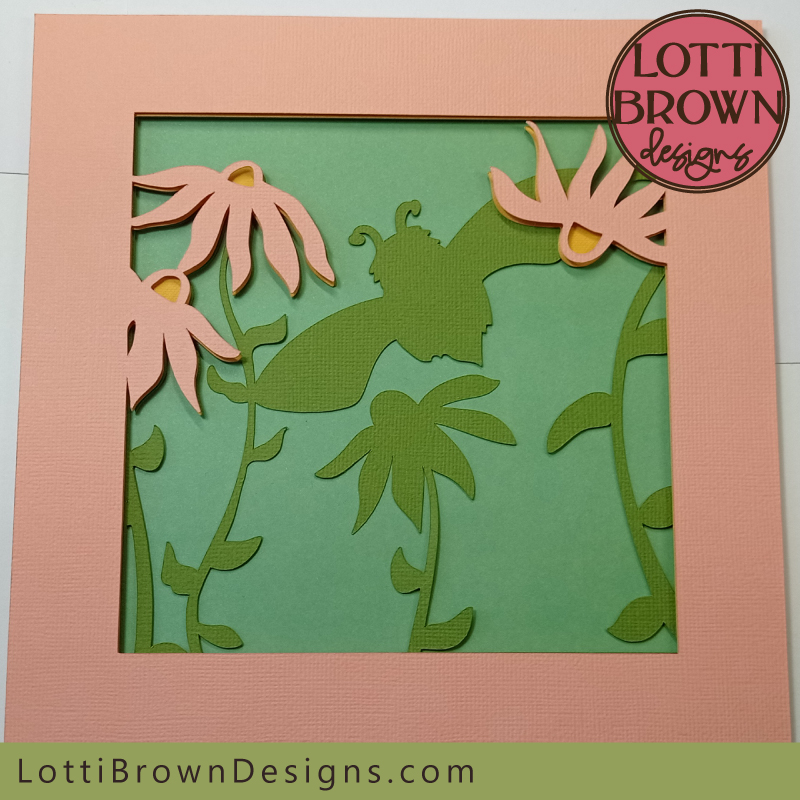 Add the pinky-peach layer to your shadow box paper art project
- Next, we'll add the little flower than goes with this layer - that's the larger of the separate flowers, that matches the pinky-peach colour of the layer. It'll go on the green flower shape beneath the bee - see my photo below...
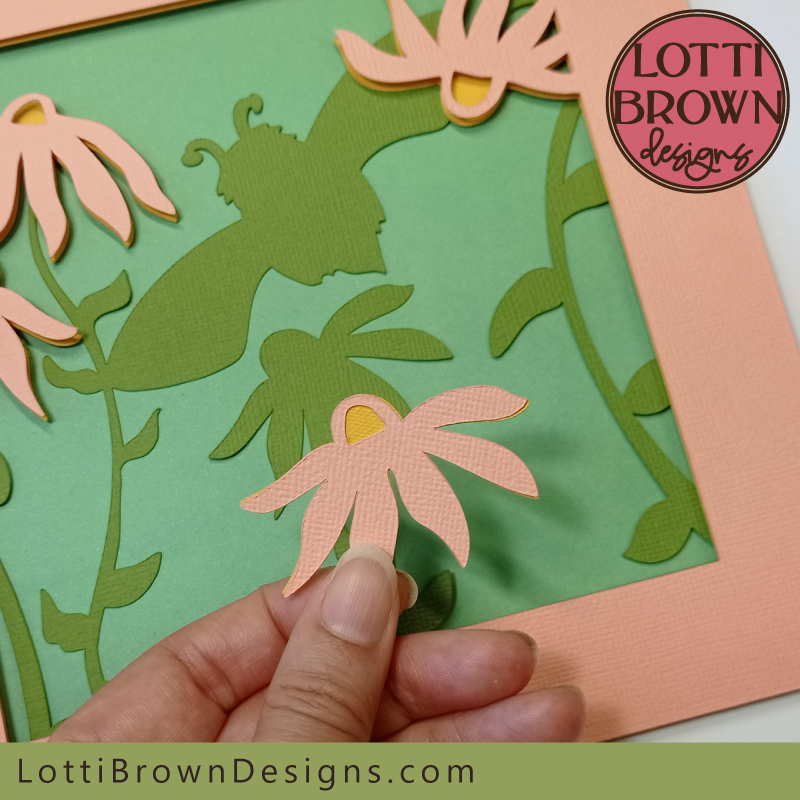 Let's add this flower to the layer
- Add a double-sided sticky tab to the back of the flower - I cut a sticky tab in half to fit the flower - you can see it in my photo below...
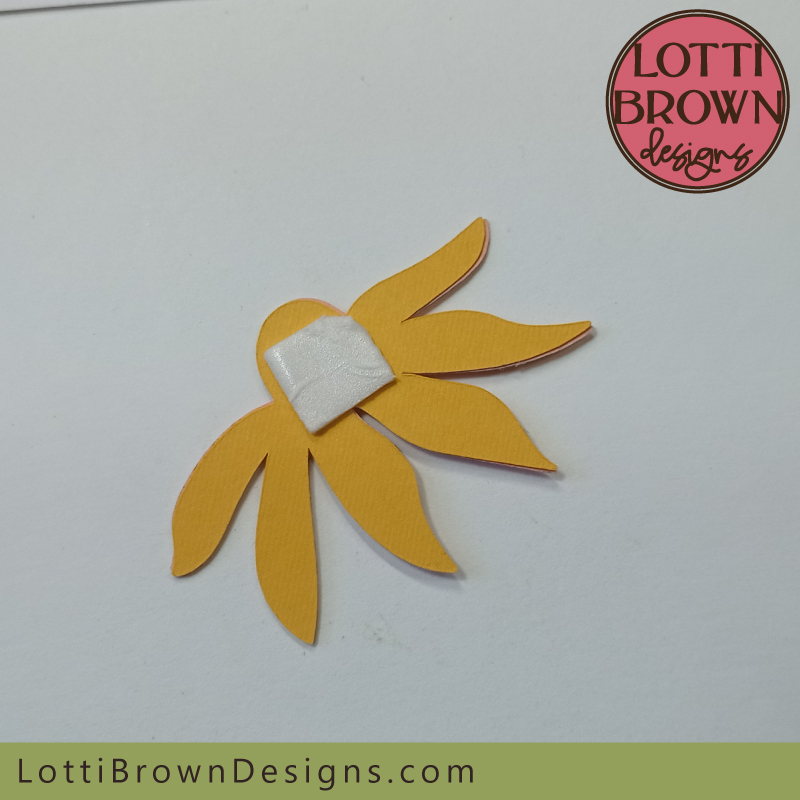 I cut a double-sided sticky tab in half and stuck it to the back of the flower
- Then just stick it in place, trying to get the edges lined up as best you can - see the photo below...
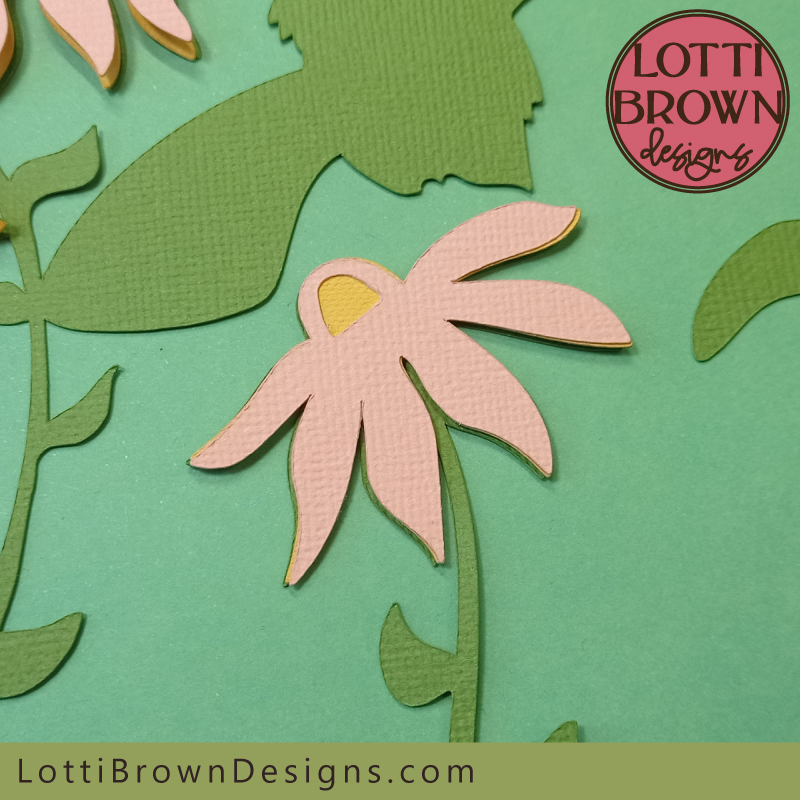 Stick the flower in place
- Now it's time for the final main layer - it's pale green with flower shapes at the bottom (and hopefully the only square layer you've got left!) - again, just add your double-sided sticky tabs around the edges on the back of the layer, in the same or similar positions as the previous layers, as much as possible - see the photo below...
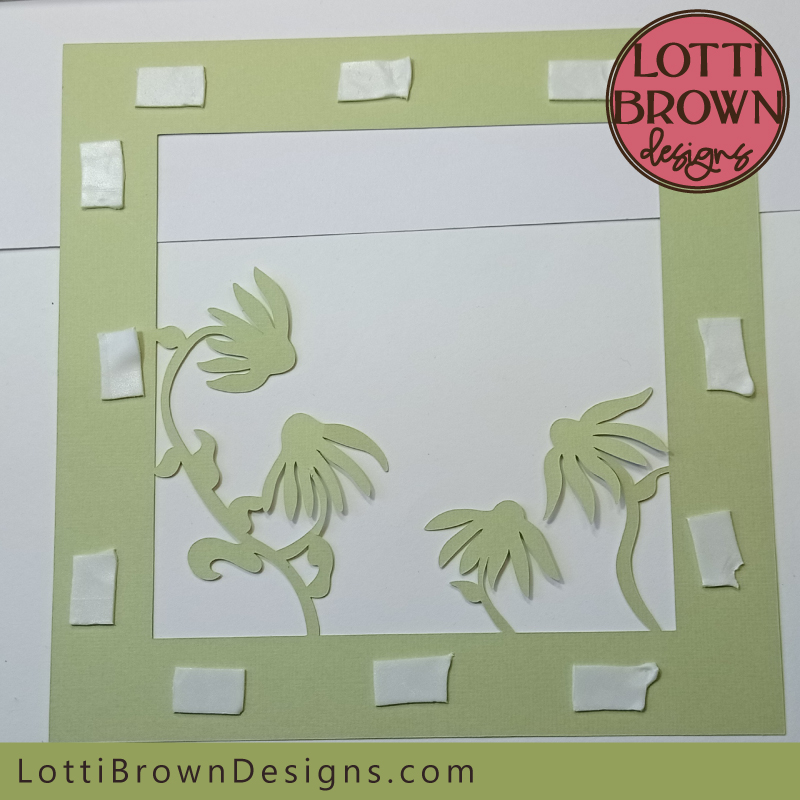 Add double-sided sticky tabs around the reverse of the layer - try to get them in similar positions as the previous layers, again
- Then turn this layer over, line up the top edges and lower the layer to stick it down - it should look something like mine in the photo below...
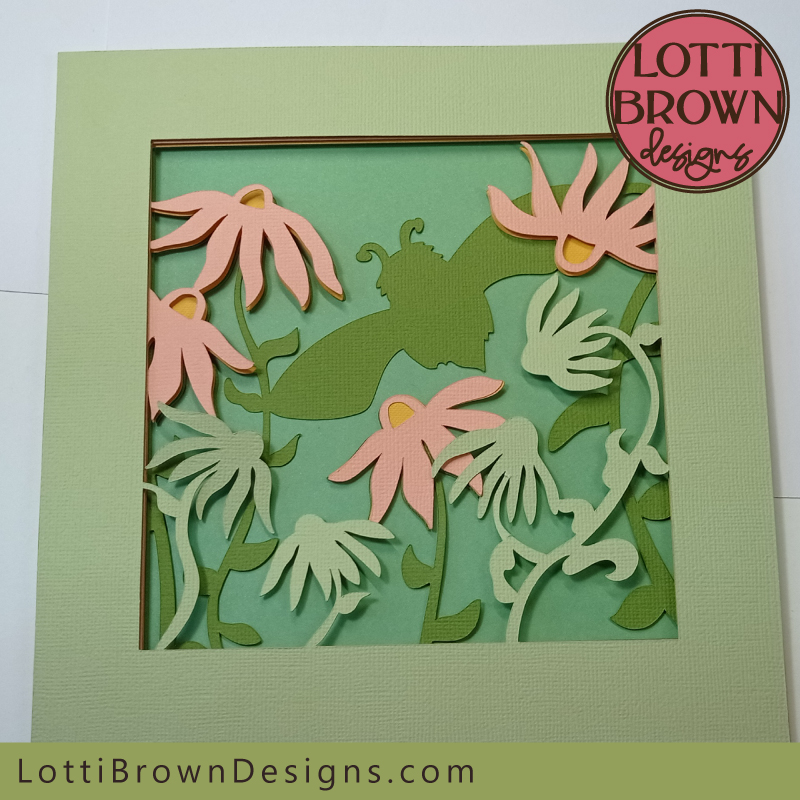 Stick down this final main layer, after aligning the edges carefully
- So now we need to add the little flowers onto the layer - you should have four left - see my photo below...
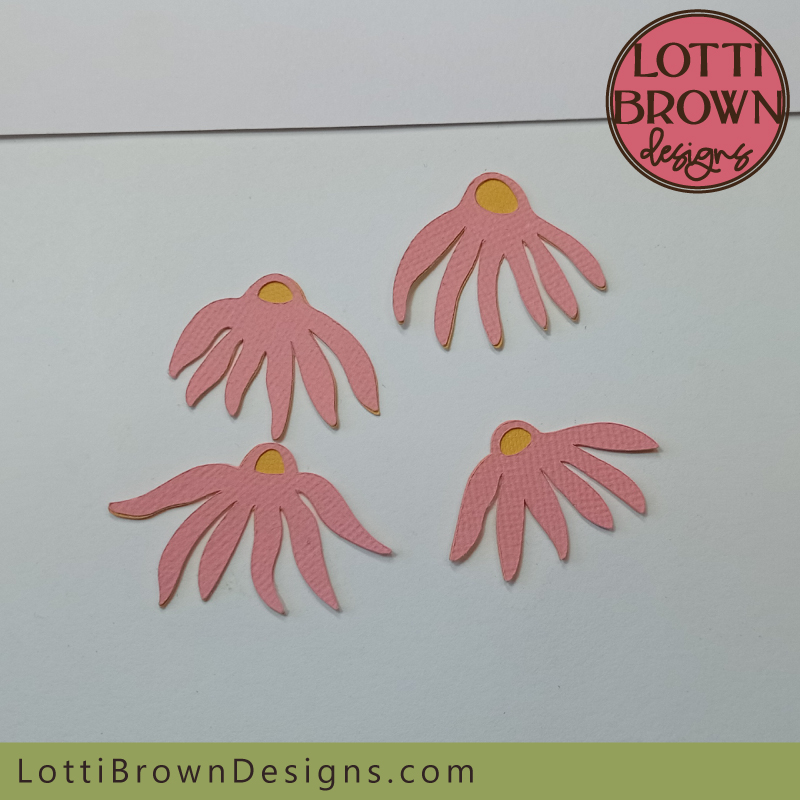 It's time to add the little flowers
- Again, I've added small pieces of double-sided sticky tabs to the back. I cut my sticky tabs into quarters to get the pieces small enough. You could also just use glue if you find it too fiddly. See my photo below...
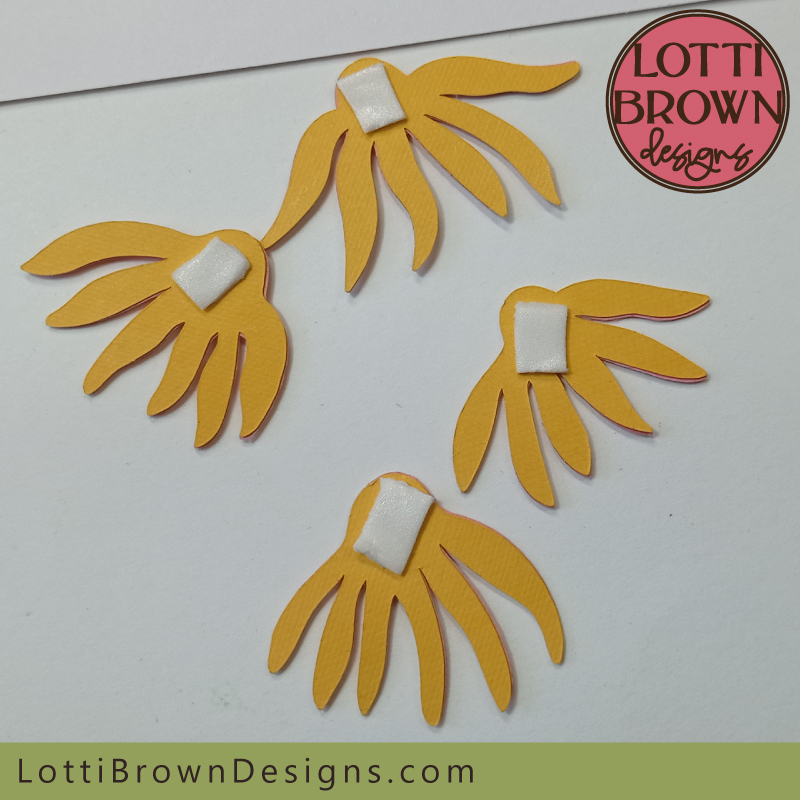 Add small pieces of double-sided sticky tabs to the back of each flower
- Then stick each in position on the pale green layer - see my photo below for how mine ended up - don't worry, we haven't forgotten our beautiful bee, we'll do him next!
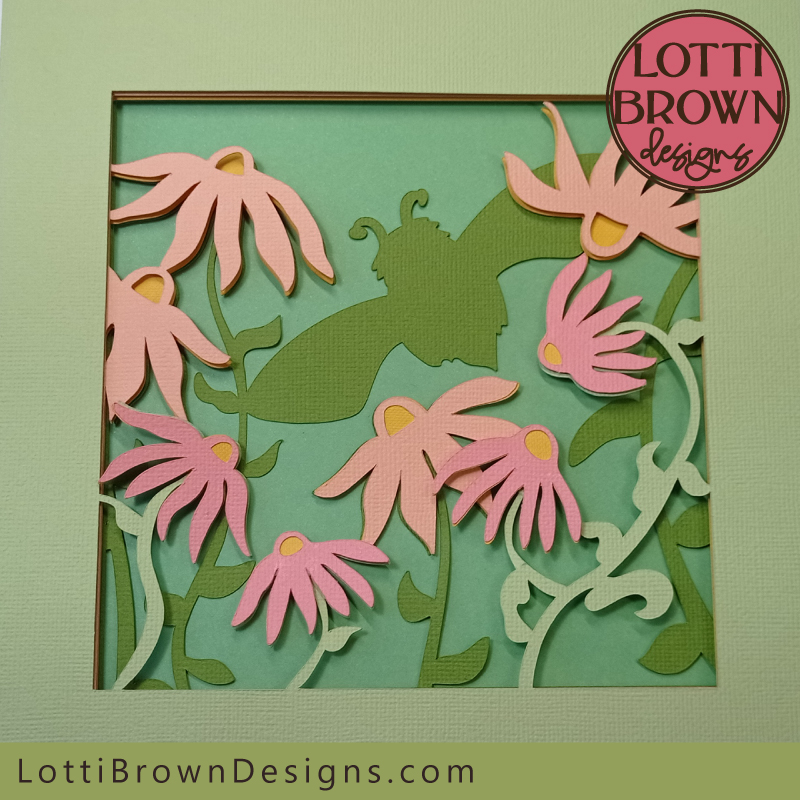 Flowers stuck in place
- Now, take your bee and add three double-sided sticky tabs to his body and both wings - see the image below...
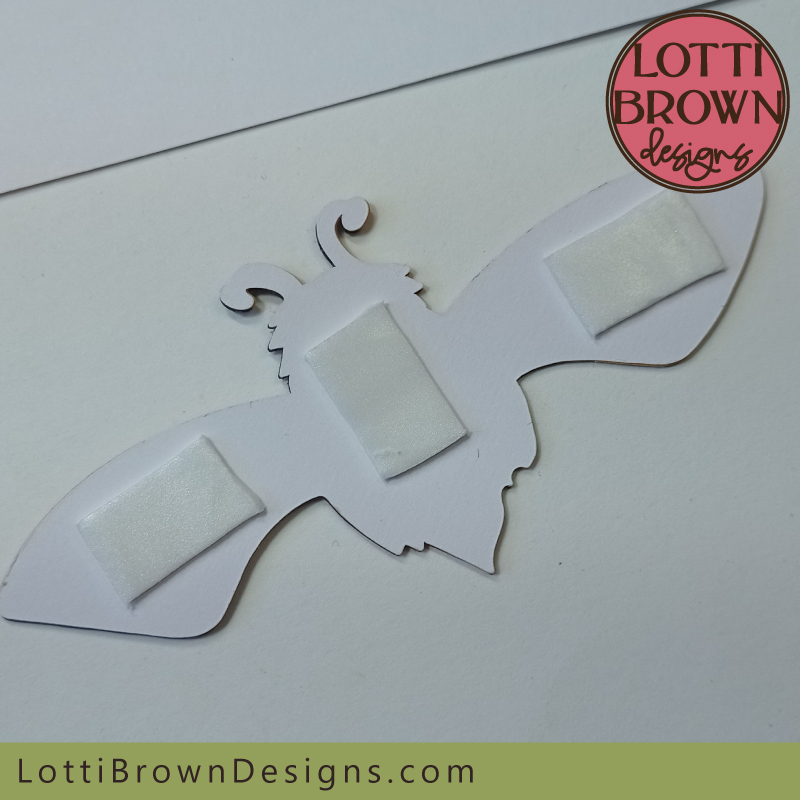 Add three double-sided sticky tabs to the back of your bee
- Then stick him down in place - you should be able to see the bee shape ready for him, and he'll go over the top of the pinky-peach flower, like you can see in my photo below...
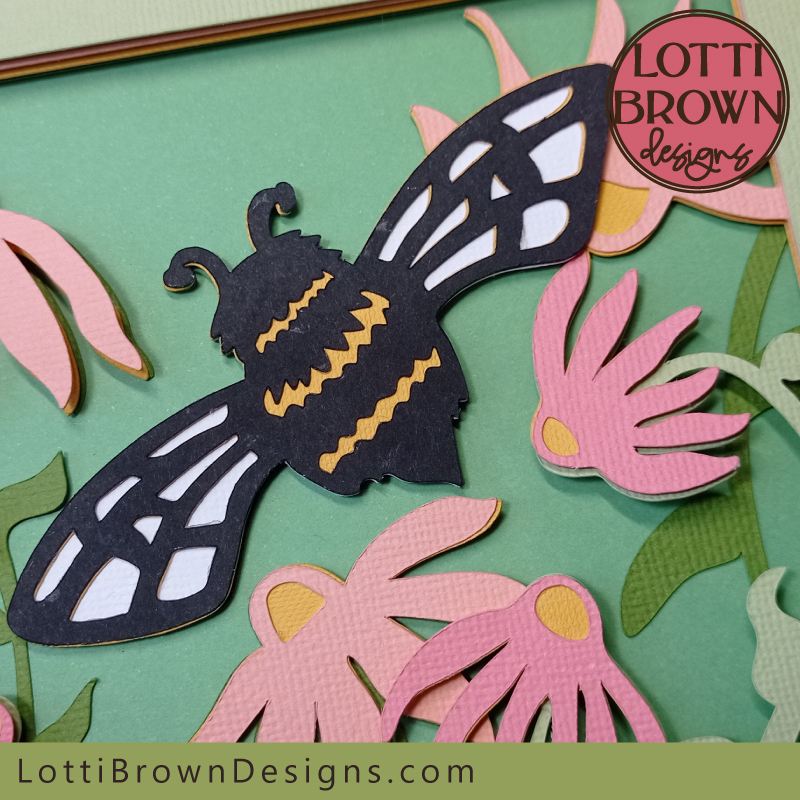 Stick the bee in place, going over the top of the pinky-peach flower
- Your bee shadow box paper art project is now done! Hurrah! Stand back and take a look - you can see mine just below...
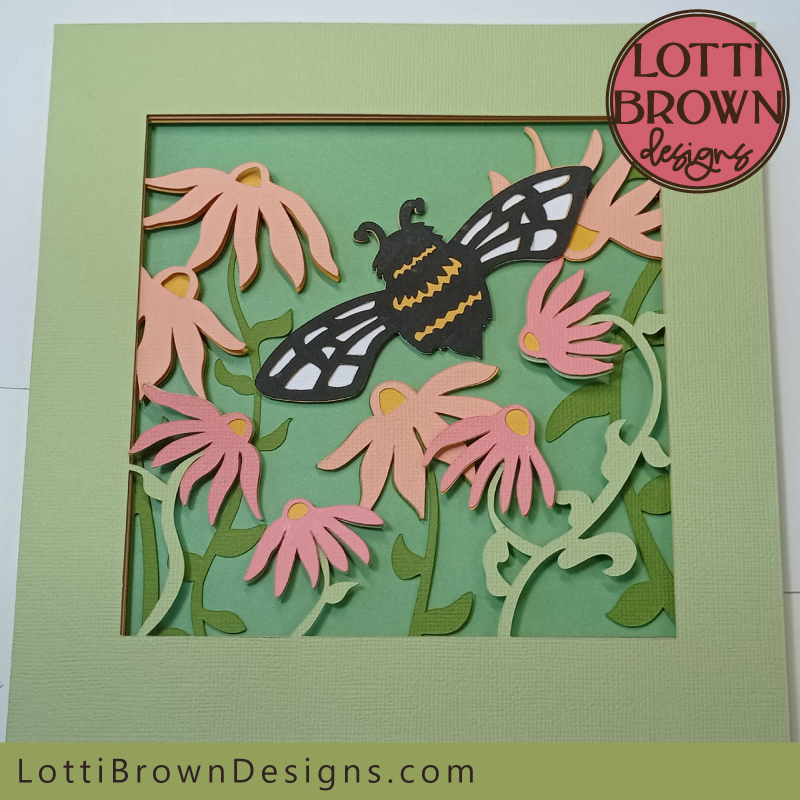 Your shadow box project is now complete
- I just made one final amendment to my shadow box - my petal near the bee seemed to be flapping about, so I added a little bit of glue just where my finger's pointing in the photo below. The alternative colour version I made didn't need this extra dab of glue, so just give a quick visual check to yours and feel free to add glue in any parts that aren't behaving as you'd like...
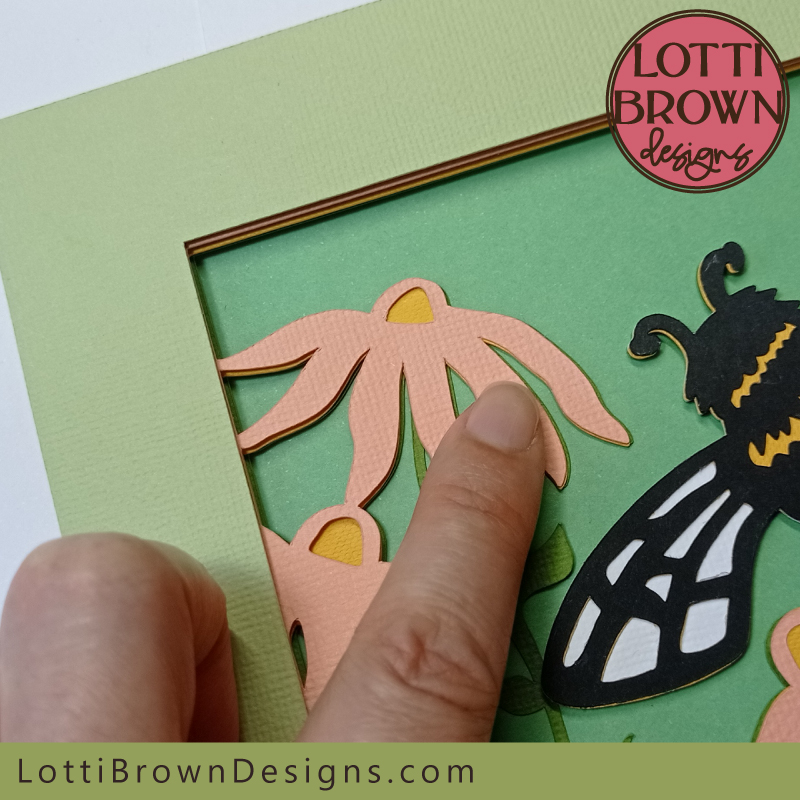 Adding an extra dab of glue
So now it's properly finished and we just need to add your beautiful shadow box paper art to a frame - see mine in the photo below...
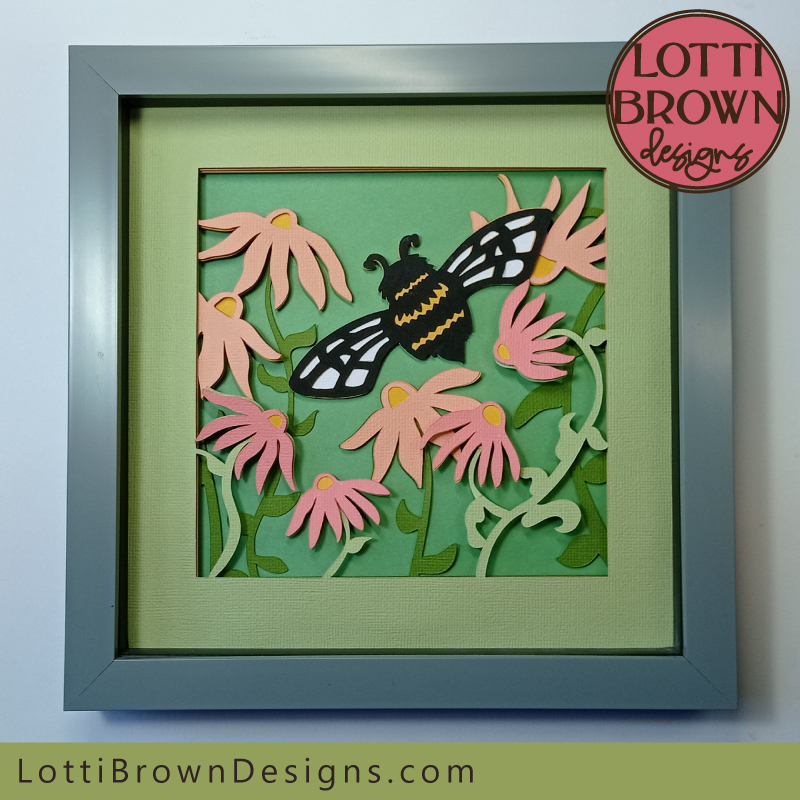 Bee shadow box paper art finished and framed
 Detailed look at the bee and flowers shadow box
You can also see my alternative colour version in the photos below - I made the two sets of flowers different colours, pink and yellow, with orange and brown flower centres, and changed up the greens a little to create a slightly different look...
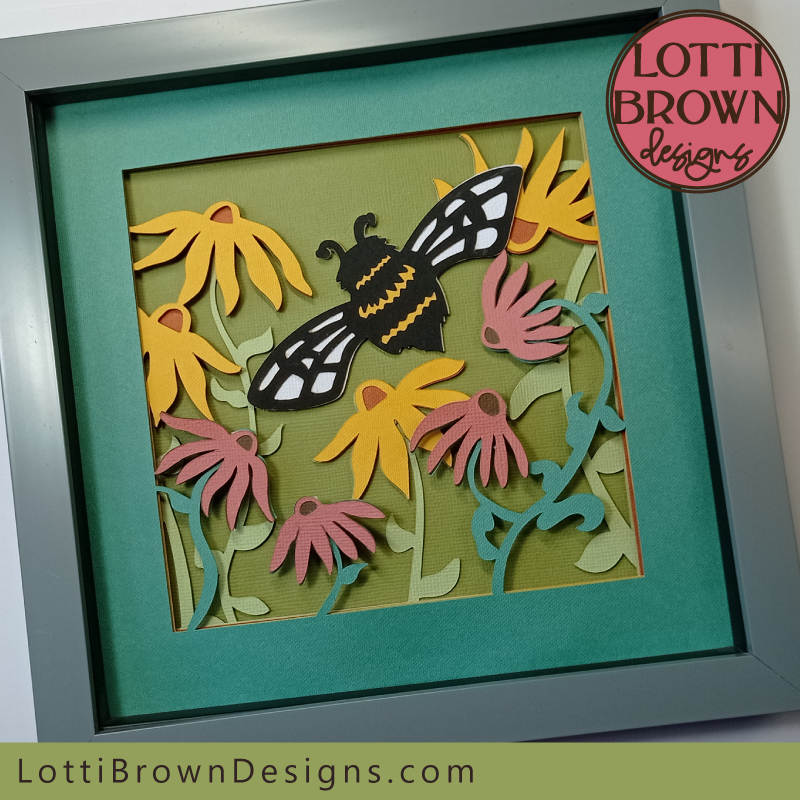 Alternative colour idea for the bee shadow box
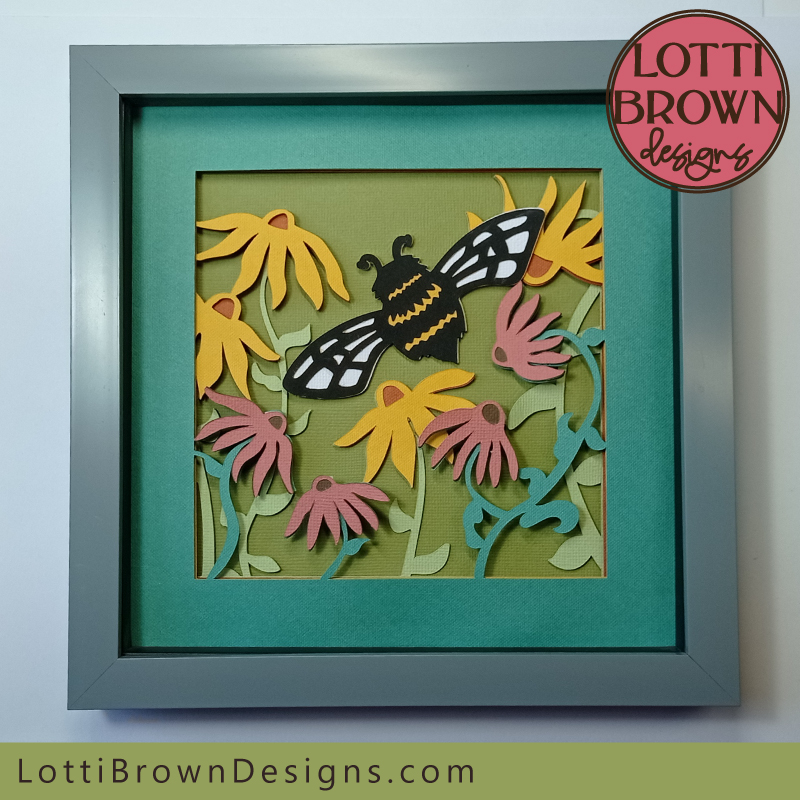 Bee and flowers shadow box - alternative look
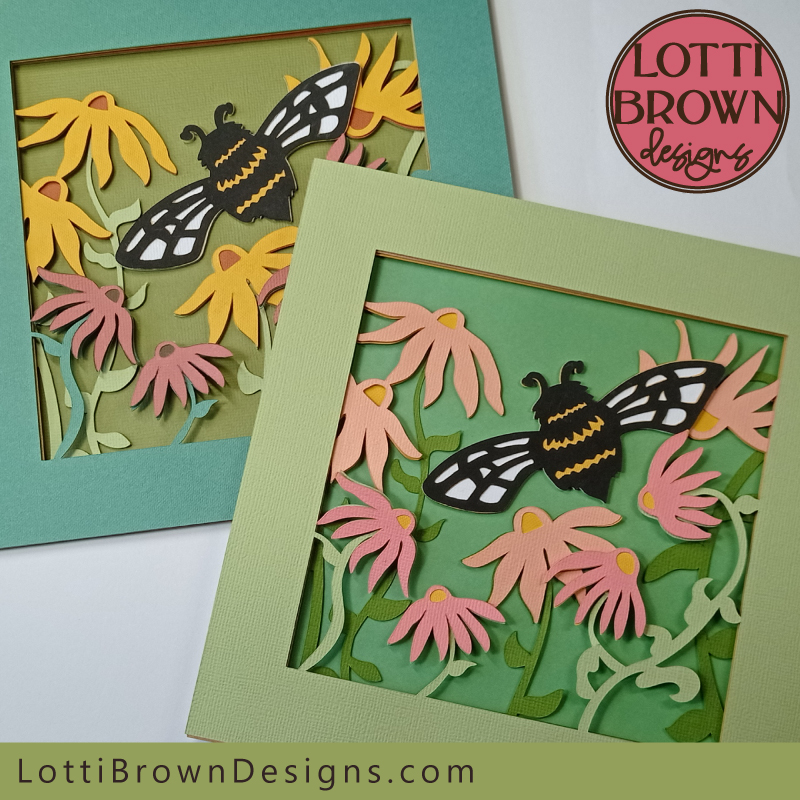 Bee shadow box paper craft colour ideas
Buy the Bee Shadow Box Paper Art Template
If you like this project, you can get my bee and flowers shadow box paper art project from my store at the link just below...
 Bee and flower shadow box template - SVG, DXF, EPS, PNG
Get the bee shadow box paper art template from my store here...
SVG, DXF, EPS, and PNG file formats
For personal craft use or small-business commercial use (up to 200 products)
For physical (craft) products - no digital products, use, or sharing
You Might Also Like:
Lotti Brown's Designs & Templates
How-tos...
- How to use SVG cut files for Cricut (also other cut file formats & machines)
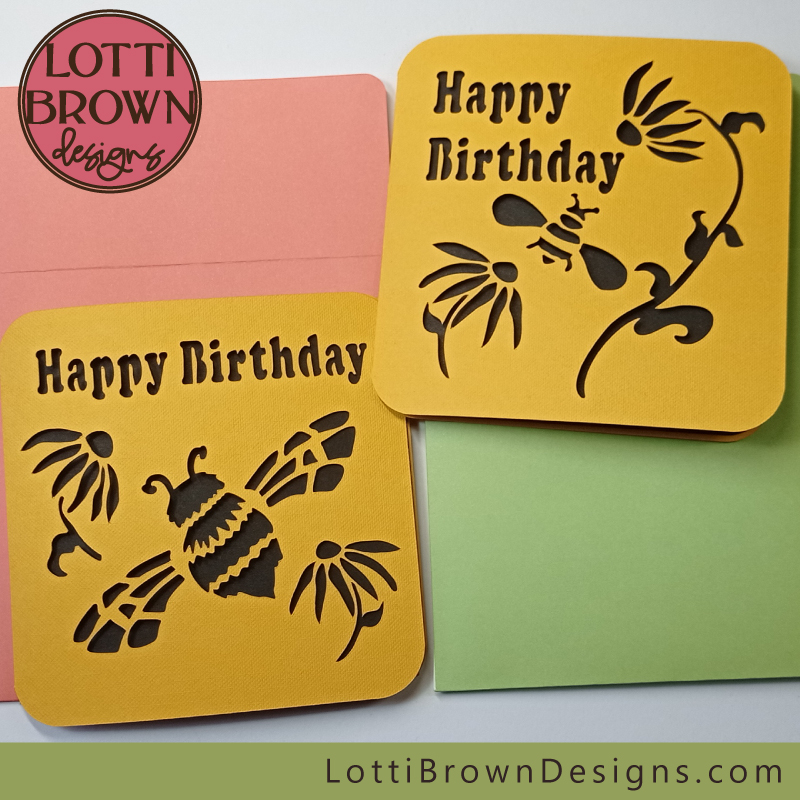 Bee card templates
If you're making my bee shadow box as a gift, why not pair it with a matching bee card - check out these two cute bee card templates here...
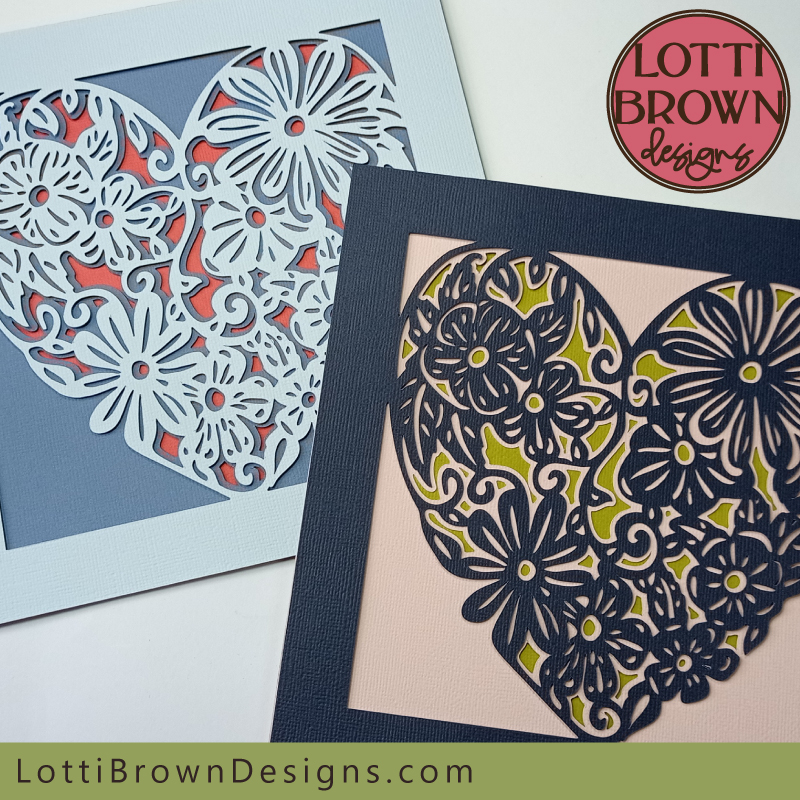 Floral heart shadow box template
You might also like some more of my shadow box templates - see them all on this page here...
And more project ideas here...
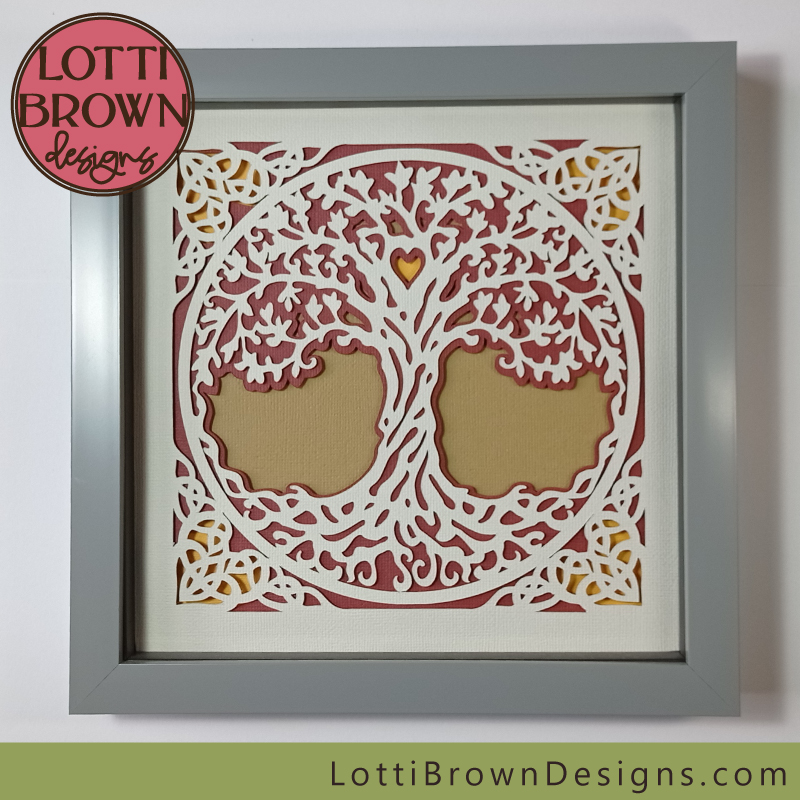 Tree of Life shadow box template
And also take a look at my floral, butterfly, and dragonfly SVG designs, here...
 Floral SVG file
If you need help with using your SVG or other file types, that's here - and there's some extra help for Cricut users, here...
Shall we stay in touch..?
Each month, I share stories from my own nature journal, new art from my studio, and simple seasonal inspiration to help you feel more connected with the turning year...
Recent Articles
-
British Nature Folklore Library: Stories, Seasons & Celtic Tree Wisdom
Dec 01, 25 05:09 AM
Explore British nature folklore, Celtic tree meanings, and seasonal wildlife stories. A growing library of myth, meaning, and hand-drawn inspiration. -
Beautiful Art Inspired by Nature
Dec 01, 25 05:04 AM
Beautiful folksy art inspired by nature from the fields and hedgerows of Yorkshire - colourful birds and wildlife with a nostalgic floral touch... -
Birds and Folklore in Britain: A November Nature Journal
Nov 26, 25 04:32 AM
November birds and berries - fieldfares, redwings, lapwings and snow geese with folklore, meaning and nature journal inspiration.
Follow me:
Share this page:


