*** IMPORTANT - I'm retiring my digital files - SVG/PNG/DXF/EPS - and printables from 31st December 2025 ***
*** Please ensure that you have everything you need - files and/or instructions printed off from the website (find them currently in the ARCHIVES section) - by 31st December 2025 as they will not be available after this date ***

Woodland Fox Shadow Box SVG File
- Home
- SVG files
- Shadow Box SVGs
- Fox Shadow Box SVG
Beautiful woodland fox shadow box SVG file for paper cut wall art - I created this lovely shadow box art idea with a woodland fox scene for you to make...
Make it in these stunning bright colours for real impact or keep it simple with white card - two different effects, and I love them both!
Which will you choose..? Or will you create your own colour scheme..?
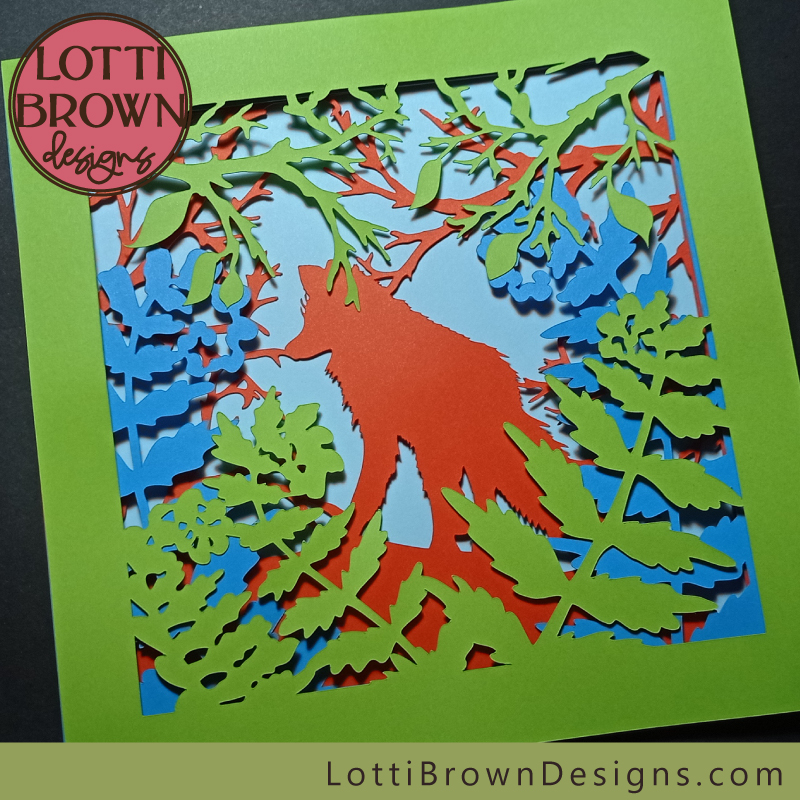 'Woodland Fox' shadow box papercut
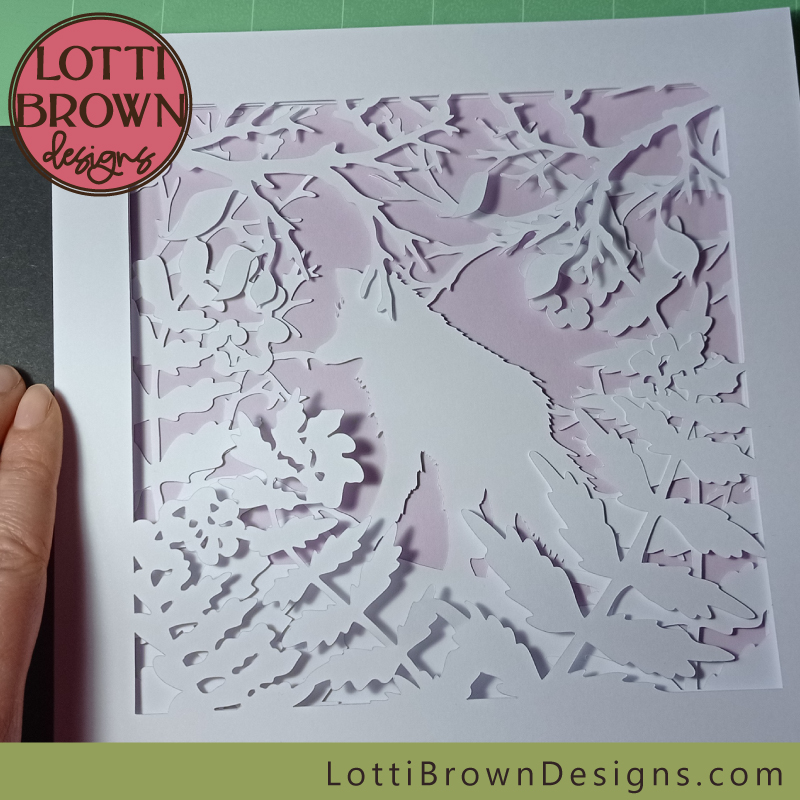 Papercut fox woodland scene shadow box in white card
A shadow box is a really lovely art idea to make with your Cricut or other cutting machine - you can even do the papercutting by hand!
It might look complex, but it's actually a lot simpler than you think!
My fox shadow box SVG file is made up of just four layers, and one of those layers is the plain square to fit the back, so there's actually just three intricate layers to cut to get this fantastic effect.
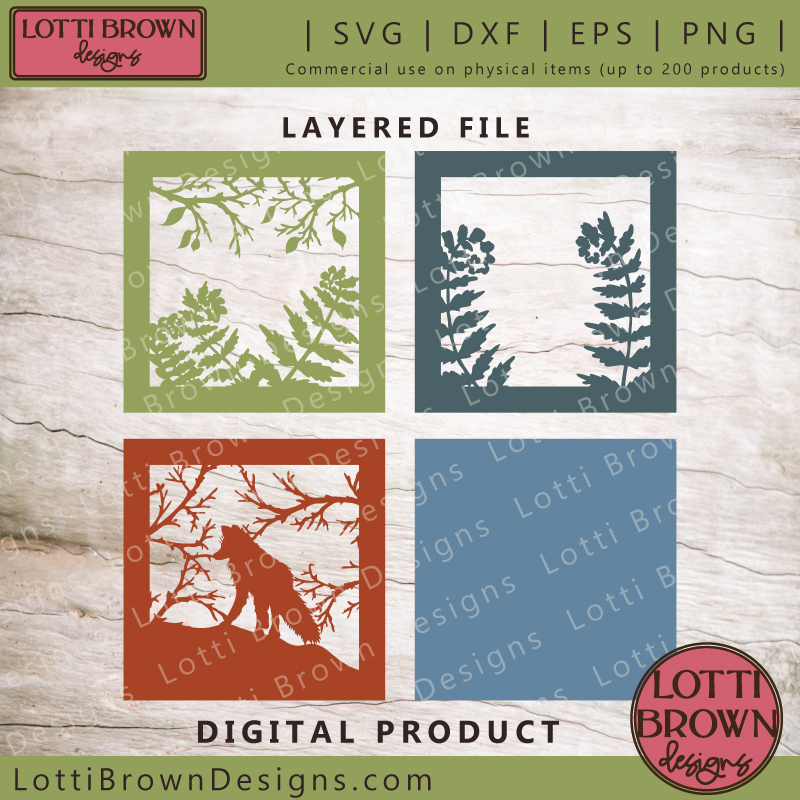 Layered file to create the shadow box art
My file comes in SVG, DXF, EPS, and PNG formats, so that it can be used for Cricut, Silhouette, ScanNCut and other popular cutting machines, as well as hand-cut projects.
To make the shadow box art idea, you just need to layer up the layers - it can work just glued together, or even loose in a frame, but for the most beautiful shadow effects to your papercut wall art, the layers need separating a little to create the shadows - so foam pads between the layers are added and this gives more of a 3D effect.
Just then pop the finished artwork into a box frame that has a little more depth than an ordinary frame.
You can make your shadow box papercut art into a light box, by adding battery fairy lights or LED strip lights at the back of the frame.
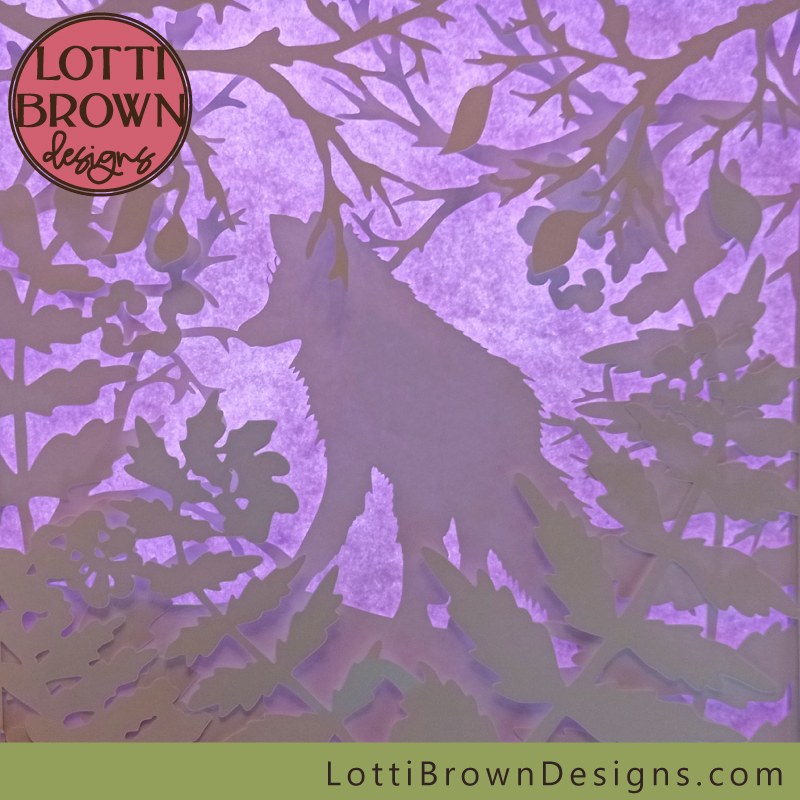 Woodland fox light box papercut art project - white card and lilac card background
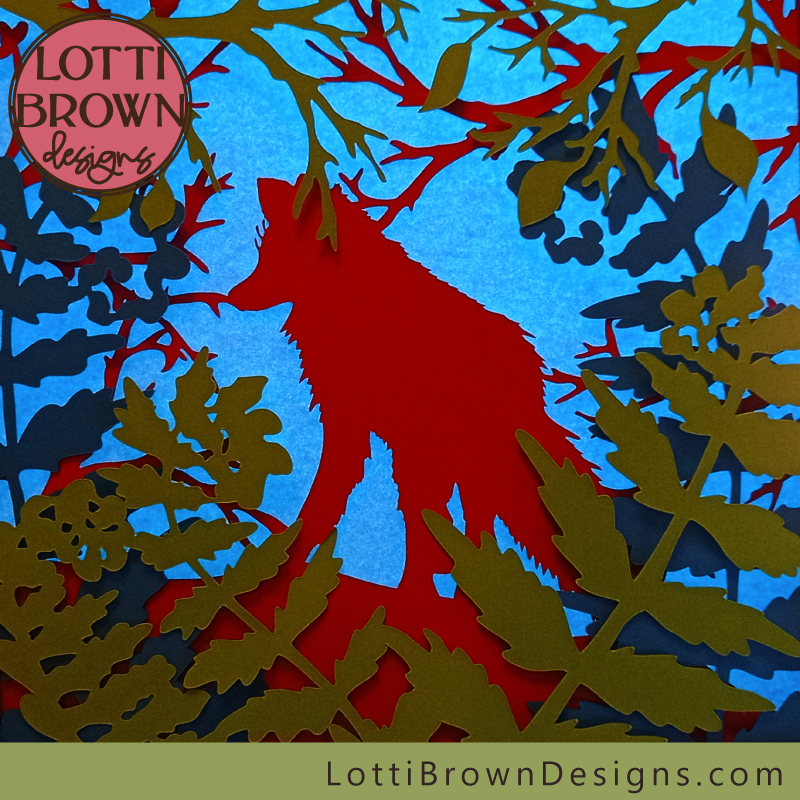 Woodland Fox light box papercut art idea with coloured card
Try adding the lights around the edge (where the layers of card art thicker) if you don't want the lights themselves to show through, just the glow...
If you like the idea of fairy lights showing through like little stars, just weave them around the back of the artwork.
I did create the artwork so that it would look effective whether you choose to use lights or not - I choose not to use lights when I display my own shadow box papercut wall art, not because I don't like the effect (I love it) but just because it's easier not to have battery packs hanging about and remember to switch them on and off...
That's specifically why I design my shadow box designs to look beautiful unlit as well as lit, and just to be able to appreciate the beauty created by the 3D nature of the papercut and the shadows it creates within itself...
So if you're feeling inspired, here's how you make the shadow box art...
How to Make Up Your Fox Shadow Box SVG Template
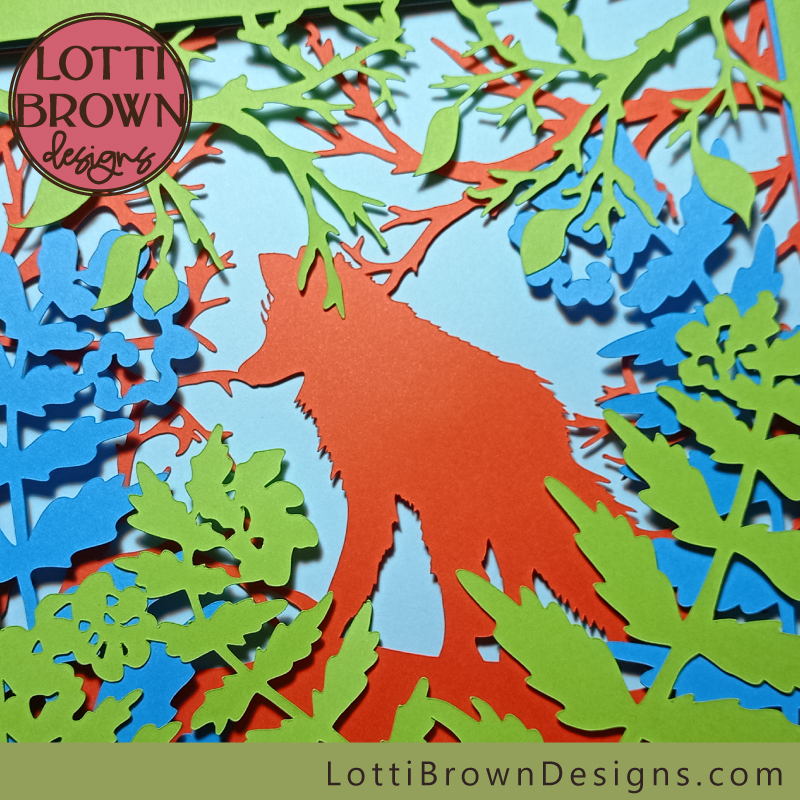 Fox shadow box papercut - close up view
You will need
- My Woodland Fox shadow box SVG template, (if you don't already have it), which you can download from my store here (SVG, DXF, EPS & PNG formats)
- Four pieces of card - I used 160gsm smooth white and coloured craft card. I made my shadow box art to fit an 8 x 8 inch frame, so the card just fitted within a standard A4 sized paper - use whichever coloured card you choose - my design suggests colours, but get creative with your own. Especially play with the background layer as different background colours give very different effects
- Box frame (or other suitable frame)
- Foam sticky pads to create the 3D effect - you can use normal glue or glue dots if you don't need the 3D effect
- Cutting implements and equipment - I used a Cricut Maker and Cricut Design Space software, plus standard sticky mat, weeding tool and spatula tool - you could use another cutting machine or cut by hand from the PNG papercut templates, as you choose
- Battery fairy lights or similar if you wish to create a light box (optional)
Let's Get Started!
- The first thing you will need to do is resize the fox shadow box SVG file in your chosen software to fit your frame (or print out your PNG files to the desired size) - My frame is 8 x 8 inches so I resized the design to 8 inches or, because I work in cm, to 20.3 cm. With a little bit of jiggling about in Design Space, this size is able to print onto a standard A4 card size with a little to spare both left and right sides.
- Next, cut the design, via whichever method you've chosen, layer by layer and weed away the waste for each layer. You should have four layers, including the base layer which is a simple square.
- It's worth taking a little time, now, to organise your layers, just to make sure you get them in the correct order and the right way around (even I got confused, and I designed it!). You can refer back to the layered file or the labelled PNG or DXF files if you're unsure, and I'll also show you here, exactly which order to layer them in.
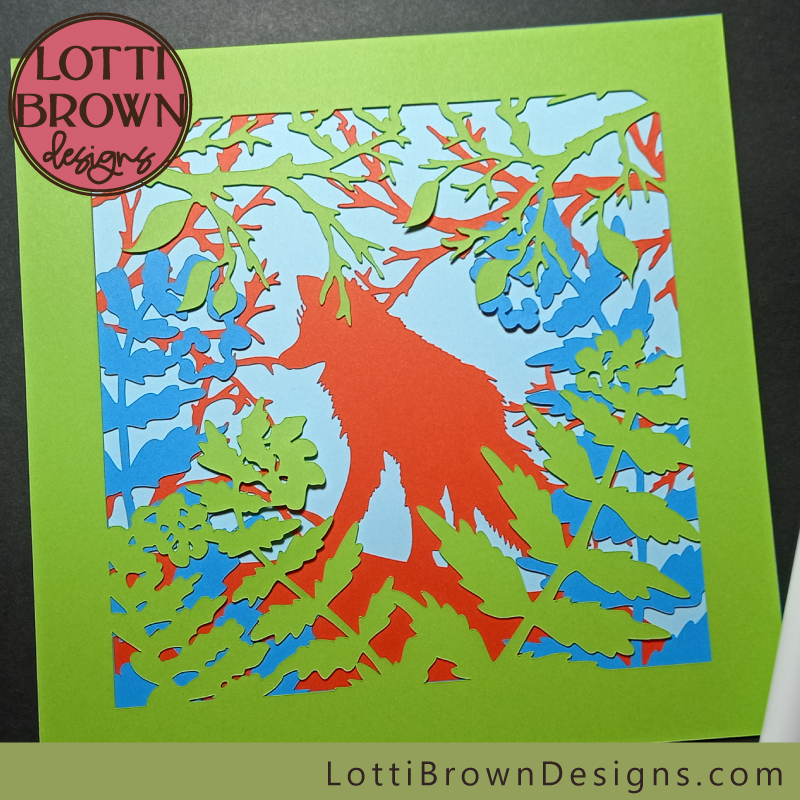 Layered file in order - top is green, blue ferns in the middle, red fox underneath and lastly the pale blue background
- Let's start with the bottom layer - the pale blue square if you're making this in colour. Simply lay it down onto your work surface and get ready for the next step...
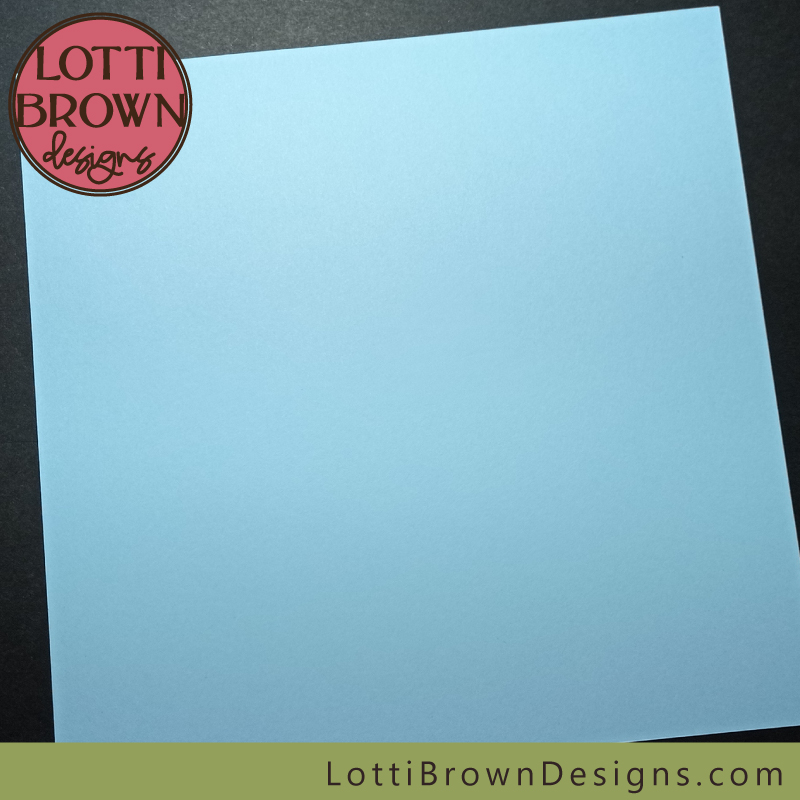 Background layer - you could also try black for either version, and all kinds of other colours would work well for the white version
- The red fox layer is next - I add foam pads to the edges working on the reverse (back) of the layer, doubling up thickness as my foam pads weren't as chunky as I'd have liked them to be.
- I've added a foam pad in the centre of the fox, to hold him in place - this works okay in the lit version as the red is a strong enough colour, but if you're doing the white version or any paler coloured card, leave off the central foam pad else it will show through as a rectangle when you backlight the artwork. If you're not going to light the papercut or if you're using dark colours or thick card, add as many foam pads as you choose!
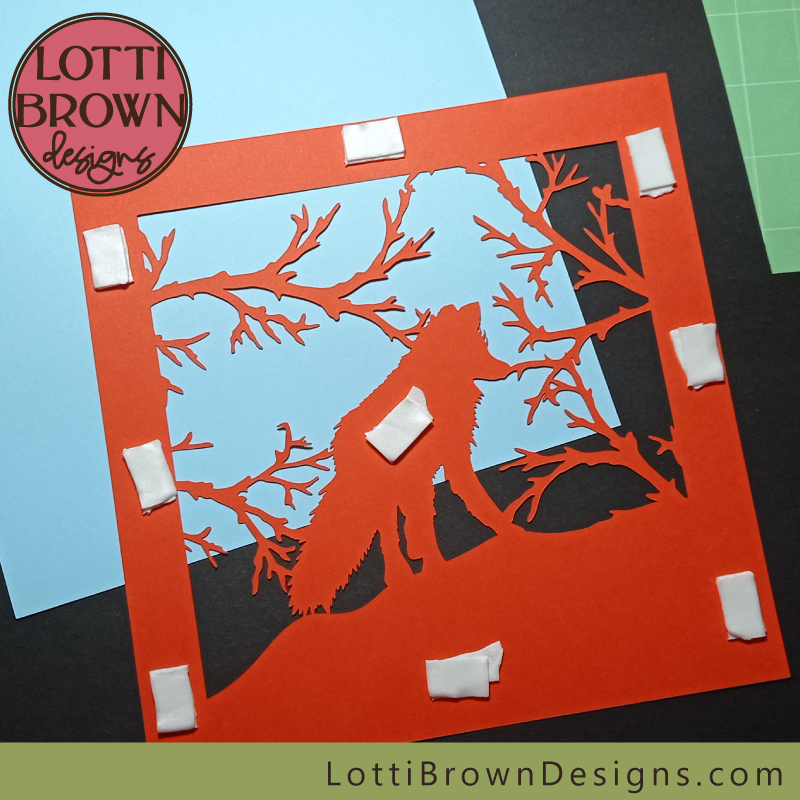 Add foam pads to the back of the red fox layer, doubling up if necessary to get enough thickness
- Align the two layers very carefully and press down to secure when you're sure it's correctly positioned... I think this could make a lovely artwork just like this, actually!
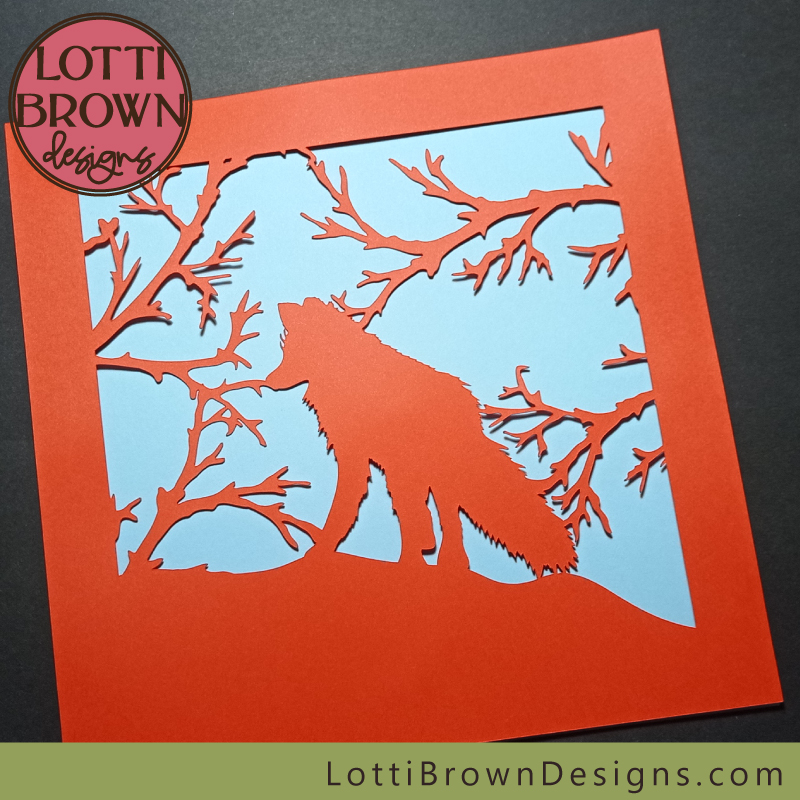 First papercut shadow box layer in place
- So next is the blue layer with the two ferns - we'll do this similarly, adding foam pads to the reverse of the layer...
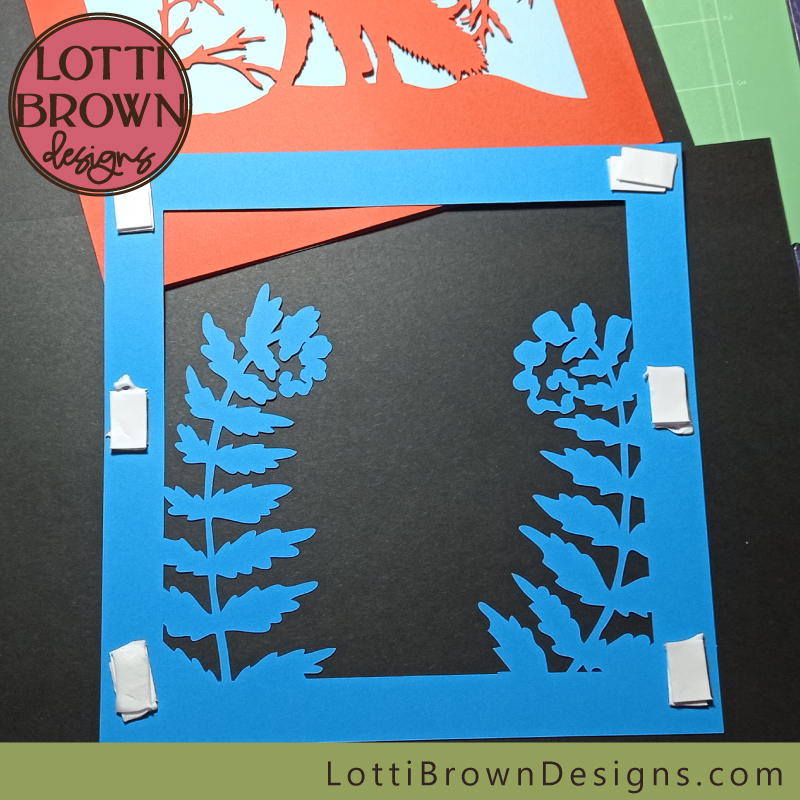 Adding foam pads to the back of the blue layer
- And again, position this carefully over the top of the red layer, pressing down once aligned...
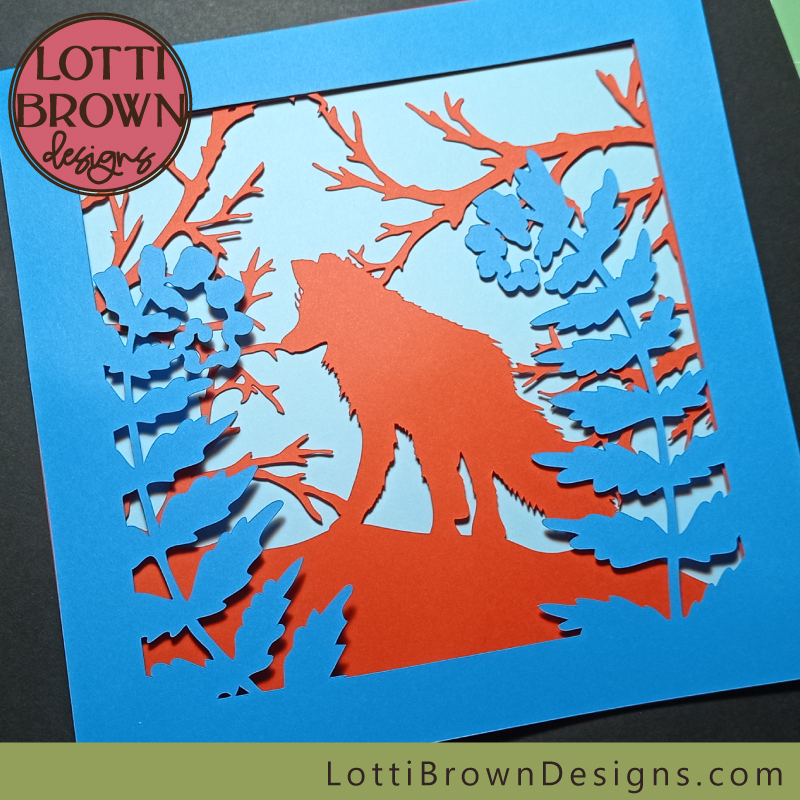 Adding a further layer to the papercut shadow box art
- Now, there's just the final layer to go, the green top layer with some ferns and tree branches. Once again, add your foam pads to the reverse, around the edges...
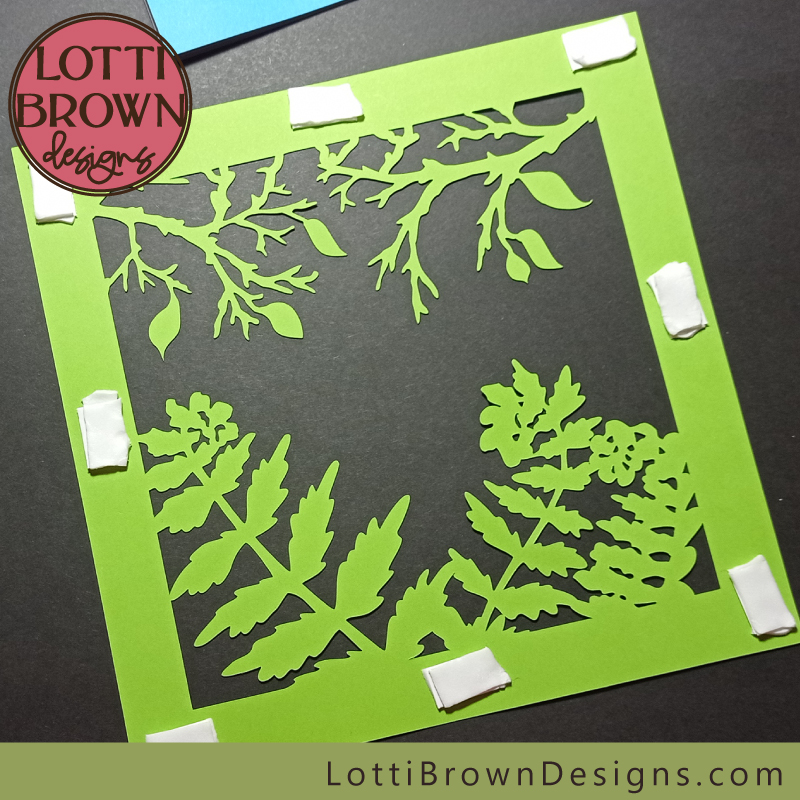 Preparing the reverse of the final layer with foam sticky pads
- And all that's left to do is to align the layer neatly, and press it down to secure...
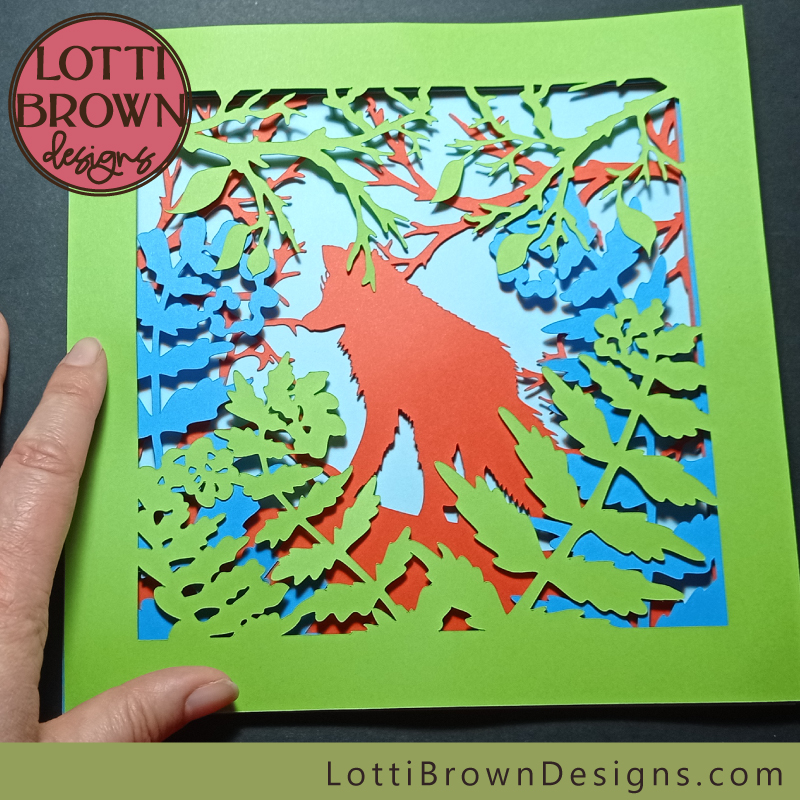 The completed shadow box paper cut wall art!
Your 'Woodland Fox' shadow box svg art project is now finished - well done!
Just pop it into a box frame to display - you can use a mount, or 'matt', if you like - and you can pad it out with more foam pads if you need to fill any depth of space.
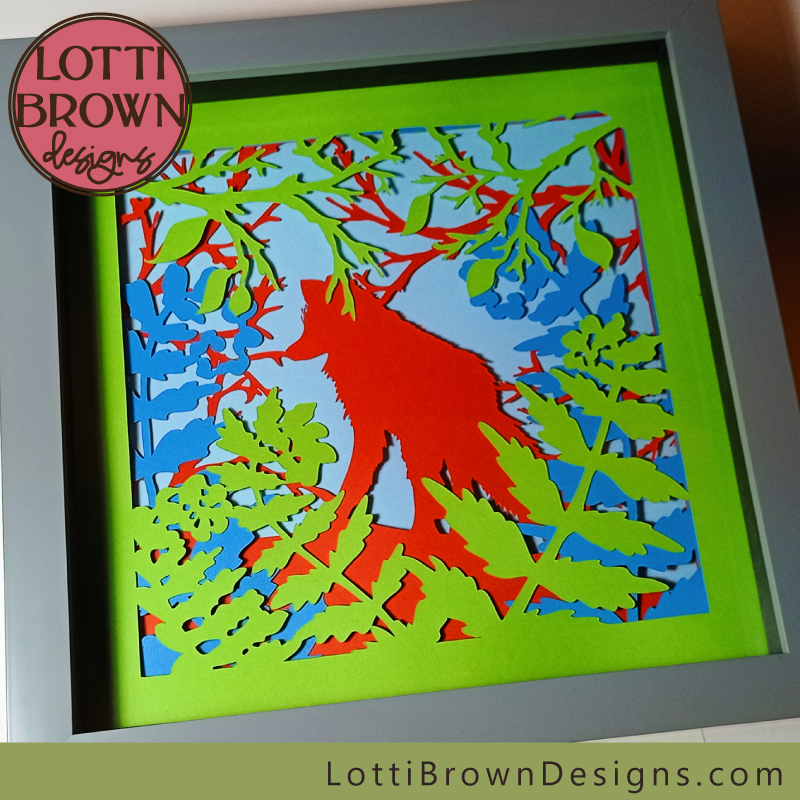 Add a box frame to complete your fox shadow box wall art
Here's the version I created in white, too, with a lilac card background...
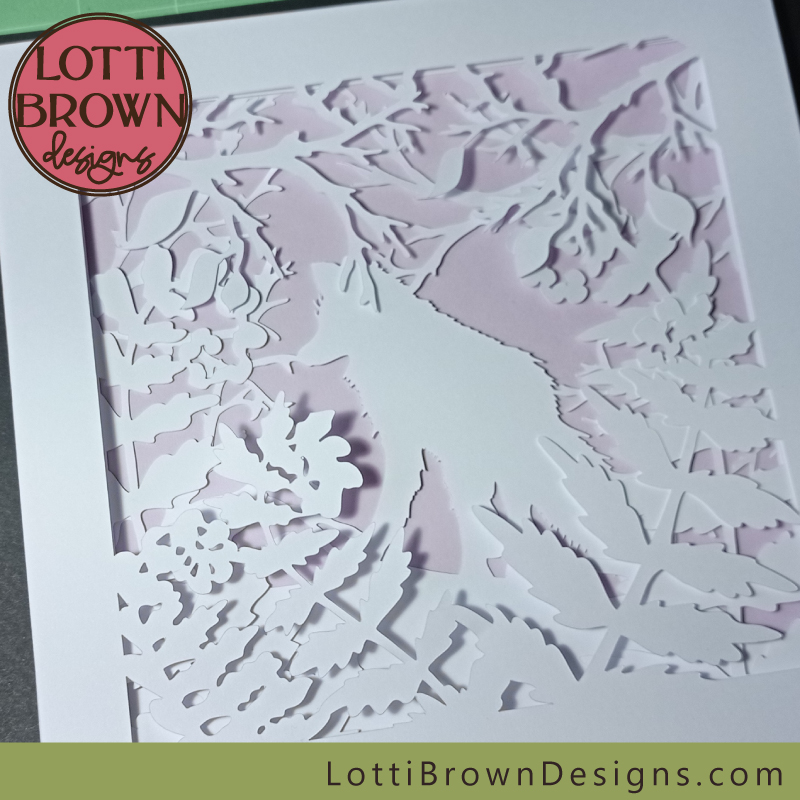 Woodland Fox shadow box - cut in 160gsm white cardstock with a lilac background
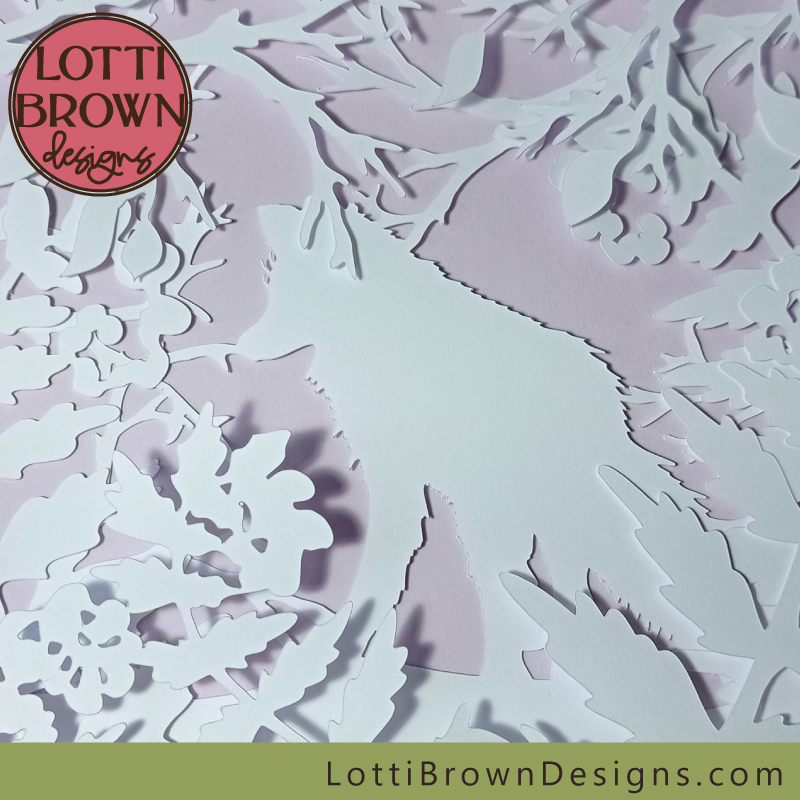 White fox shadow box - close up view
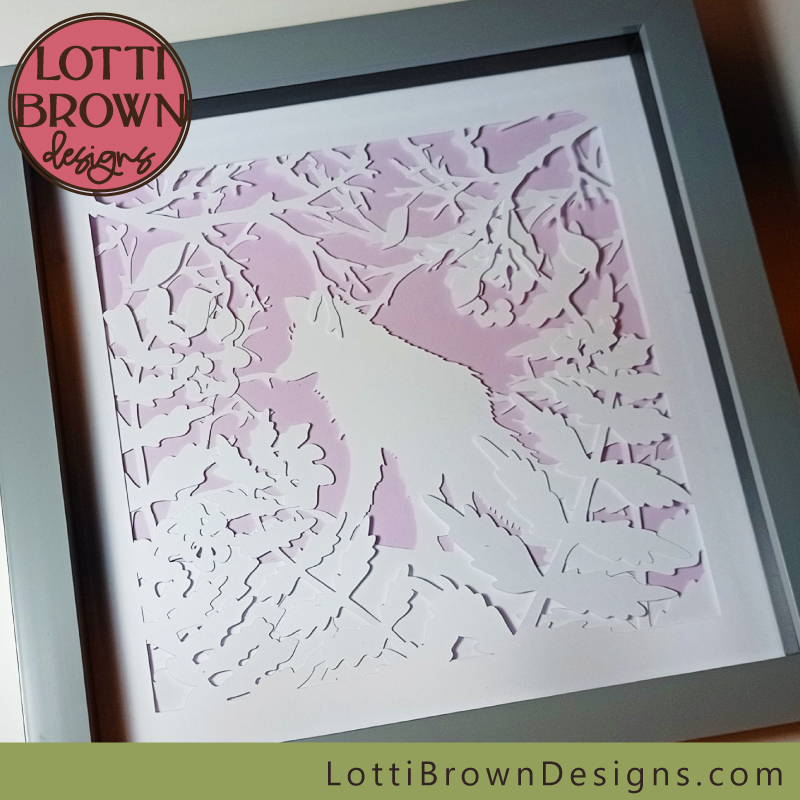 The box frame completes the project
Why not experiment with your own colour ideas using the fox shadow box SVG file to create your own unique look...
 This was my choice of colours - why not experiment with your own creative colour choices!
If you'd like to make your own fox shadow box papercut art, you can download the fox shadow box SVG template from my store here....
The Woodland Fox shadow box SVG file comes in SVG, PNG, EPS and DXF formats, suitable for most cutting machines including Cricut, ScanNCut, Silhouette and more and can also be used for hand-cuts (PNG).
The shadow box SVG file can be used for personal crafting use as well as small-business commercial use (up to 200 units) - in both cases, for physical products only (no digital products or sharing) - you can read the terms here...
You Might Also Like:
Lotti Brown's Designs & Templates
How-tos...
- How to use SVG cut files for Cricut (also other cut file formats & machines)
Do you love foxes..?
If you love foxes, you might like my fox SVG file (for papercutting, vinyl crafts, and cutting machine crafts) and/or my fox art prints, also available as T-shirts, sweatshirts, cushions, throw blankets, note books, phone cases, mugs and lots more...
See them all below, with the links to find them...
Shall we stay in touch..?
Each month, I share stories from my own nature journal, new art from my studio, and simple seasonal inspiration to help you feel more connected with the turning year...
Recent Articles
-
British Nature Folklore Library: Stories, Seasons & Celtic Tree Wisdom
Dec 01, 25 05:09 AM
Explore British nature folklore, Celtic tree meanings, and seasonal wildlife stories. A growing library of myth, meaning, and hand-drawn inspiration. -
Beautiful Art Inspired by Nature
Dec 01, 25 05:04 AM
Beautiful folksy art inspired by nature from the fields and hedgerows of Yorkshire - colourful birds and wildlife with a nostalgic floral touch... -
Birds and Folklore in Britain: A November Nature Journal
Nov 26, 25 04:32 AM
November birds and berries - fieldfares, redwings, lapwings and snow geese with folklore, meaning and nature journal inspiration.
Follow me:
Share this page:

