*** IMPORTANT - I'm retiring my digital files - SVG/PNG/DXF/EPS - and printables from 31st December 2025 ***
*** Please ensure that you have everything you need - files and/or instructions printed off from the website (find them currently in the ARCHIVES section) - by 31st December 2025 as they will not be available after this date ***

Engagement SVG Shadow Box Template
- Home
- SVG files
- Shadow Box SVGs
- Engagement Shadow Box SVG

Romantic shadow box for an engagement SVG template - 'Happily Ever After' design with a happy couple amongst the trees - craft project for Cricut and similar cutting machines...
- Full craft tutorial to help you assemble the shadow box layers
- These instructions are also for the gay engagement shadow box designs on this page (2 women or 2 men)
- Makes a lovely engagement gift idea - also suitable for anniversaries, weddings, or just as a romantic gesture
 'Happily Ever After' romantic engagement shadow box craft project
Get your 'Happily Ever After' engagement shadow box SVG template from my store here
If you're looking for alternate versions for two men or two women, they're here (but keep on this page for the instructions)
Shadow box template digital download for Cricut and similar cutting machines
SVG, DXF, EPS & PNG file formats all included
Easy to make with five layers (including a plain background square)
For personal crafting and small business commercial use (up to 200 products)
For physical (craft) products only - no digital products, use, or sharing
Engagement SVG Template - Layered Shadow Box
 Layered cardstock engagement SVG template - craft project to make a shadow box for a romantic occasion
I'm really excited to share with you my romantic engagement SVG template so that you can easily layer up the design into a pretty shadow box to celebrate a special engagement, anniversary, or even a wedding...
My shadow box template design is all hand-drawn by me - and I wanted to make it really romantic and magical, with the beautiful trees, the hearts, the little squirrels (...did you spot those?) and, of course, the happy couple!
I wanted the feel of a fairytale romance made real - so I called it 'Happily Ever After' to recall to mind the end of fairytales when, of course, they all live happily ever after!
It's perfect for when you want to wish a Happily Ever After for a very special newly engaged couple - or perhaps you know a happily married couple already living their own Happily Ever After who are celebrating a significant anniversary...
Also ideal for weddings - and, basically, any other romantic gesture you'd like to make - after all, we could all always do with a bit more romance in our lives, right?
The shadow box is easy to make - you just layer up the layers of card, adding a bit of a space in between each layer, and pop it in a frame - I'll show you how, step-by-step, in the instructions right below...
 Fairytale Romance! 'Happily Ever After' romantic engagement SVG shadow box template
Engagement Shadow Box Template Instructions
These are the instructions for the 'Happily Ever After' romantic engagement shadow box SVG template - including:
- The man and woman version that you see at the top of the page
- The two men version (on this page)
- The two women version (on this page)
The templates are basically the same other than the figures so there is just this one version of instructions - I'm using the colours from the man and woman template (that you see on this page) - the colours for the other versions are different as I wanted to include lots of colour inspiration for you for your own projects...
 More colour ideas for your engagement shadowbox crafting (these are the gay - two men and two women - versions)
So please do use all the colour ideas as inspiration and get creative with your colour choices to make the engagement shadow box! I've got some colour advice to help you out in the box just below...
It's quite easy to tell which layer is which in the instructions as there aren't too many layers and they're quite distinctive in shape so I don't think you'll get into difficulties whichever colours you choose - so have fun and happy crafting!
Let's go...!
 You will need five different layers for your engagement shadow box
You will need:
- Cardstock in five different colours - see the box just below for some help with choosing colours as well as looking at my photos for the different colours I chose on this page and this one - I used a mixture of Sizzix 'Surfacez' textured cardstock and Cricut cardstock for my projects. The colours I used in this tutorial are the ones in the template you'll download for this man and woman version (see the image just above).
- Double-sided sticky pads - these are to stick the card layers together while also leaving a little bit of space between the layers - this gives you the 'shadow' effect to your shadow box.
- Paper glue - I used a glue stick to stick the figures to the background as the design's quite intricately cut.
- Frame - I recommend a shadow box frame as this has a little more space to fit in the deeper artwork made of layers - I used one that's approximately 8 x 8 inches (20 x 20 cm) and resized the template to fit this.
- A method of cutting - I used my Cricut Maker cutting machine to make the engagement shadow box designs - the files are suitable for most similar cutting machines including Silhouette, ScanNCut, etc. I also include PNG file formats so that you can cut by hand if you prefer.
- The engagement shadow box template - if you don't already have it, you can download it from my store here - the files come in SVG, DXF, EPS and PNG formats. If you prefer the version with two men or two women, you can get them here (two men) and here (two women).
Help with choosing cardstock colours for your engagement SVG shadow box craft project
I hope all the different colours that I've used for the different versions of the engagement shadow box will inspire you and help you choose colours for your own project (look at the images on this page, especially towards the bottom of the page, and this page).
The main thing I found to look out for is to use colours with a good contrast between light and dark for the top layer (with the text) and the background layer with the hearts cut out (layer 4) - this is so that the text stands out well - less contrast gives a more subtle look to the text, which you may prefer.
You also want the figures to be a main focal point so do choose a noticeable colour for these - a white/cream/light grey seemed to work well - or a darker grey if you have them against a paler background. I like to use a neutral colour for the figures as I feel it's slightly unrealistic if the figures are bright blue or orange or something - but if you like this look, go for it, as it's your project!
I also liked the hearts to be nice and bright and stand out against the background - so in each of these versions, my hearts are bright pink, red, or yellow - all the colours give a real 'pop' against the background.
How to Make Your Engagement Shadow Box
You can print these instructions if you need to - there is a 'Print' button on the top right of the page (under the page title) and also at the bottom of the page at the end of the instructions - you can choose which parts of the page you want to print.
- Measure your frame - don't rely on measurements quoted on your frame - measure the actual size of the opening carefully.
- Resize the template using your design software to fit the frame - it's ideal to make it ever-so slightly smaller rather than the exact same size, so you've got a bit of 'wriggle room'. If you need help with opening your files, look here.
- Choose your cardstock colours - go the same as your template or get creative with it - I've got lots of photos on this page and this one - and a little bit of help for selecting colours that work in the box in the section just above. The colours you see in this tutorial are the ones included in your cut file template for the man/woman version.
- Cut your layers using your cutting machine or cut by hand if you prefer - if you're a Cricut user, I have a little help with that for you on this page.
- With the layers all cut, you're ready to assemble the project - the layers are labelled so you should be able to get them in the correct order - or just follow along with the photos in this tutorial below...
 Get your cut layers all ready to go!
- We're going to build up the layers from the bottom (or back, if you prefer) - and add double-sided sticky pads between each layer.
- So first, add double-sided sticky pads to the back of layer 2 - that's the one with the hearts cut out of it. The sticky pads should be in (roughly) the same position on each layer - so that's going to be around the edge of the layer as some of them have narrow frame edges. I normally use two or three per side - you can see how I've positioned them in the photo below. Take note of how you positioned yours as we're going to try to replicate it in the other layers.
- If you want a larger gap between each layer, you can double-up on the sticky tabs, sticking one on top of another to raise the height and increase the size of the gap.

- Next, we're just going to stick it down onto the bottom layer (the plain square) - line up the top edges to help you get it nicely aligned, and then just lower the cardstock carefully and stick it down - see the image below...
 The first two layers are now stuck together to create the background of the shadow box
- Now, we're going to stick down the figures onto their layer - I'm doing this with the man and the woman figures (see image below), but if you have the version with two men or two women, just use those figures and you'll see that the basic process is the exactly the same. I'll show you just below...
 The figures are going to be stuck down onto this layer
- So add your paper glue (I'm using stick glue for ease of use) to the BACK of the figures (see image below) making sure that you get glue right up to the edges...
 Add glue to the BACK of the little figures
- Then, we just need to glue them down onto the FRONT of their main layer - that's the layer with the little trees and the figures shape in the middle - see the image below. Just position them carefully as best you can against their background with a little bit of edge all around. You should have a moment or two while the glue is still wet to reposition if necessary.
 Glue the cut figures down onto their background layer (they stick onto the FRONT of the layer)
- Now, we just need to add our double-sided sticky tabs to the reverse of this same layer - like in the image below. Try to get them in the same spots as you did on the first layer - just roughly is okay - as this will help build your layers evenly with no sagging!
 Add double-sided sticky tabs around the edges on the BACK of the figures layer
- So now, of course, we're going to add this layer to the two we already stuck together - once again, take a moment to line up the top edges of the two pieces and then lower your layer down in place carefully - see the image below...
 Add the figures layer to the engagement shadow box background like so
- We're nearly there now - just the final layer to go - the one with the tall trees and the wording. So we just need to add the double-sided sticky tabs to the BACK of this layer, trying to get them positioned in a similar spot to the previous layers, if you can (you'll see I've not been brilliant at this - the good news is, it still worked!) - see the image below...
 Add double-sided sticky tabs around the edges on the BACK of the final layer
- One last final step! Now, carefully line up the top edges of the two parts and lower down the top layer carefully to stick it down onto your shadow box. All being well, it should look something like the image below...
 All the layers are now glued together and complete
- Pop it in a shadow box frame and it's completed - and will hopefully live 'Happily Ever After'!
The engagement SVG template looks beautiful all framed up in a box frameMore Colour Inspiration for your Project
Here's an alternate colour idea I created for this engagement SVG template - I love the pretty nature colours and the woodland greens against those bright pink hearts...
 Woodland green colour scheme for the engagement SVG shadow box project
 Close-up view of the romantic scene in greens and pink
And I also came up with more colour ideas for the two-men and two-women versions that you can see more of on this page (also just below)...
 Pretty blue and red colour idea
 Pretty pastels (pink, lemon, and cream) against a deep black
 Greens and blue with a zingy yellow
 Taupes and tans! Greys, a warm tan/beige and a brilliant yellow
Go on this page if you want to see more of these four colour ideas or to buy these templates (that's the 2-men or 2-women versions of this engagement SVG shadow box template).
 Original colour version included in the engagement shadow box template
 'Happily Ever After' engagement SVG shadow box template
Get the 'Happily Ever After' engagement SVG shadow box template from my store right here
Digital download for Cricut and similar cutting machines
SVG, DXF, EPS & PNG file formats all included
For personal crafting and small business commercial use (up to 200 products)
For physical (craft) products only - no digital products, use, or sharing
If you like making shadow boxes with your cutting machine, take a look at my other shadow box templates on this page here...
You Might Also Like:
Lotti Brown's Designs & Templates
How-tos...
- How to use SVG cut files for Cricut (also other cut file formats & machines)

Shall we stay in touch..?
Each month, I share stories from my own nature journal, new art from my studio, and simple seasonal inspiration to help you feel more connected with the turning year...
Recent Articles
-
Nature Journaling Autumn Fungi & Folklore
Oct 28, 25 05:58 AM
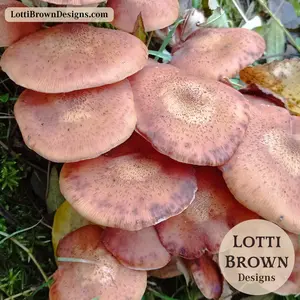 Nature journaling autumn fungi - discover how nature journaling helps you slow down, notice more, and reconnect with the season...
 -
Symbolism and Meaning of Fern/Reed for the Celtic Tree Calendar
Oct 27, 25 07:06 AM
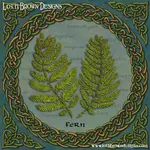 Explore the symbolism, myth and meaning of the fern (reed) as part of the Celtic Tree Calendar...
 -
Sun & Moon, Stars & Spirals
Oct 20, 25 09:31 AM
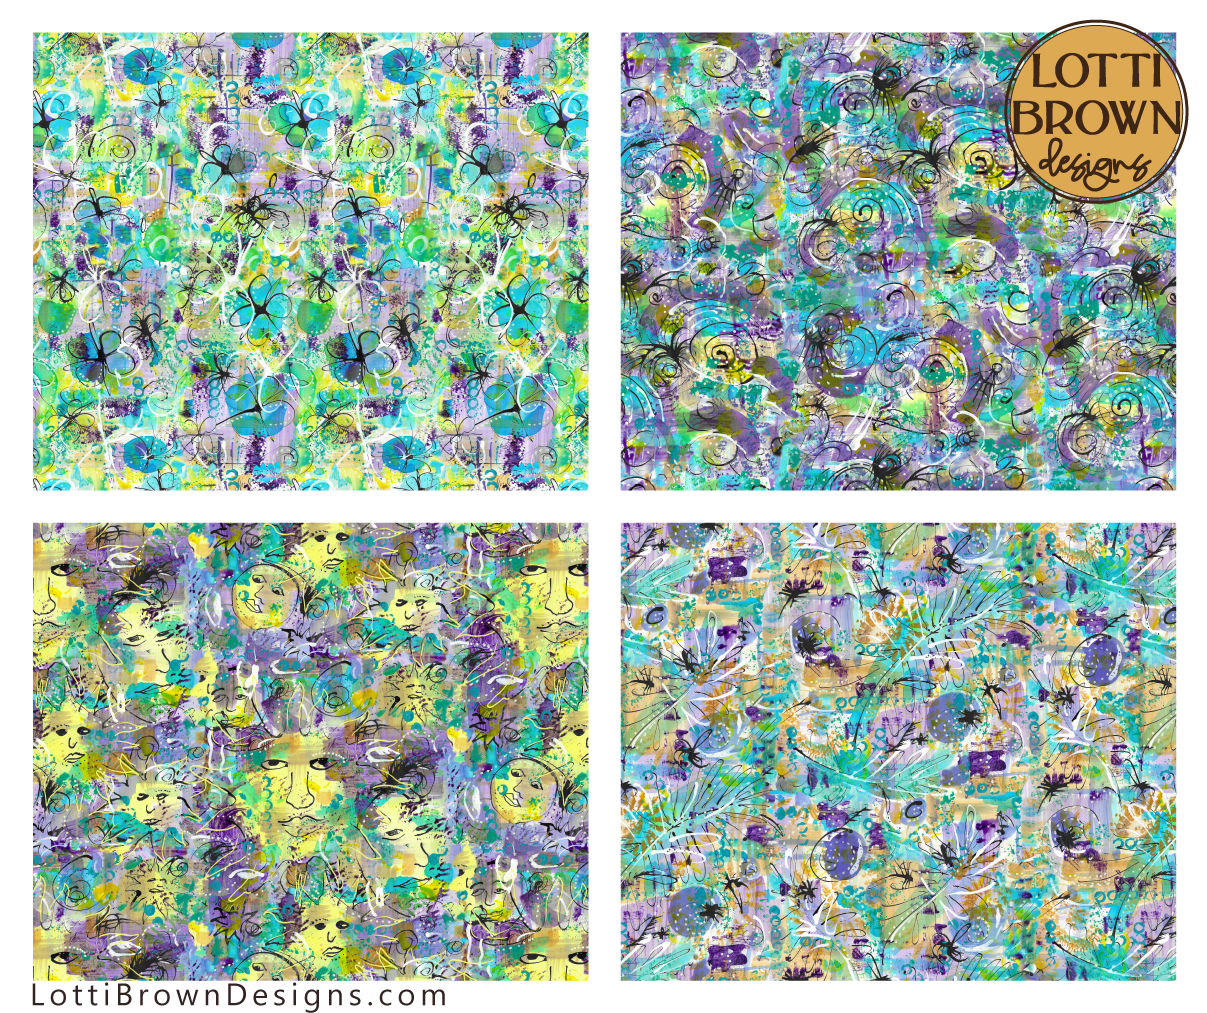 New painted patterns with sun and moons, floral, spiral and star designs...
Explore fabrics and wallpapers in these designs here (Spoonflower)...
Explore homewares and accessories in these designs her…
New painted patterns with sun and moons, floral, spiral and star designs...
Explore fabrics and wallpapers in these designs here (Spoonflower)...
Explore homewares and accessories in these designs her…
Follow me:
Share this page: