FEBRUARY 2024 - NEW WEB-STORE! Browse both my old (Etsy) store and new store here!

Gnome SVG
Paper-crafting Project
- Home
- Project Ideas
- Gnome SVG Project

Adorable gnome SVG papercut craft tutorial - how to assemble the cute gnome papercut SVG digital file...
 Gnome SVG cardstock project for Cricut and other cutting machines
This is a tutorial showing how to assemble my gnome cut file - available in SVG, DXF, PNG and EPS formats, suitable for cutting machines such as Cricut, Silhouette, ScanNCut etc, or for cutting by hand.
The tutorial shows a papercutting/cardstock example but you could also use the file for vinyl crafts, printing, stencilling etc.
 Gnome cut file with layers
 You can make two different looks with the gnome cut file - decide whether to add the background layers or not
The gnome SVG file is multi-layered giving you the option of layering up the colours behind the top intricate layer to give a multi-coloured effect.
Of course, you can also choose just to use the intricate top layer on its own. I designed it so that it works just as well in one layer (one colour)...
But I just couldn't resist adding the extra colours too!
 Showing how the gnome could work with just the top and bottom layers of the SVG file
Creating the Gnome SVG
The images below show you how the layers will work in my gnome SVG file...
 Showing the separate layers and how they build up together
 Use this image to help you build up the gnome's layers in the correct order
What you will need
What you will need:
- the gnome cut file from my store - available for instant download worldwide
- card, paper, vinyl or other suitable materials in five different colours - I'm using card - it's a good idea to use white or another suitable beard/hair-colour for the beard and a skin-colour for the face and hands. The lantern works well with a yellow or orange, but you could get all kinds of different effects by using different colours.
- cutting machine & software/tools OR printer & craft knife
- suitable adhesive for your chosen material - for paper or card, try adhesive foam pieces, glue dots, or micro-dots. I'm using glue dots and micro-dots for the more intricate areas
If you don't already have it, you can download the gnome SVG file from my store here
SVG/DXF/EPS/PNG formats
Shall we get started?
You will need to cut each file layer separately in a different colour to create the effect you see here - so load the file into your cutting machine, or print off the PNG files and cut the layers by hand and I'll see you back here for the assembly instructions...
If you need any help with using your gnome SVG file (including the other formats), look here...
 Papercut layers all ready for assembly
- Make sure you've got everything cut and ready to go. I like to lay everything out layered, as above, to try and keep straight and organised as I'm working...
- We're going to work from the top, downwards towards the bottom - so that's from the intricate top layer, down, with the large silhouette layer at the bottom.
 Adding the gnome's beard, hat and pom-pom
- So our first glueing-together will be the top layer and the white layer, which is the layer that makes up the beard, hat-trim, and the shine on his boots - it's in three pieces.
- The beard, hat trim, and boots are positioned from behind, but also checking from the front to make sure you've got it correctly positioned. I used micro-dots to attach the pieces.
- When you're done, it should be looking something like the image just above.
- Next, we'll add the layer for face and hands. This is a large layer and it sticks on the back of the beard. Then there is an additional separate piece for one of the hands.
 Showing the back of the gnome papercut - use the white beard layer on the back to line up the main pink piece.
- I found it easiest to turn the papercut over for this bit, so I'm working on the back - and try and line the large piece up perfectly with the beard outline. There's an additional area for one of the hands and a separate piece for the other. Microdots work well for the separate hand-piece but the larger area can easily be stuck down with glue or a glue dot.
- You will then need to turn it back and check from the front that these are correctly positioned. It should look something like this (below)...
 Face, hands and beard attached - checking progress on our gnome papercut
- Next, the lantern - pretty quick and easy. Again, I found it best to work from behind and check from the front. I used micro-dots to stick it down.
 Adding a glow to the gnome's lantern
- Final step! Last but not least is the background layer. Just turn your gnome over and line everything up. A combination of glue or glue dots and microdots work well here, as you do have some large areas of flat paper for glueing, but you might want to jiggle it around a bit to get it nicely in position...
 With the background layer attached, the gnome papercut project is now finished!
Well done, we finished our little gnome!
If my gnome papercut project inspired you to make your own cut gnome, you can get the design file in my shop. It's available for instant download so you can just get started...
The file comes in SVG, DXF, PNG and EPS formats, so it's suitable for a variety of cutting machines including Cricut, Silhouette and ScanNCut as well as for cutting by hand if you prefer. I've used paper and card for this project, but you can use the file to print, create stencils, for vinyl crafts, or other materials suitable for your own machine or tools.
Please note that if you're using vinyl for this project, you might prefer to 'slice' some of the layers in your design space, as an alternative to layering up.
You can use the file for personal crafting use or for small business commercial use - both for physical products only, no digital products or shares allowed (please see the terms of use on my website here).
You might also like:
- How to use SVG cut files for Cricut (also other cut file formats & machines)

Want to keep in touch?
And get this beautiful cut file for free?
Sign up below for my free email newsletter to get:
- News about my new designs
- Occasional special offers just for subscribers
- Free 'Home is Where the Heart is' layered cut file design (SVG, DXF, EPS & PNG formats - for personal use only)
My newsletter is usually sent out once a month (at the start of the month) and you can unsubscribe any time...
Sign up below...!
 Get this beautiful 'Home is Where the Heart is' layered cut file for free - SVG, DXF, EPS & PNG formats (personal use only)
Recent Articles
-
Making a Book from Scratch with your Cricut
Apr 17, 24 04:51 AM
 Have fun making a book from scratch with your Cricut - great as a scrapbook, journal, sketchbook, etc... Easy to make!
 -
Cricut Felt Cutting Project for Beginners
Mar 20, 24 05:59 AM
 Fun Cricut Felt Cutting Project for Beginners - Make easy blue tits and flowers 3D felt art...
 -
Cutting Felt with Cricut
Mar 06, 24 05:59 AM
 Guide to cutting felt with Cricut - how to cut felt, best felt for Cricut, best Cricut blade for felt and more tips...
Feel inspired...
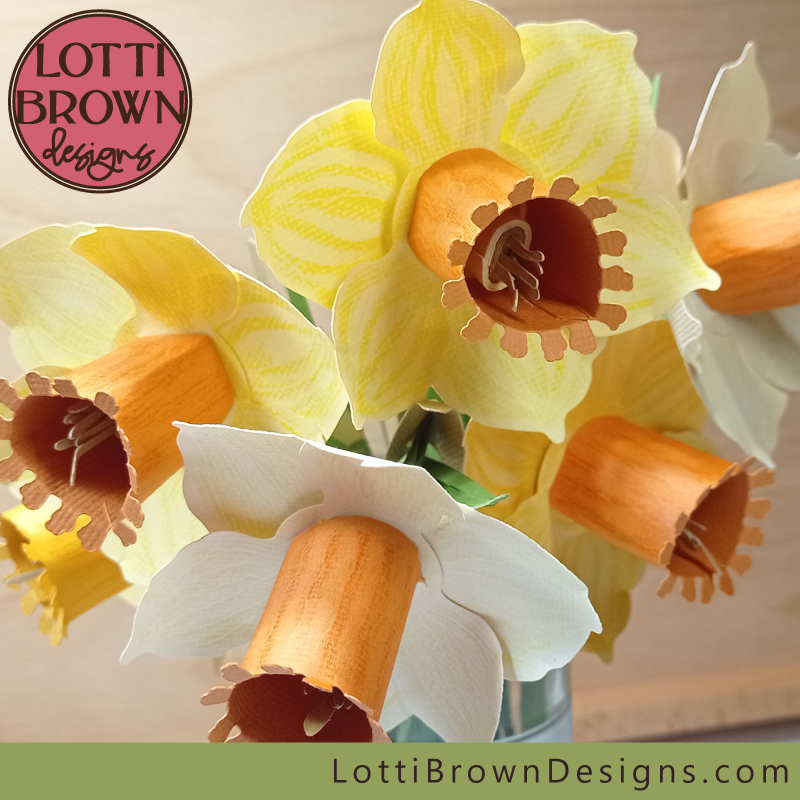
How to Make Paper Daffodils Tutorial Page 1
Learn how to make paper daffodils with my detailed photo tutorial using my beautiful floral template for cutting machines or cutting by hand...
Card Box Making Templates for Cricut
Easy card box making templates to use with Cricut & similar cutting machines - make pretty gift boxes at home from cardstock...
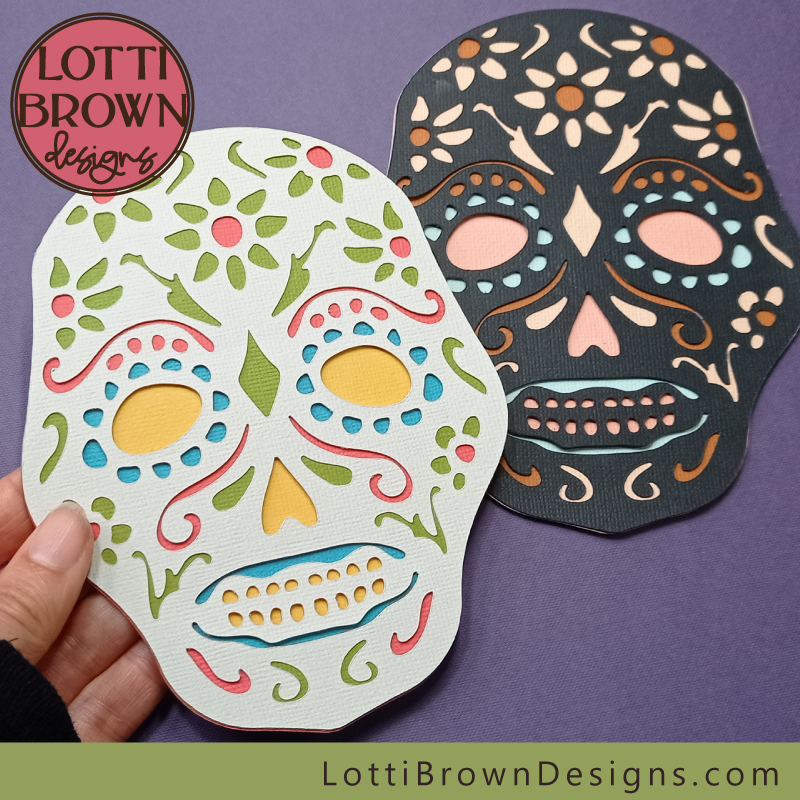
Sugar Skull SVG Project
Sugar skull SVG file to make a simple and colourful layered Day of the Dead project with your Cricut or other cutting machine...
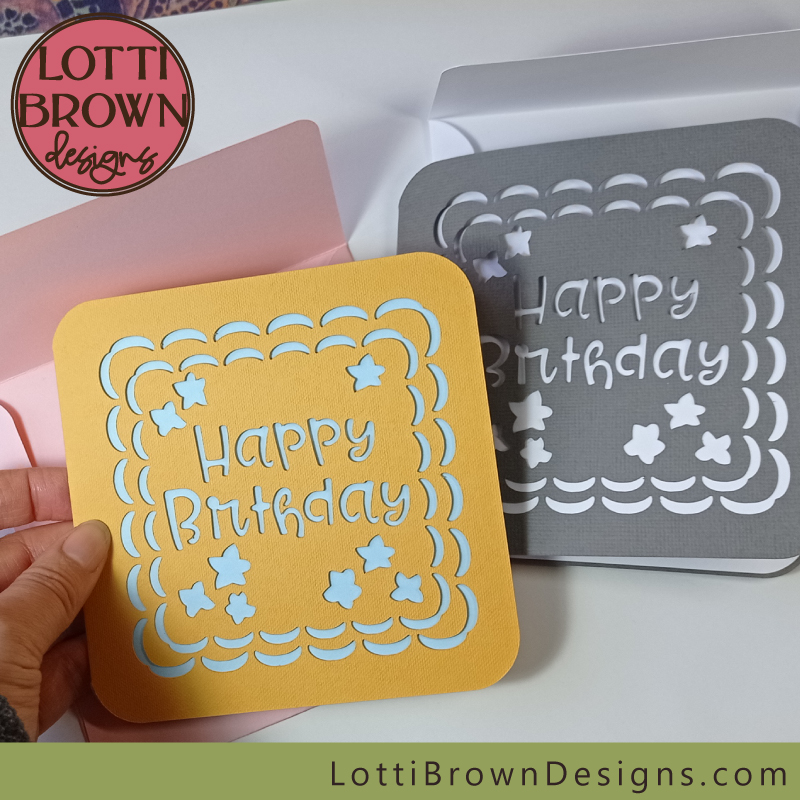
Make an Easy Birthday Card with your Cricut
Craft tutorial to make an easy birthday card with your Cricut with step-by-step guidance and help - envelope included!
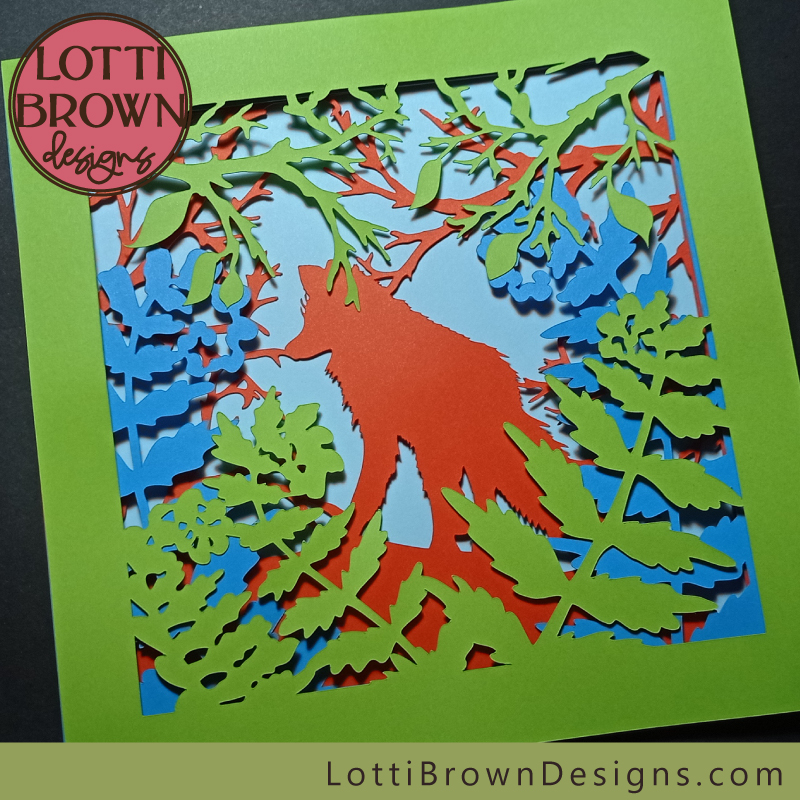
Woodland Fox Shadow Box SVG File
Fun Woodland Fox shadow box SVG file to create beautiful wall art for your home - makes a great Cricut project!
- Home
- Project Ideas
- Gnome SVG Project